You can never go wrong with Butter Cream Topped Sugar Cookies. They are a Christmas classic that everyone needs to make at some point. So for Day Seven of the Twelve Days of Christmas Cookies, that’s what I’m sharing. And today I’m going over all the tips to get these basic cookies just right!

So after a weekend break, I’m back with a complete classic Christmas cookie. The illusive Sugar Cookie! I’m sure we’ve all made them at some point, right? And don’t they always, just always, look like the picture…hahaha!
So, today I want to go over how to get those sugar cookies just right to make them resemble something like you seen on the screen or that glossy page.

Getting Sugar Cookies Just Right
First of all, I want to dispel the myth that Sugar Cookies are quick and easy. Guess what? They’re really not. Okay, few ingredients and a basic mixing method. But getting them to turn out without having puffed up spots, burnt edges, too soft, too hard….well, it’s takes some understanding. I’m not trying to over complicate the most basic cookie ever, just trying to give a little help to those of us that have baked and failed. And boy, have I had my fails. Ten fold!

Here’s Everything We Need To Make The Cookies
So, if you’re looking to make Sugar Cookies this December but have failed in the past, read through the step by step to get all the tips you need to get yours looking glossy page worthy. Again, my decorating skills lack, but these cookies sure came out pretty darn good. A crisp bit on the outside and chewy inside. Just how they should be. So, let’s see how it’s done.
Get a cup of something hot and follow along to make your cookies this week!
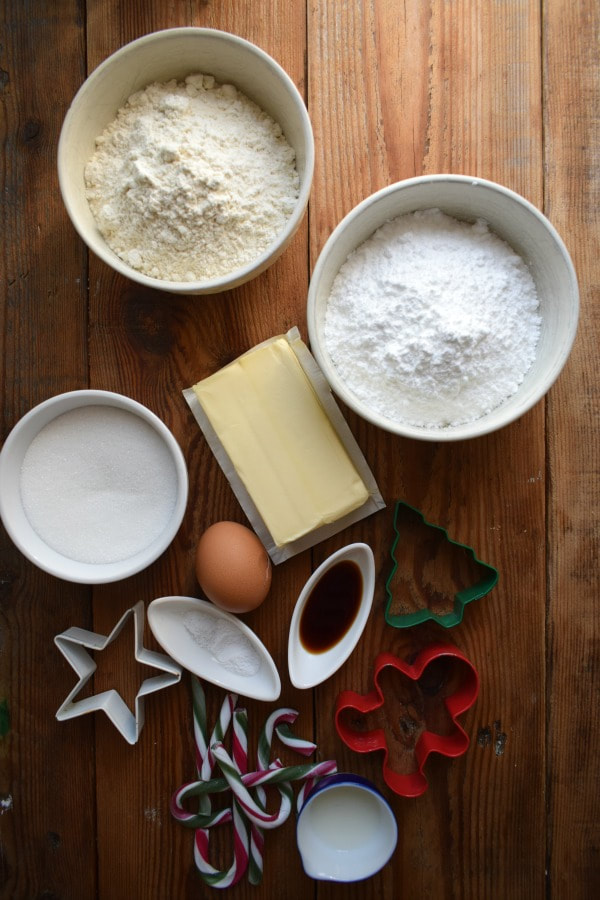
Making The cookie Dough
- And once again, we’re starting with creaming butter and sugar. I know, it always seems to be that first step! Make sure the butter is room temperature otherwise it won’t incorporate in correctly. Mix it on high until it becomes lighter and a little fluffy.
- Add in the egg and vanilla and mix for just about a minute.
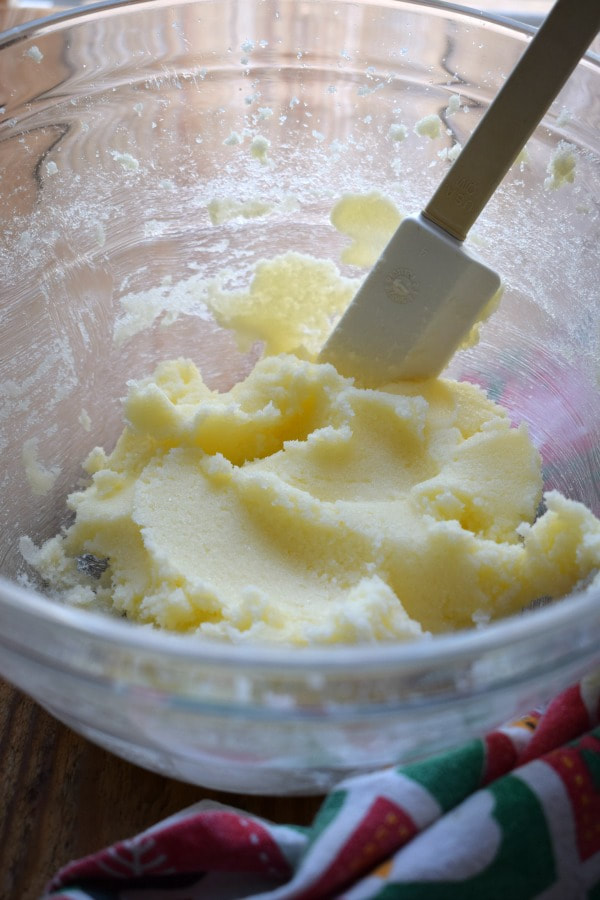
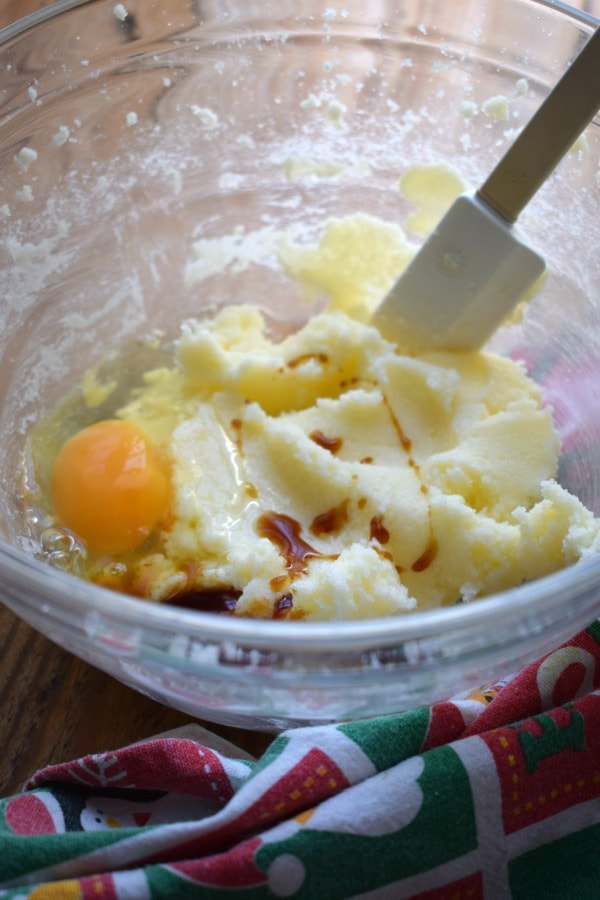
- After you’ve mixed in the egg and vanilla the dough will look a bit like what you see below here. It becomes creamier.
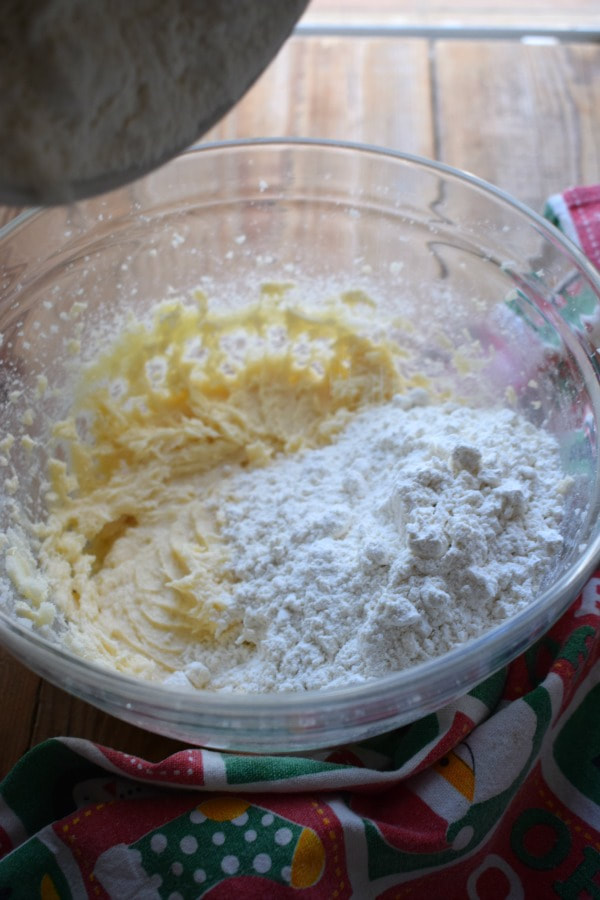
- Sift together the flour, baking powder and salt. Add it to the dough mixture and mix with a spatula until it just comes together.
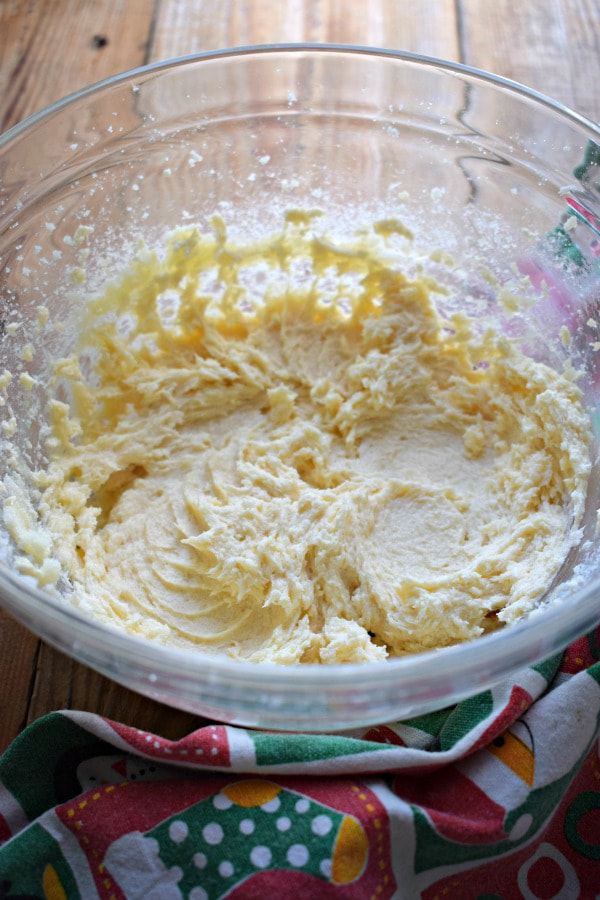
Dividing up and Chilling The Cookie Dough
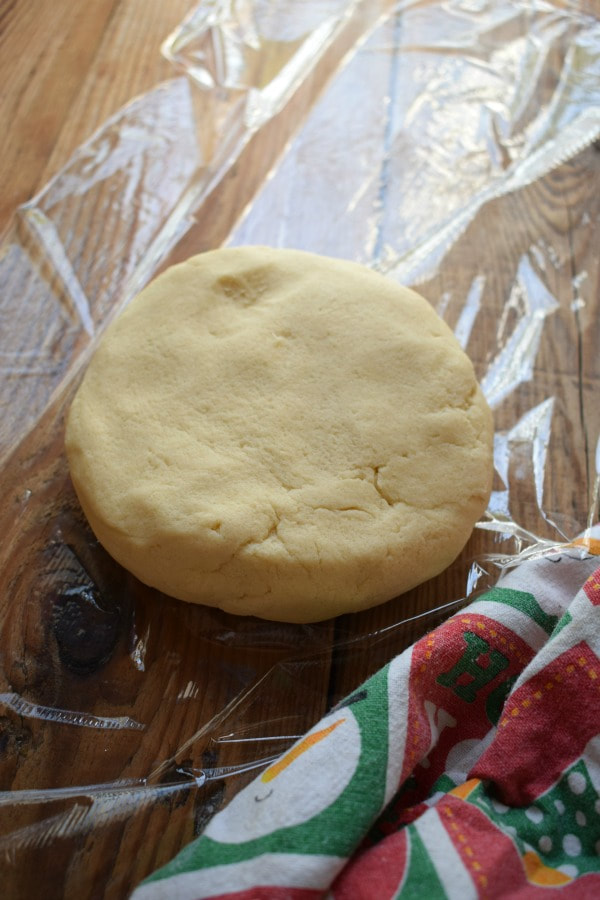
- Divide the dough into two equal parts. Roll into balls and lightly flatten. Cover with plastic wrap and refrigerate for about one hour. Alternatively, you could pop it in the freezer for about 15 minutes.
- Why does the dough have to be chilled? It’s far to soft to work with if it’s warm. Cutting shapes will be almost impossible and they will spread too much in the oven as they bake. So chilled dough is really important here so don’t skip this step.
Yes, you could even make it in advance and keep in the fridge the day before. A great make ahead dough for using with kids.
You Need Chilled Dough For The Butter Cream Topped Sugar Cookies
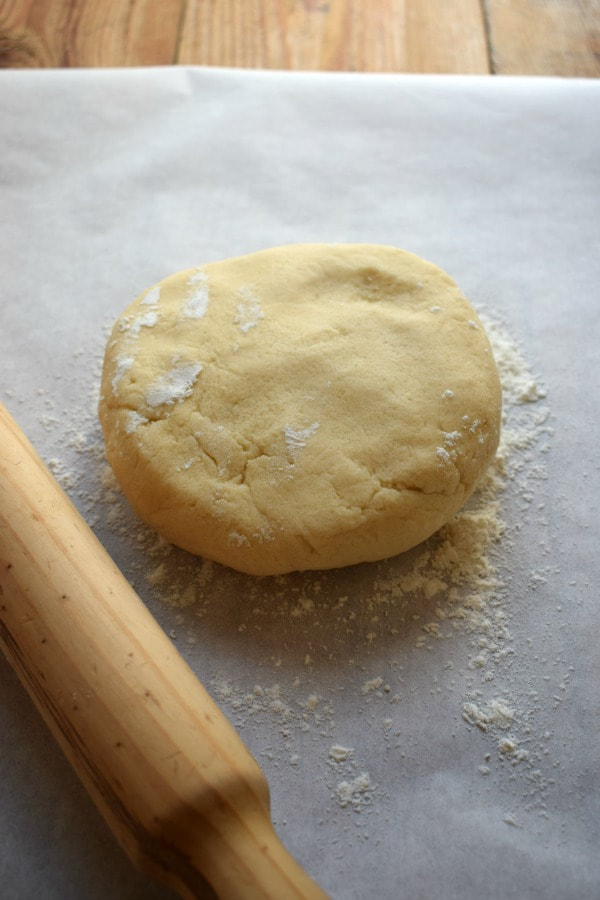
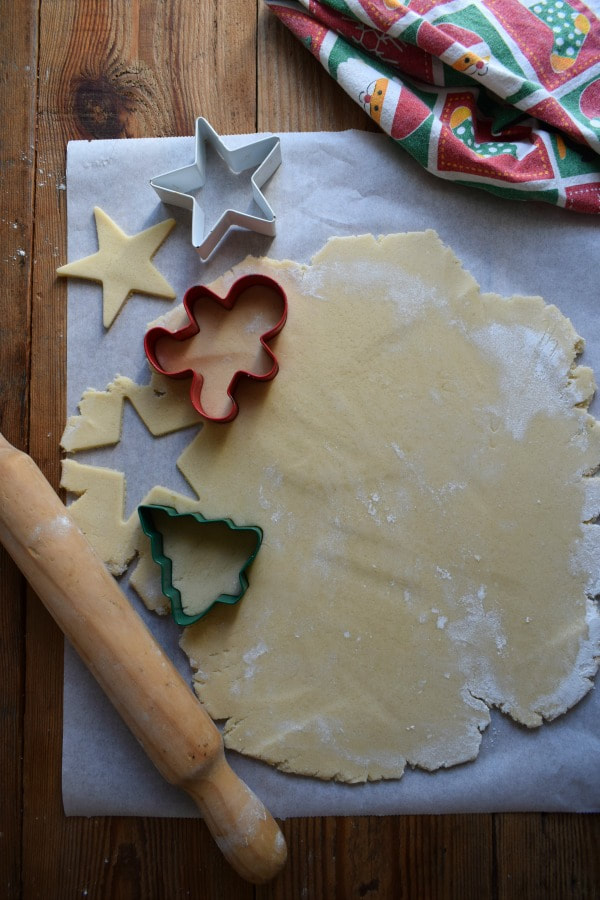
- Take one disk out of the fridge at a time. You need cold dough to work with remember. I always like to roll on parchment paper, but it’s not necessary. Lightly flour the surface and start gently rolling the dough. the edges will start to crack as you roll, but this is normal. Don’t roll it too thin or the cookies will brown too quickly when bakes and be hard. I rolled these about 1/4 of and inch thick.
- Cut into desired shapes. Gather up all your scraps and form into a ball to re roll. At this point you may need to chill the dough again if it’s too warm to work with. It might seem fussy, but it’s worth it in the end.
- Place the cookies on a parchment paper lined baking tray. They will be done in about 8 – 10 minutes. Turn the tray about half way through baking to ensure even baking.

What They Look Like When They Come Out Of The Oven
- When the cookies are done, they will have puffed up a bit and have a light golden touch to the edges. But they will still be pretty pale. They might look under done, but they’re not. I’ve learned many times in the past, take them out of the oven! If you leave them in a bit longer, just minutes, they will quickly brown and become crispy.
- They should cool completely on the tray. As they have to set to keep their shape and not fall apart. I recommend leaving them on the tray for about an hour before trying to transfer them to a cooling rack. So, leave them on the tray to cool.

Making the icing and decorating
- Making buttercream icing is pretty straight forward. Just beat the butter on high until smooth and add in the icing sugar and mix until it starts to come together. You will notice it will be quite hard and probably just stick to the beaters in one clump. This is normal. Gradually start adding the little bit of milk and mix until you have a soft spreadable consistency.
- When you have completely cooled cookies, you can ice them. Clearly, I’m not much of a decorator. I used a zip lock back with a tiny hole cut in a bottom corner. I used this to pipe a few cookies. Others, I just spread on the icing with a knife. It does take time, so have a cup of coffee and your favourite tunes on.
Tips For Decorating
- If topping with the candy cakes or sprinkles, do it immediately when you have iced the cookies. Otherwise the icing will harden and the toppings won’t stick.
- Leave all the cookies on a wire rack for the icing to set, at least an hour or more.
- These can be stored in a Tupperware container and you can stack them once completely set. Place parchment paper between the layers as you stack them.
- They can be kept on the counter for up to 5 days. You can equally store them in the fridge or in the freezer.

Sugar Cookies are a fun cookie to make. If you have kids or look after kids sometimes, they always seem to love making and decorating them.
When my kids were smaller, it was always our Christmas Eve tradition.
That’s where Bailey’s Irish Cream can in handy….hahaha!

The cookie baking Christmas Eve tradition has been shelved for some years now. As with the belief that Santa stuffs himself down the chimney. The days of keeping the magic alive for small kids is fun but exhausting at the same time. The sneaking around at witching hour, taking bites out of cookies and jingling bells. Another “fun while it lasted” stage…haha!

t seems our traditions change from year to year, but we still always hold Christmas Eve as a very special time. I know for many people, Christmas Eve is a time to get all your last minute stuff done for the big day. Not at our home. We, as in I, like it all done and dusted by the 23rd. We like to enjoy Christmas Eve. In many ways, it has even more of a magical feeling than The Big Day.

But for now, Christmas Eve is a long way off and there’s a lot to get done. Baking for starters. I hope you’re enjoying The Twelve Days of Christmas Cookies and finding something to bake through December. Remember, there are lots of other treats on the blog from previous years. And my Holiday Sugar Cookies are an all time favourite.

Enjoy the Season
Time to sign off. So, what are we listening to for Day 7? Well, I love Dolly Parton, yes I do! And just this past week I’ve been watching her Netflix special, Heartstrings. Anybody heard of it? All stores have happy endings, like Hallmark. But fun in watch in December. Anyway, when you set her alongside Kenny Rogers, she just gets even better. So Once Upon a Christmas by Dolly Parton and Kenny Rogers seems fitting for me today. I think I must have listened to that Dolly and Kenny Christmas special a million times back in the 80s. Somehow, over time I forgot all about it. Then since watching the Netflix special this past week, I was reminded of music that I once loved.
Thanks for stopping by today to continue the December fun. Remember, tomorrow I’ll be back with more baking inspiration and memories to share.
Have a great Monday!

Buttercream Topped Sugar Cookies
Ingredients
For the cookies:
- 2 Cups plain flour
- 1 Cup granulated white sugar
- 1/2 Cup butter
- 1 Egg
- 1 Teaspoon vanilla
- 1/2 Teaspoon baking powder
- 1/8 tsp salt
For the icing:
- 1/2 Cup butter unsalted
- 2 Cups icing sugar
- 3 – 4 Tablespoons milk
Additional:
- 2 Candy canes crushed up
Instructions
- In the bowl of your electric mixer, mix the butter and sugar on high speed until light and fluffy. This will take about 3-5 minutes. Add in your egg and vanilla and mix well. Sift together the flour, baking powder and salt and stir into the mixture. Don’t over mix. Once you have a cookie dough texture, divide the dough into two equal portions and flatten into disks. Wrap it in plastic wrap and freeze it for about 15 minutes.
- Preheat your oven to 325 degrees F. Line two baking trays. Remove your dough from the freezer and leave it for a few minutes before rolling it out. Roll each disk out onto a floured surface, sprinkling a little flour on top of the dough so it doesn’t stick to the rolling pin. Don’t roll them too thin or they will likely brown and be too hard. These were rolled to about 1/4 of and inch. Using cookie cutters, cut into desired shapes. Bake for 10 minutes turning the tray half way through baking. They will be soft to touch and will set as they cool. Repeat for all cookies. Let cool completely.
- To make your icing, combine the butter and icing sugar in a mixing bowl and mix on high speed until it comes together. Add in the milk for a smoother and more spreadable consistency.
- When the cookies have cooled completely, frost them and decorate them how you like and top with crushed candy canes. These can be stored in an airtight container for up to a week or in the freezer for a month.
*A note on times provided: appliances vary, any prep and/or cook times provided are estimates only.
Notes
thanks for stopping by and hope to see you soon!

