Nothing is as great as a Classic Apple Pie. Made using all from scratch ingredients, this is one to file in favourites for fall!
Don’t miss Delicious Apple Desserts for Fall! More than a dozen desserts from pie to cheesecake to strudels to danishes and more!
Pie Making, a Rare Event For Me
I surprised myself with this beauty. I never take the time to decorate anything. I like to get the job done and call it a day. I have so much admiration for pastry chefs, cake bakers and decorators. I really don’t know how they do it. Like I have no idea. Putting the creativity and steady hand aside, the patience is what I admire the most!
The patience it took me to put this pie together can not be understated. I didn’t even start out making a pie, it’s just what transpired.
You see, this this past week was Canadian Thanksgiving and I wasn’t even sure if I was going to do anything to mark the occasion. It was hot, like stupid hot and humid for October. Well, normal hot for here but I’m still so over it by the time pumpkins should be making their debut. So with the warm wind blowing and mosquitoes making meals out of me, I planned to shelve Thanksgiving this year.
Then I woke up on Thanksgiving Monday to the sound of rain! I quickly jumped out of bed to admire it, yes admire, as I knew it probably wouldn’t last long. The sweet sound and smell of rain, is there anything better?
Enjoying the Change of Season and Fall Flavours
After inhaling the changing season with a cup of coffee and wet feet on the front porch, I decided Thanksgiving was a go!
Got the morning going and decided on a small family affair with the four of us and a chicken dinner. Yes, chicken because I wasn’t embarking on a turkey in the midnight hour also known as last minute. I had a quick look through the fridge and cupboards to discover the only thing I needed to buy, to make my small Thanksgiving dinner, was a chicken. Off I went with my change purse in hand and my faithful pooch by my side to 10 minute walk to the little beach side shop.
They have the best chickens this side of the Atlantic. Well, at least in my neighborhood….ha. I picked up my chicken and was about to make a dash for the checkout and thought apples could be useful. I had crumble in mind. Easy and delicious.
I left 5 minutes later with one whole chicken, a bag of tart apples, one faithful pooch and melted under the now scorching sky.
Of course the sun had to come to the party.
Enjoying the Moment
I was home and all settled away in my happy place, aka the kitchen and making a cup of tea. Tea because I can only hack that one cup of java a day. I thought of putting the crumble together and popping it in the fridge until baking time later on. Then, bingo, I had the thought of an apple pie. And that’s how this all came together. It only took me half the day…..kind of joking but not really. Mind you it probably would have been quicker if I wasn’t trying to give it a photo shoot along the way.
It was well worth the effort and I’ll probably make one again, next year or the year after that…hahaha.
Now I want to get straight to the pie because there’s so much to say.

Not a New Pie, But New To The Blog
Saying that I don’t make pies, which is 100% accurate, I have been making this particular pie for about a decade now. I found the recipe on the Joy of Baking and have made it every year at least once, if not twice. So, I do make pies….haha! If you have never come across that site and are an avid or learner baker, you should check it out. She has everything under the sun, moon and stars on there. Plus excellent explanations and videos to boot. Joy of Baking, look it up!
As for this pie and her recipe, I only changed one thing. I’ve made it enough times to realise that I needed more apples. So, I added more apples to my recipe. And as for the decorative topping…I’m taking all that credit! It may never happen again, so admire it while it’s here…ha!
Okay the pie.
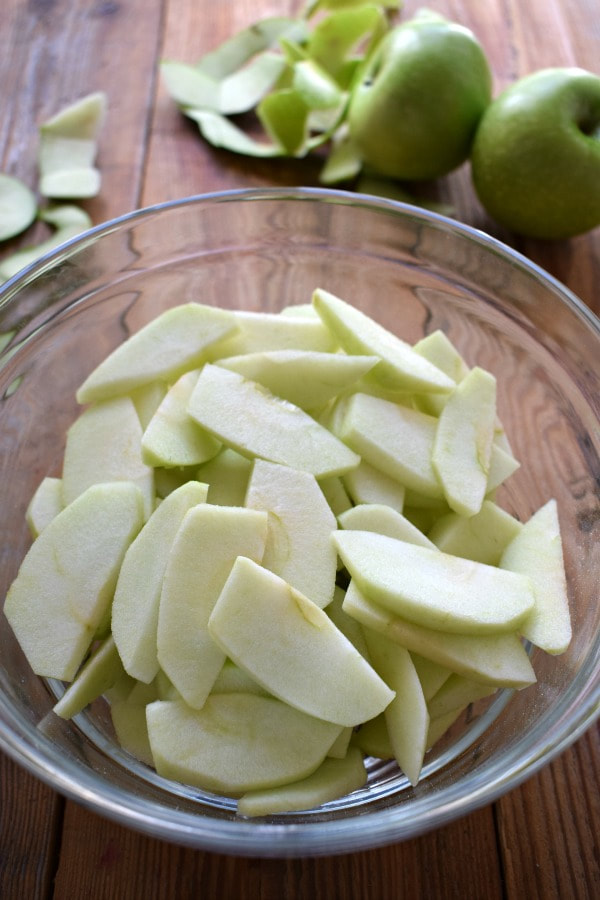
About the apples
I used Granny Smith but any tart type apples will do. Make sure you don’t cut them too thick otherwise they won’t cook through. For this recipe I used 8 large apples and it was baked in an 9 inch deep pie dish. All of this is in the recipe below, I just like to give more explanation outside the recipe.
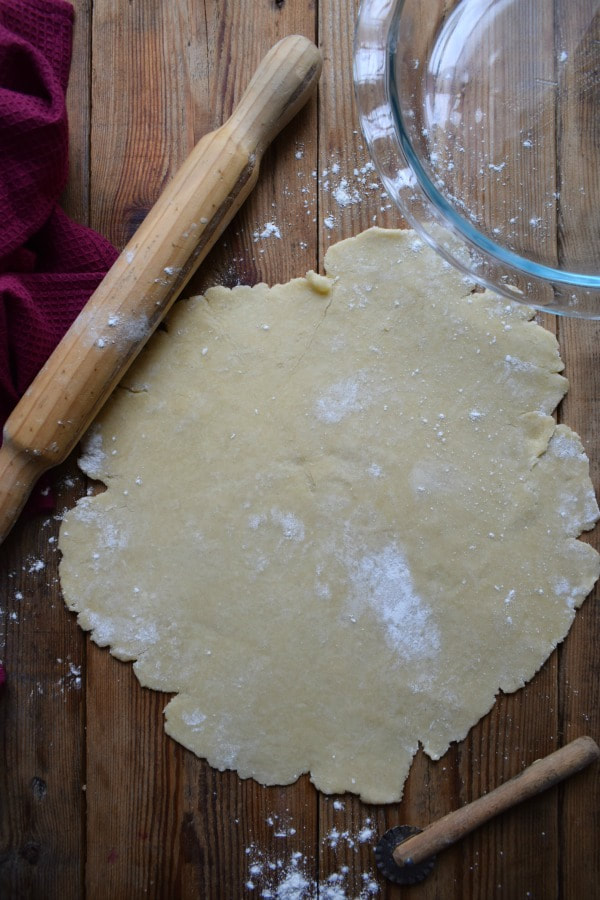
About the Pastry
The pastry is the key component to a pie so you will want to get it right. I’m far from a pie expert but I’ve made this pie enough times to know how to get it right.
Make sure you use cold butter and cold water in the recipe. This helps create little air pockets when it bakes and leads to a crispier flakier pie crust. If you use room temperature you won’t get the same result. So use the cold butter.
Chilling the Dough
After you make the pastry, you will want to chill it in the fridge for a good hour or so before you use it. Again, this is so to create that flaky crust you are looking for
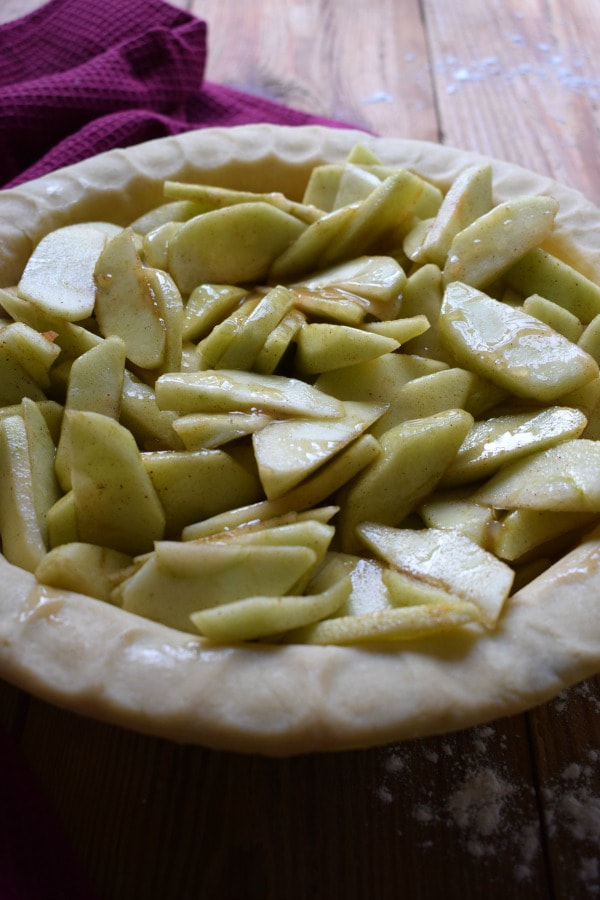
Making the filling
As you will see in the recipe below you make a great pie filling by simply macerating the apples. This is done by adding sugar and lemon juice to the apples. You just mix it up and let it sit on your counter top for about an hour. You will get about 1/2 cup of liquid out of it and this will be used to make the sauce for the filling. Again, in the recipe below. If you think you can skip this step, you just can’t. The apples need to sit in the sugar and juice for at least an hour before it will create enough liquid to make the pie filling.
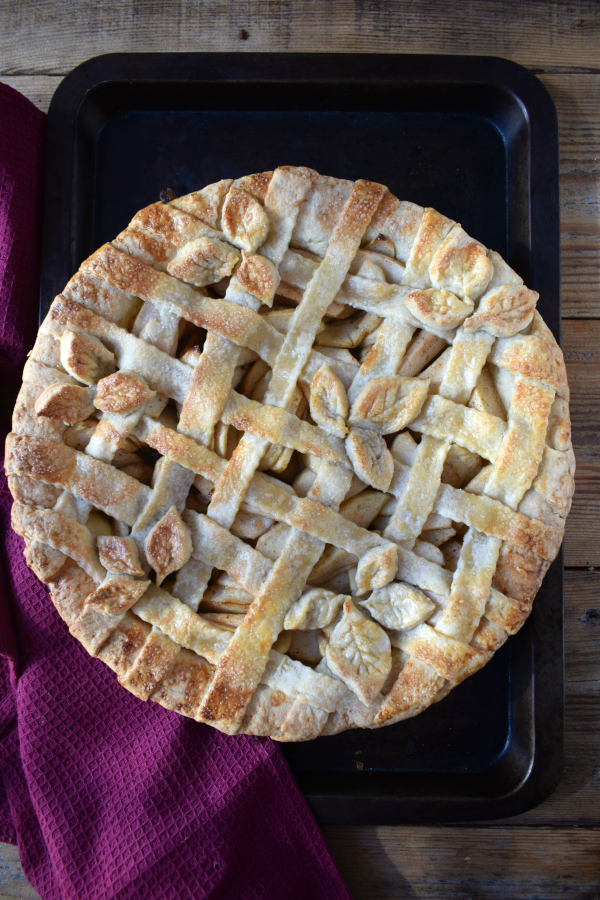
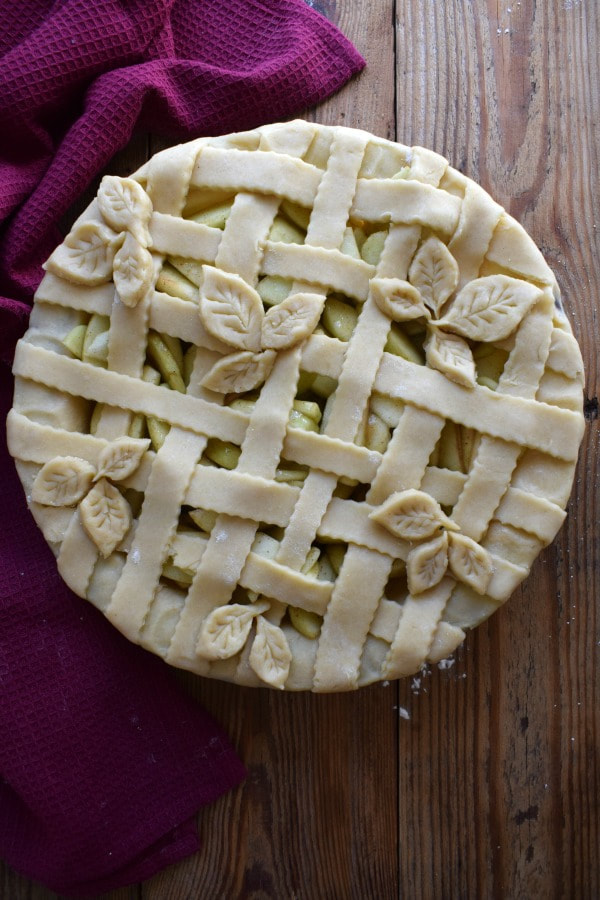
Creating a pretty pie top
Okay, so this is something I don’t do and you can make the top however you prefer. You can even just put the whole pastry sheet over the pie and pierce holes in it for the air to release. But if you are feeling creative you can make a lattice top and even make some pretty leaves.
I know you can buy cutters for all these types of things, I just didn’t have any. I did have a pastry cutter, and that was how I cut the strips for the top. I cut them about a little under 1 inch strips
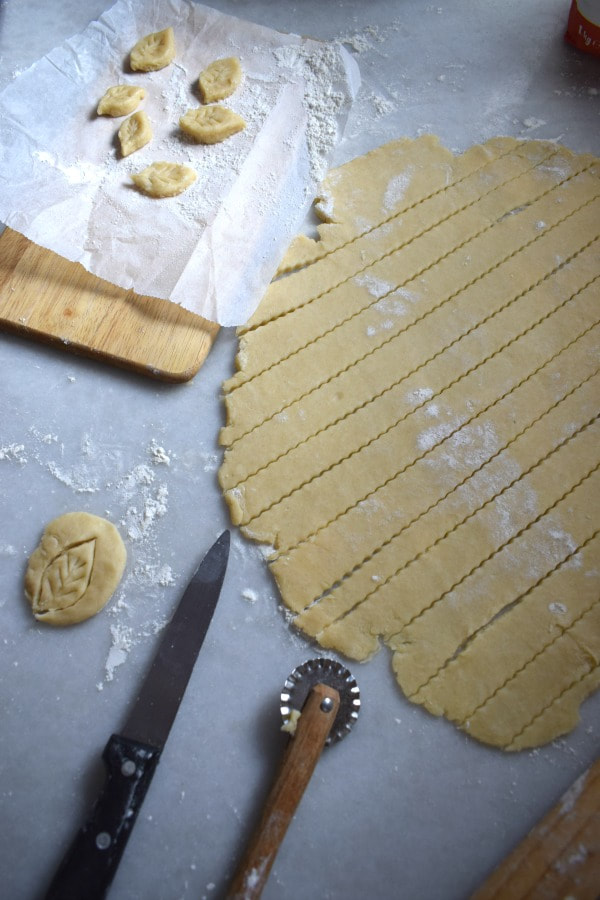
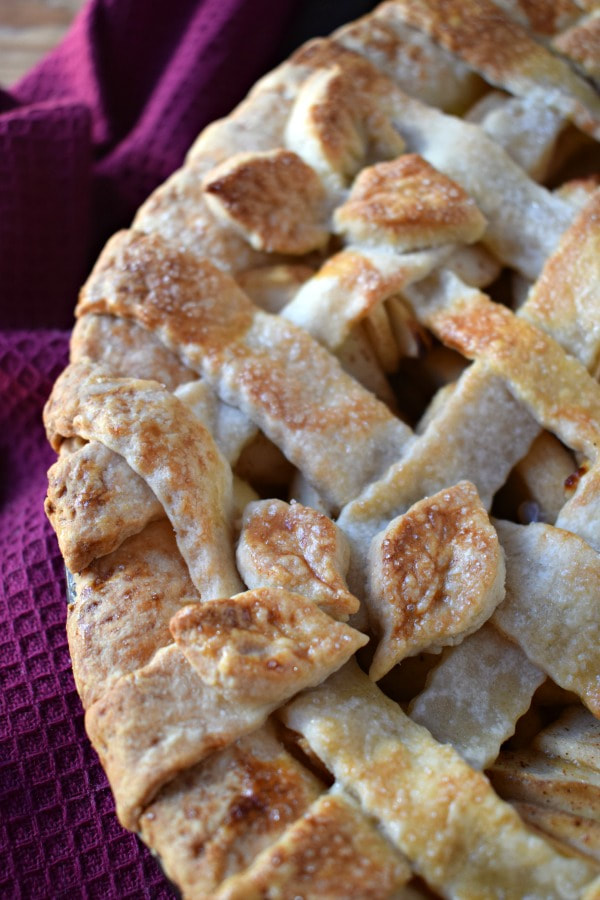
Making the leaves
Okay, I know this is very amateur, but I’m showing it anyway. I used the off cuts of pastry to cut these out. I just used a small sharp knife and and quickly carved out simple leaves. Then drew lines through the middle using the knife. Done.

Putting it all together
This is where I wasn’t really sure what to do, so I just kind of went with what seemed right. If you look close you’ll see pretty quickly that it’s not done quite right. Oh well. But I found this video on YouTube a few minutes ago that shows you exactly how to make a lattice topping. So, if any of you are embarking on a lattice top for the very first time, I really recommend the video for a great showing of how it’s done.
Baking the Pie
I speak from experience in saying that you will need to cover the pie with foil through the baking process. I’ve made this pie many times with a straight sheet top and pretty much burnt it the first time because I didn’t cover the top. So, check it half way through baking and decide if you think you need to cover it at that point. Mine looked pretty much exactly as shown below half way through baking. So, I loosely covered it at this point and continued the baking.

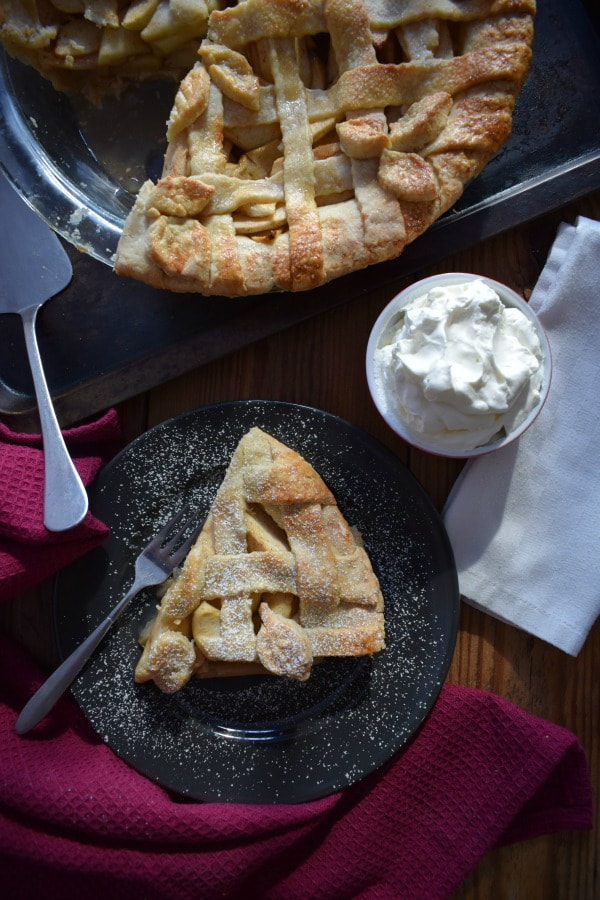
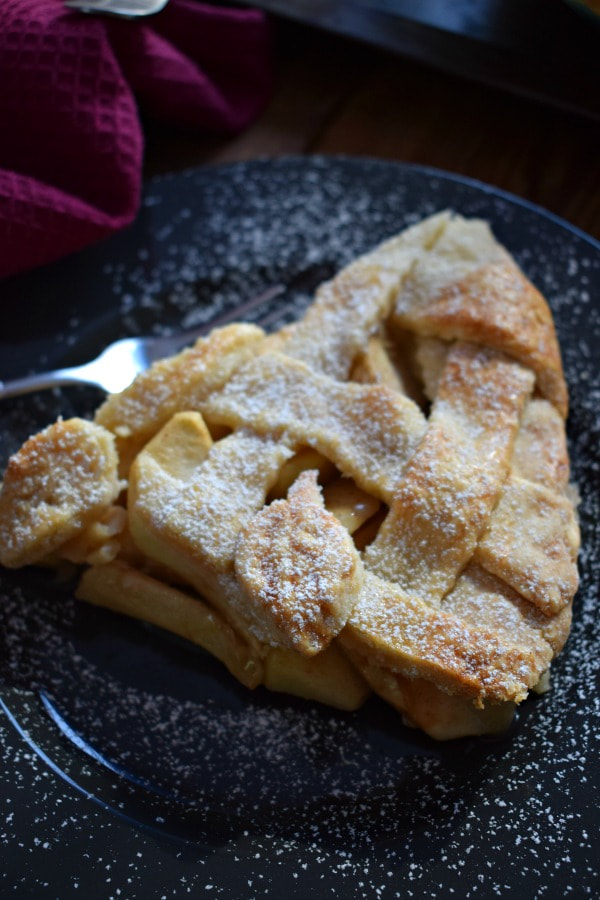
Cutting the pie
Let it set! I really mean this, let it set. If you even attempt to cut it straight out of the oven, it will be a mess. A delicious mess, but a mess. I let this pie set for three hours before we cut it. Personally, I think pies are best made the day before. But I wasn’t organized. So, leave yourself time to make it long before you plan on serving it. And I used a small, sharp serrated knife to cut into it so I didn’t destroy the pretty top. I’m not gonna’ lie, I didn’t want to cut into it at all…hahaha!
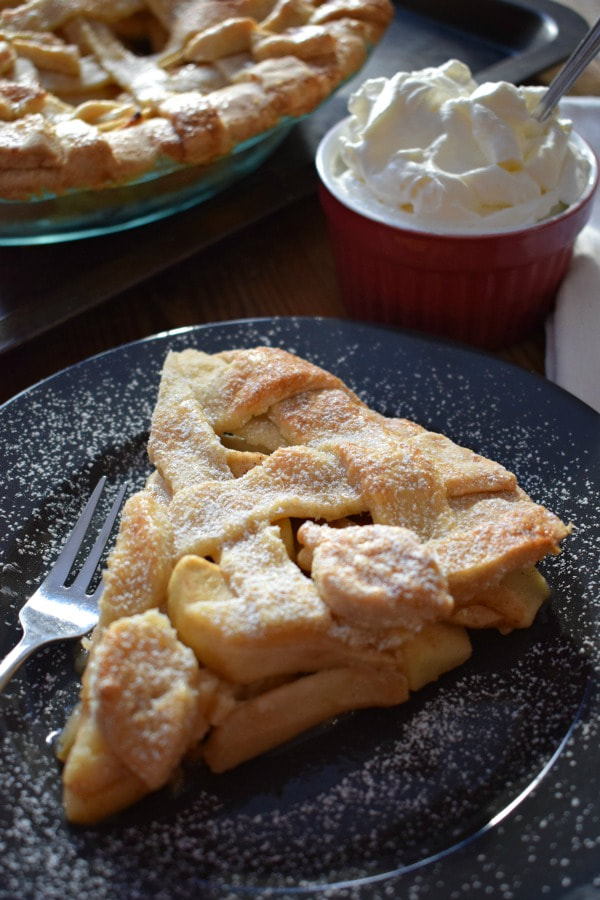
What to serve with your pie
We had fresh whipped cream with the pie and it was absolutely delicious. But you could go for ice cream, yogurt, caramel sauce, or just about anything you like. Or you could just have it as it is plain. And it’s even great with Homemade Lemon Curd, yes!
This pie was a complete labour of love. I enjoyed making it so much, I actually surprised myself by having patience for once to create something like this. Not one to file in quick in easy but well worth the effort for a special occasion.
Happy baking friends and surprise yourself today!
Get the recipe!

Classic Apple Pie
Ingredients
Apple filling:
- 5 lbs Granny Smith apples about 8 or 9 apples, peeled, cored and cut into 1/4 inch slices
- 1 Tablespoon lemon juice
- 1/4 Cup white sugar
- 1/3 Cup brown sugar
- 1 Teaspoon cinnamon
- Pinch nutmeg
- Pinch salt
- 1 Tablespoon cornstarch
- 1 Tablespoon water
- 2 Tablespoons butter cut into small pieces
Pie Crust:
- 2 2/3 Cups all purpose flour
- 1 Teaspoon salt
- 2 Tablespoons sugar
- 1 Cup unsalted butter chilled and cut into small pieces
- 1/3 cup ice cold water
Egg Wash:
- 1 Egg whisked
Instructions
Apple Filling:
- Add the apples to a large bowl. Add the lemon juice, sugars, cinnamon, nutmeg and salt. Toss to combine. Cover with plastic wrap and leave for 1 to 2 hours to create the juices.
- While the apples are macerating, make the pie crust
Pie Crust:
- Put the flour, salt and sugar in a food processor. Pulse for about a minute. Add the cold butter and pulse for about 10 to 15 seconds until it looks a little like bread crumbs. Gradually start adding the water and pulse until it comes together into a dough. Only add enough water until it forms into a pastry. You may need only 1/4 of a cup.
- Remove from food processor and form into two equal balls. Flatten slightly and wrap with plastic wrap. Refrigerate for at least an hour before using.
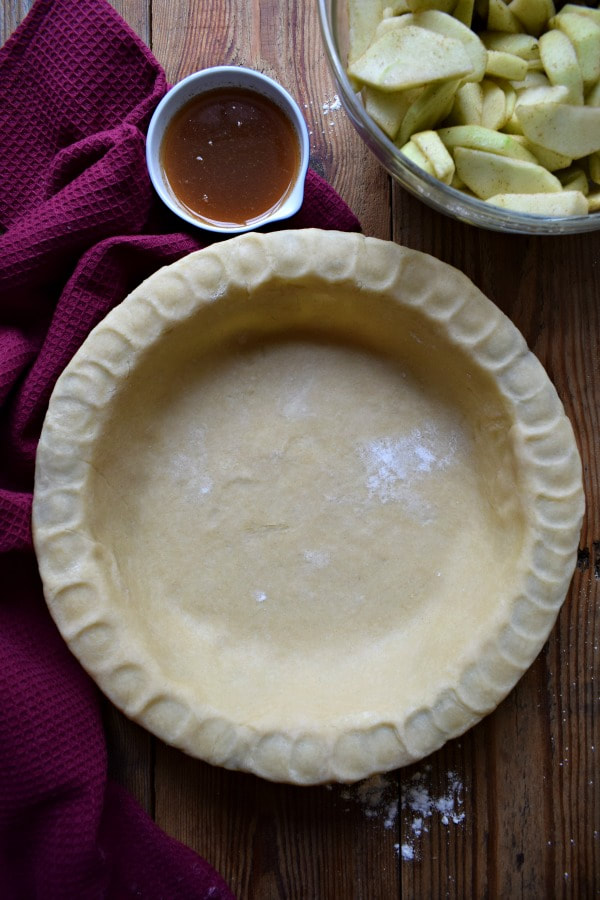
- Have ready a 9 inch deep dish pie dish.
- Remove one chilled dough disk from the fridge, unwrap it and place it on a lightly floured surface. Roll it out to about a 12 inch circle. Roll the pastry up onto the rolling pin and gently roll it over the pie dish. Press it into the bottom and press it down against the sides. Trim any excess pastry and save for later. Place back in the refrigerator to keep chilled.
Apple filling:
- Drain the liquid from the apples into a small sauce pan set over medium to high heat. Bring to a boil then remove from heat. In a small glass combine the water and corn starch. Whisk until smooth. Set the saucepan back over the heat and whisk in the corn starch mixture until it is thickened and smooth. Remove from heat.
- Pour the mixture over the apples and toss to combine. Set aside.
Pie Crust:
- Remove the second disk of pasty from the fridge, unwrap it, and place it on a lightly floured surface. Roll it out to a 12 inch circle. Using a pastry cutter, cut about 3/4 inch strips out of the pastry.
- Take the pie shell out of the fridge. Fill it with the apples and dot over the butter. Make a lattice topping. Cut off all excess pastry. Use the excess pastry to make pastry leaves if desired. Decorate how you wish.
- Place back in the fridge for about 1/2 hour to chill.
- Preheat oven to 400 degrees F and place oven rack in the lower part of the oven.. Remove pie from fridge and brush it with the whisked egg. Put the pie on a baking tray and bake for about 30 minutes. Remove and loosely cover with foil. Return to oven for 15 – 25 more minutes or until the apples are completely soft.
- Remove from oven and leave to set for about 4 hours before cutting.
- Will keep in the fridge for 4-5 days or at room temperature for about 2 days.
*A note on times provided: appliances vary, any prep and/or cook times provided are estimates only.
Notes
Thanks for stopping by and hope to see you soon!