Every great pizza starts with a great base. Without that perfect crust, it’s just not a great pizza. This Pizza Dough isn’t complicated, distressing, or difficult. Just take a little patience, time and a whole lot of love! Let’s take a look to see how it’s done.
Okay, I have had this recipe on the blog for almost three years now. And I know it needs a little bit of an update and a push to the front of the line.
This morning I was about to write out a new recipe using pizza dough and I realised this recipe needs updating with some better explanations. So here we go!
Learning How To Make Pizza
Okay, so I’m going way way back to whenever I started making pizza. That was a long time ago, too long ago to recount exactly when it was. But I’m going to say pushing three, yes three decades! Eeek! Anyway, I made the pizzas that would come out of a box and I thought they were great. To me that was home made because you had to take the dough out of the pop out tin, roll it out, top it and cook it. Home made right? I was happy and content enough and that was that.
Moving on a decade or so later, I decided to dwell in attempting my own pizza dough. Not such a success as a disaster if I remember correctly. I used the wrong flour to start with (how I was I supposed to know there were different types). I didn’t really understand what the terms “knead” or “elastic” really meant, so I just did my best and hoped for a miracle. A miracle I did not get. Rather a pretty sodden white and kind of doughy base that I was calling pizza. I still ate it. Hell, I was hungry.
I shelved the pizza idea for while and then one day about 10 years later, I thought I’d give it a whirl again. Not bad, not bad at all this time around. Still not the uber success I was hoping for.
I went to my trusty best friend I like to call Google and searched “World’s best pizza crust”! First stop, Jamie Oliver.
Is it The Recipe or is it the Person Behind The Recipe
And that’s the recipe I went with. It was good, like pretty tasty. Was it to die for? Maybe not. But it was passable as a pretty average pizza.
Please
keep reading because I love Jamie Oliver and his recipes are great and
so was his pizza dough. So, let’s see what happened.
Learning From Practice & Mistakes
I would love to say it was the recipe, but I can’t put the blame on Jamie Oliver. Nope. The problem child is question was unmistakably me. The thing with recipes is this, they are as only good as the person making them. It’s just a fact. That might sound a little big headed of me, and that’s not what I’m trying to say. What I’m trying to say is that even with fantastic instructions, sometimes recipes lead a little with intuition. It’s just the way it is. And I write recipes and I hope some of you out there make them and are successful. I try my very best to give the best instructions possible and even write a note section with a little more details for the novice cook. And as a recipe writer, I only hope it all helps.
However, sometimes even with the best instructions, we fail. We just do. We either measured something wrong, didn’t use the exact ingredient the recipe called for (and just for the record I’m the queen of substitution and it usually works a charm), took it out of the oven too soon, too late, simmered a minute too long, used semi skimmed when it said full fat, you get the picture. We’ve all been there and we generally ALWAYS blame the recipe.
Persistence equals Perfection
As for me with the pizza, I eventually figured it was totally me but I decided to try again and again until I got it just right and I mean perfect right. Yes, I did say perfect.
Here’s the thing dough, any dough for that matter, you need to really understand what you are trying to achieve. As in, “what should this dough look like?”. Well, I’m about to explain what this dough should look like.
Understanding The Dough
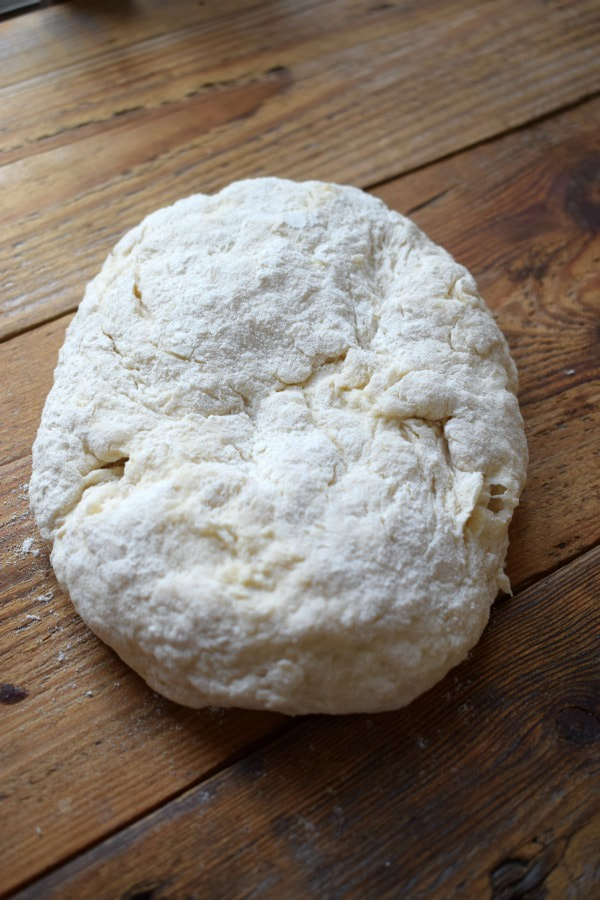
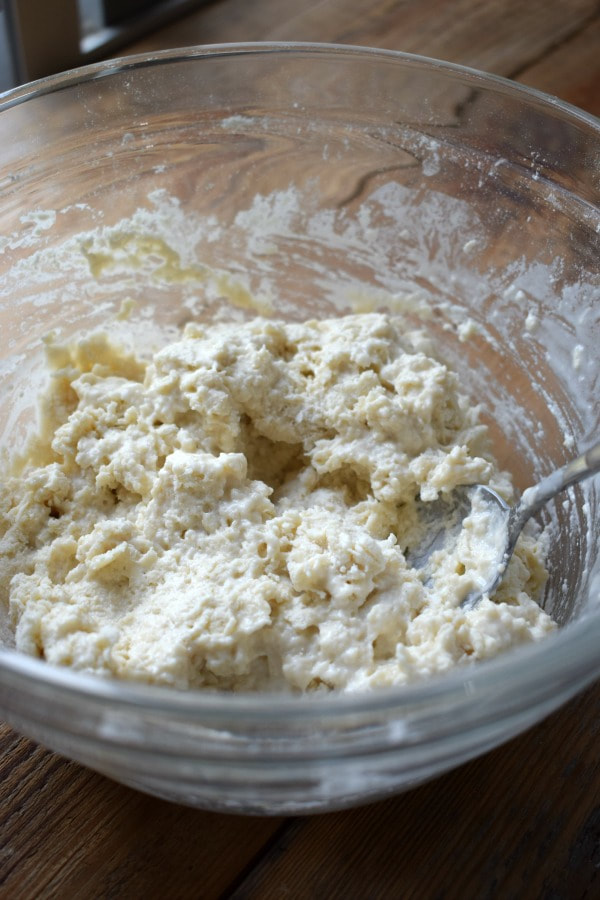
It needs to be really sticky when you start. Like so sticky, when you touch it, it just sticks on to your hands. Yes, like that. If that’s what you have, you are headed in the right direction. It it isn’t that sticky, add a little more water. When you start to knead the dough it should be difficult to do because of the stickiness of the dough. So, just flour your hands and knead the dough, this will work a treat. Then just keep kneading the dough until it becomes soft, pliable and elastic. This could take up to 10 minutes. The key here is the dough should be soft not tough.
You are on your way to a perfect pizza.
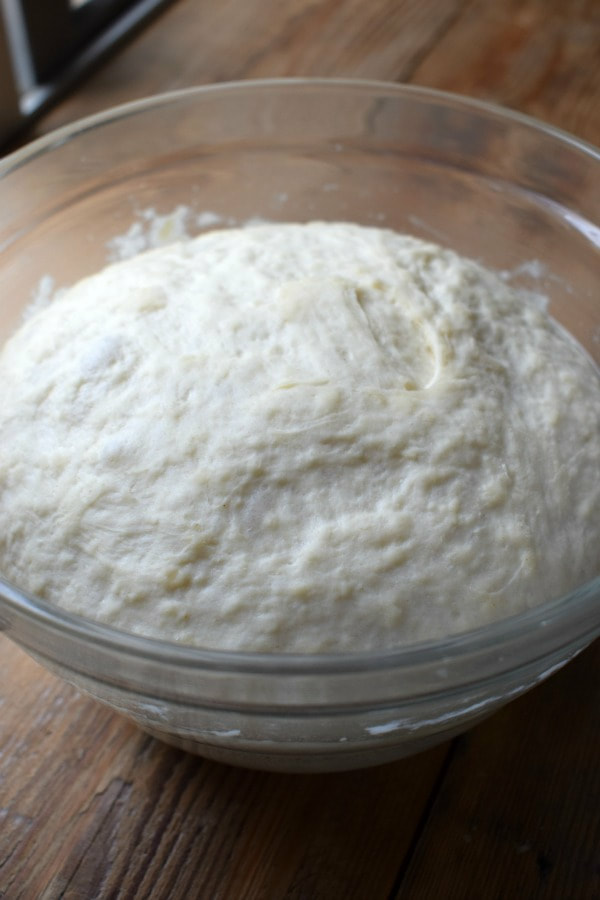
After you have kneaded your dough and it’s reached the right consistency, you are going to leave it to rise. This could be done in 45 minutes and it could take up to two hours. It really just depends on the activity of the yeast, as it how warm the room is you are trying to rise the dough. If it’s cold, will likely take up to two hours or even longer. If a hot summer’s day, maybe less than an hour.
Once it’s doubled in size, then it’s ready to use.
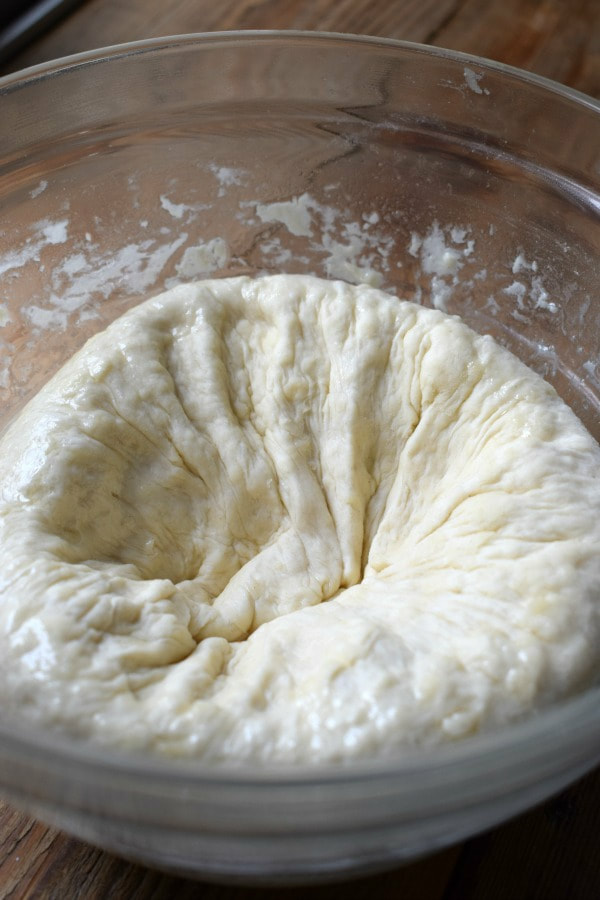
Dough can be used right away or stored in the Fridge For Later
After you succeeded with your dough, you can use it straight away or cover it in plastic wrap and keep it refrigerated. You know pizza dough will keep fresh in the fridge for about a week! Yes, it really will. So you can make it in advance and keep it stored to use. I do it all the time and it makes for a real quick home made pizza.
If you’re storing it in the fridge, punch it down and give it a quick knead for a minute, cover it in plastic or put it in a zip lock bag and put it straight in the fridge.
Note: When using dough that has been refrigerated, take it out of the fridge about an hour before using.
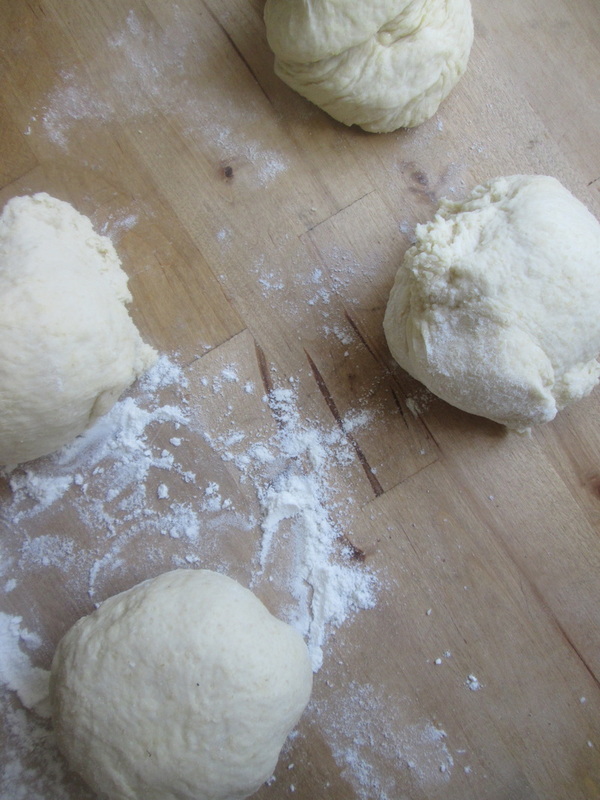
If you’re using it straight away, punch it down and give it a quick knead. Then divide it up as you see fit to make your pizzas
This particular recipe will make four 10 inch thin crust pizzas or two 10 inch thick crust pizzas. So, depending on how you like your pizzas, will depend on how much dough you use. Show below, it’s divided four ways to make four pizzas.
What we Need To Get The Perfect Pizza Base
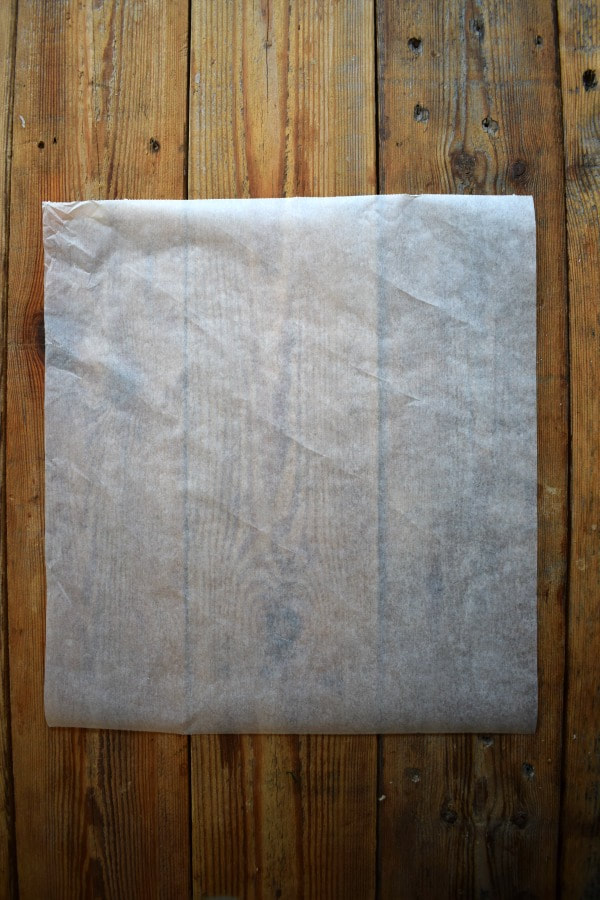
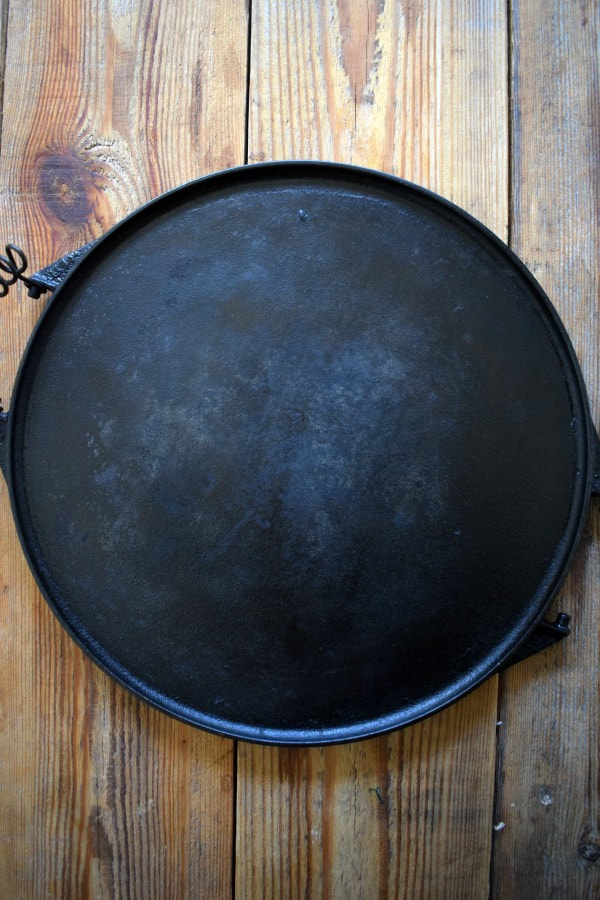
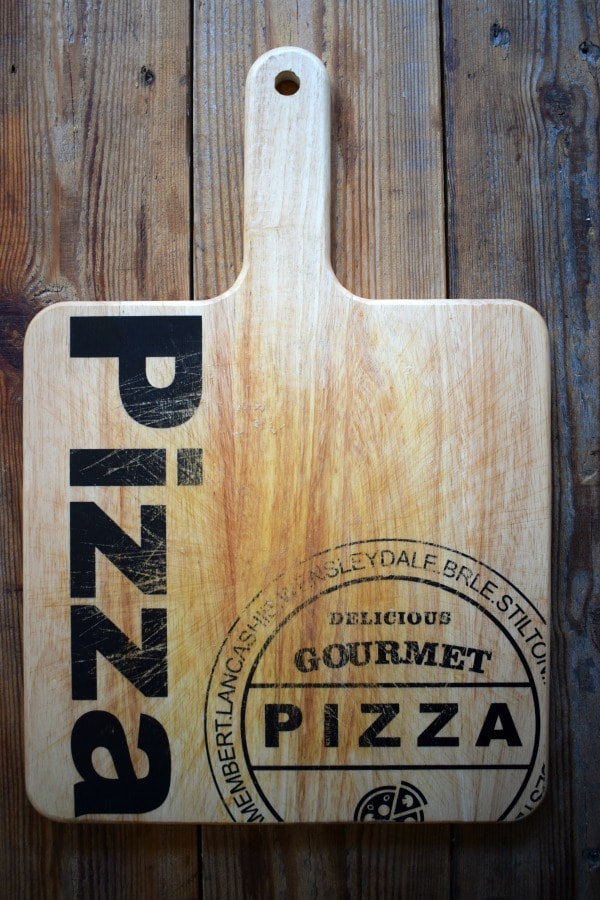
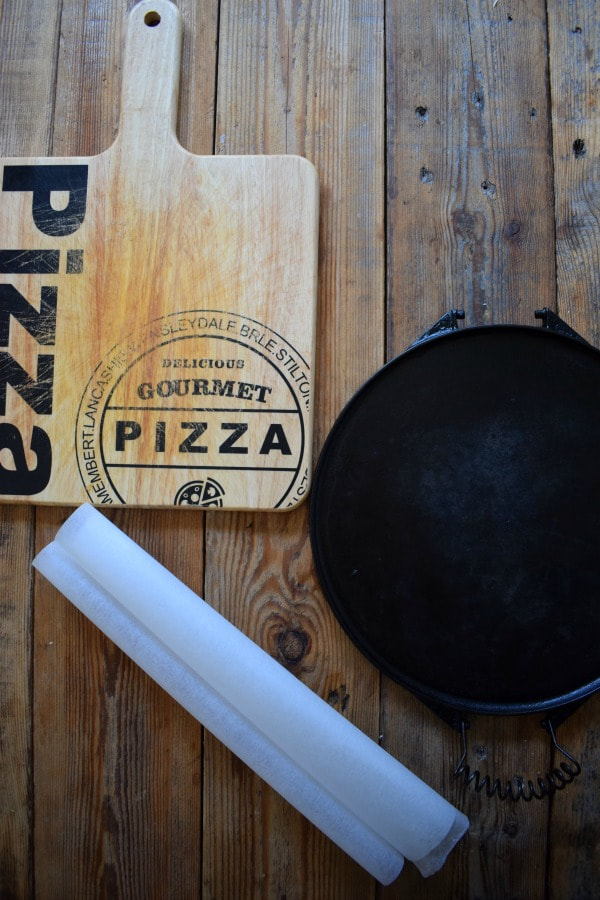
Right, so now that we have our dough out of the way and we know what we’re looking for to get perfect pizza, we just need to know how to cook it. Yes, it’s basic, but really needs explaining. Below you will see three thing, parchment paper, a cast iron pan, and a pizza board. I find all three things essential for getting that pizza perfect and I’m going to explain what each item is used for and why I think it’s important.
Make That Perfect Pizza
You don’t need a wood fired oven to make perfect pizza at home, you just don’t. But if you have one, all the better. Note, I do not have one..ha! Just a regular oven for me.
The Importance of a Hot Baking Surface for Pizza
What you do need is a really hot surface to cook your pizza on. This is where this cast iron plate comes into play. I put it in the oven while I’m preheating the oven. I place it on the lowest rack and wait about 20 minutes till the oven is red hot. If you have a pizza stone, use that. But cast iron is what I have and it works perfect! For a thin crust pizza I put the oven at the highest temperature possible. For a thicker crust pizza I cook it at about 425 degrees F.
Using Parchment Paper & a Pizza board
The parchment paper is used to make the pizza on. This does nothing for the base, it’s simply to get the pizza into the oven. I lightly flour the parchment paper and then roll out my pizza dough on it. Once I have my pizza dough rolled out, I place the sheet of parchment paper on top of the pizza board. Then I put all the toppings on the pizza.
The pizza board is used to slide the pizza into the oven onto the cast iron plate. It will just come off really easy doing it this way.
And that my friends pretty much sums up the pizza making experience. If you love pizza, like we do, I hope you give it a try at some point. Follow the instructions and you really won’t be disappointed. We make pizza every single weekend and it’s something we always look forward to. Say yes to pizza!
So, I’m just going to show you a few of the pizzas I’ve made with this pizza dough. Whatever style pizza you are looking for, make this dough, follow the instructions and you won’t be disappointed. Promise!
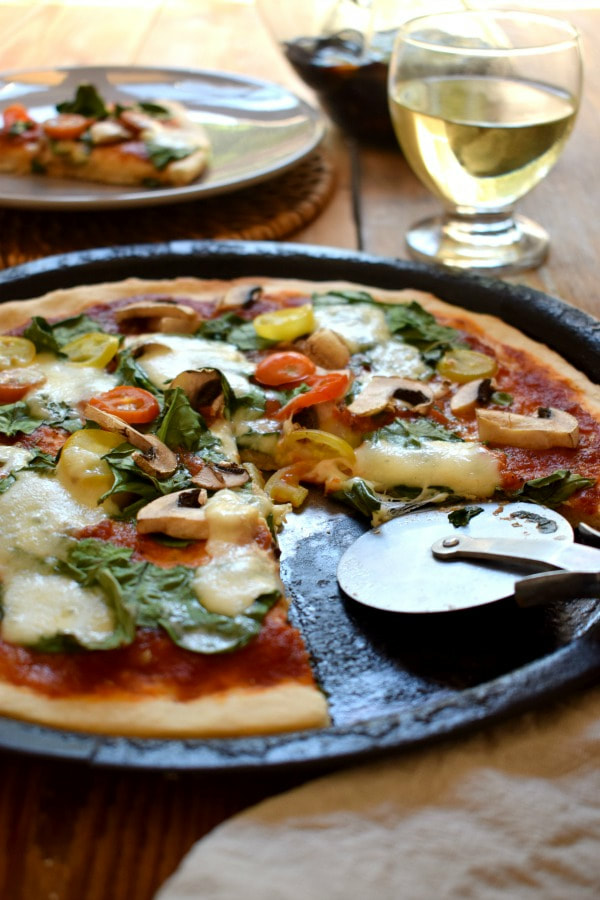
Loaded Vegetable Pizza
First up here is a thin crust Loaded Vegetable Pizza. A delicious Italian style pizza with all those great vegetable toppings. A super thin and crispy base!
Deep Dish Pepperoni Pizza
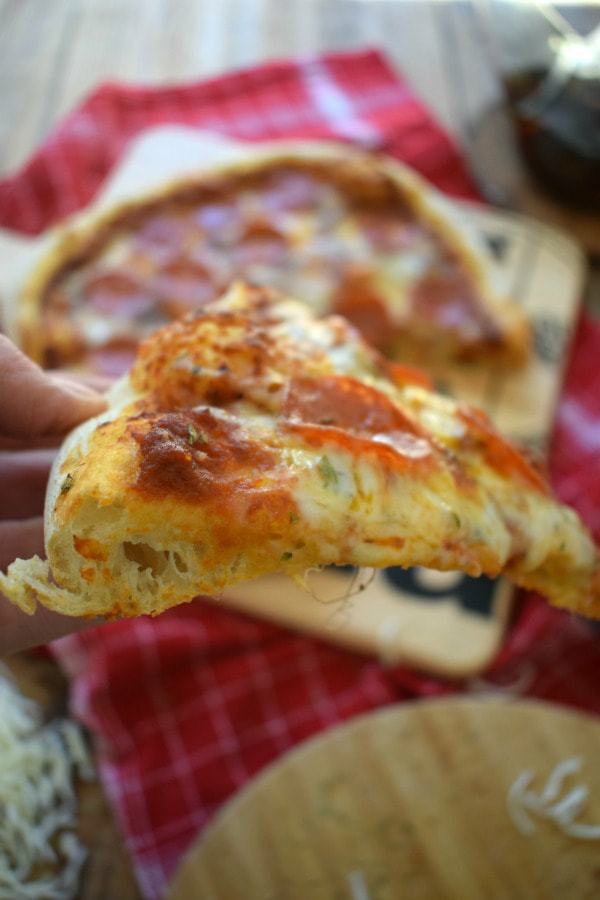
Next up we have this Deep Dish Pepperoni Pizza. This is a favourite with my kids and they even said it’s a good as any pizza place can do! You can have it at home as well!
If you look at the photo below you can see the pillowy base that is just so good. Not pictured is the super crispy base that you can only get with that hot cooking surface I was talking about earlier.
Tri Bell Pepper Mini Pizzas
Or why not try these cute little Tri Bell Pepper Mini Pizzas!

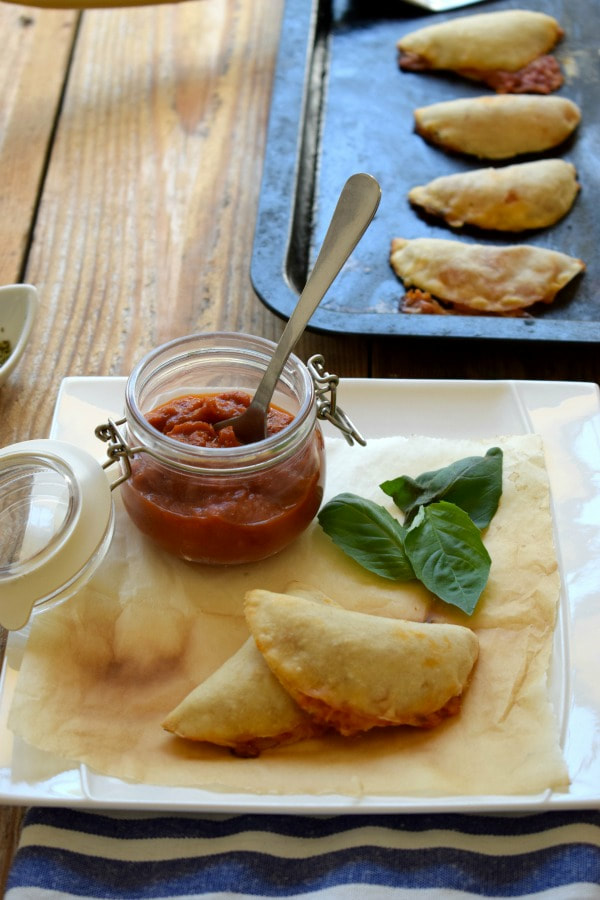
Pizza Pocket Bites
And Pizza Pocket Bites! These are a huge hit for kids!
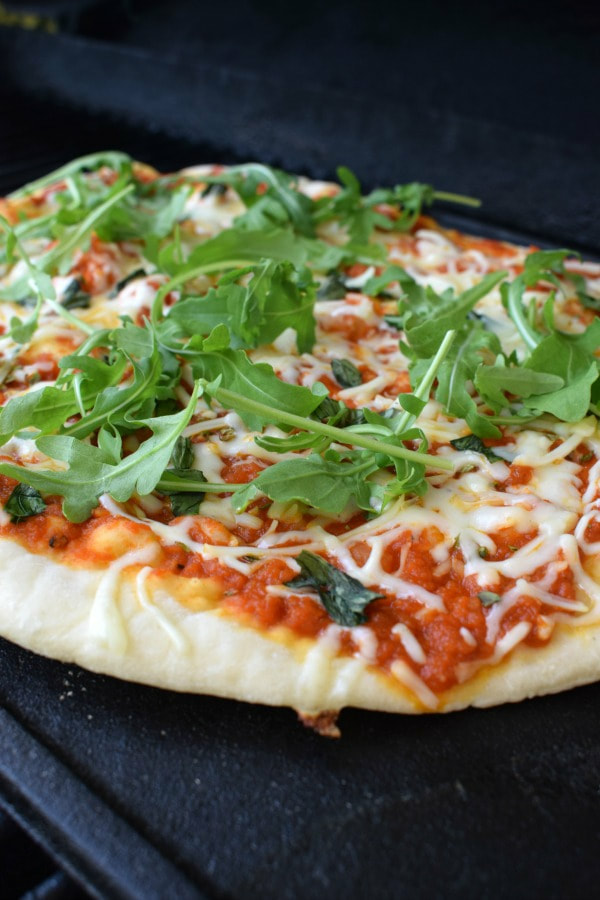
Arugula & Basil Grilled Pizza
And you can even put your pizza on the barbecue! Here’s a Arugula and Basil Grilled Pizza. Great for those summer months!
These are just a few things you can make. There’s more on the blog and I’m in the process of making a few new recipes using this pizza dough so keep your eyes open. Including Garlic Knots, flat bread and Garlic Fingers! Oh and I almost forgot my Caramelized Onion Mushroom and Caper Pizza.
Get the recipe!
Pizza Dough
Ingredients
- 4 Cups strong white bread flour
- 1 tablespoon instant yeast
- 1 teaspoon salt
- 1 teaspoon sugar
- 2 tablespoons extra virgin olive oil
- 1 1/2 cups warm water hot to touch
Instructions
- In a large mixing bowl combine the flour, salt, instant yeast and sugar. Mix well to combine. Drizzle over the olive oil and just give a quick stir.
- Make a well in the middle of the flour and pour in about 1 1/2 cups of the water. Using a fork, start pulling the flour into the water until you have incorporated all the flour. If it seems too dry, add remaining water. The dough should be really sticky at this point.
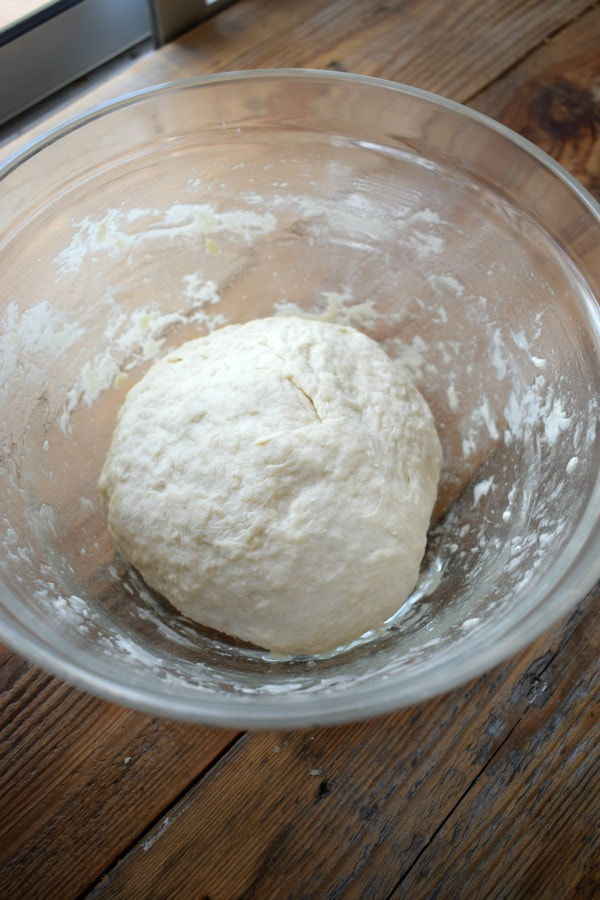
- Take the dough out of the bowl and place on a clean and lightly floured surface. Lightly flour your hands and start kneading the dough. Flip and knead the dough until it's soft, elastic and springs back when touched. This will take between 5 – 8 minutes.
- Place the ball of dough in a large flour-dusted bowl. Cover the bowl with a damp cloth and place in a warm room for about an hour or up to two hours until the dough has doubled in size.
- Now remove the dough to a flour-dusted surface and punch it down. You can either use it immediately, or keep it wrapped in plastic wrap in the fridge until required.
- Dough will keep up to a week in the fridge.
- Divide dough and cook according to recipe you are using.
*A note on times provided: appliances vary, any prep and/or cook times provided are estimates only.
Notes
- You may need to add a little more water to the dough if it’s too dry, like about 1/4 cup/60 ml.
- Rise time of the dough will vary. It will take between 1 – 2 hours
- Cooking time of pizza varies as well. Could be done as quickly as 4 – 6 minutes for thin crust pizzas for as much as 12 minutes for ticker crust.
- A preheated surface is crucial to getting a perfect base. It can either be cast iron, baking steel or a pizza stone. But it’s important
Thanks For Stopping By And Hope To See You Soon!


Made for the second time last night – frozen some for next time too … must be good!