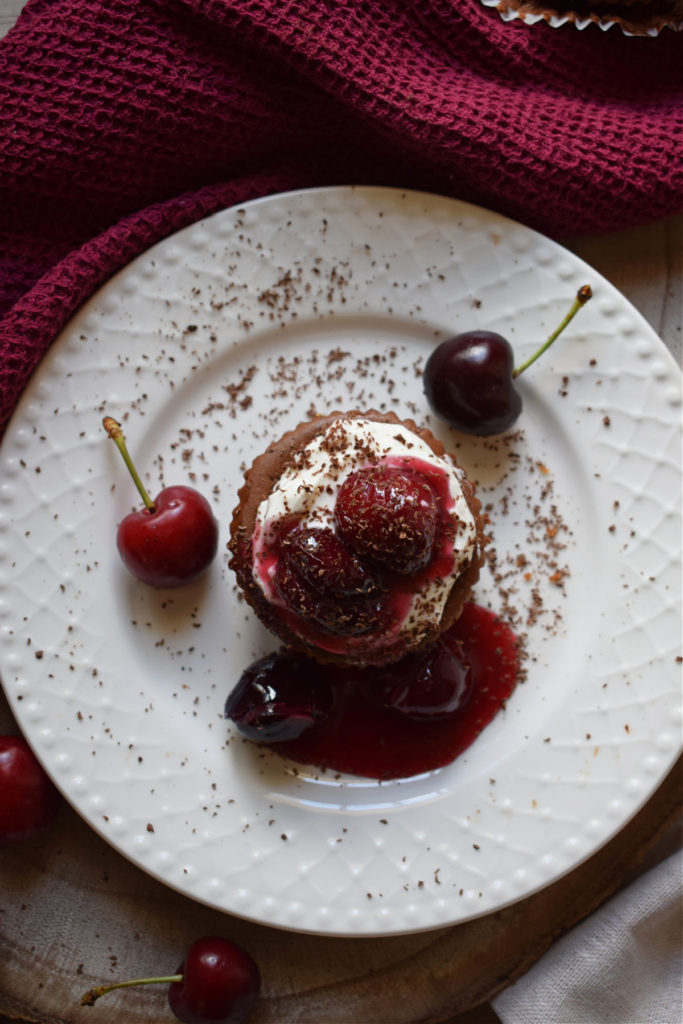
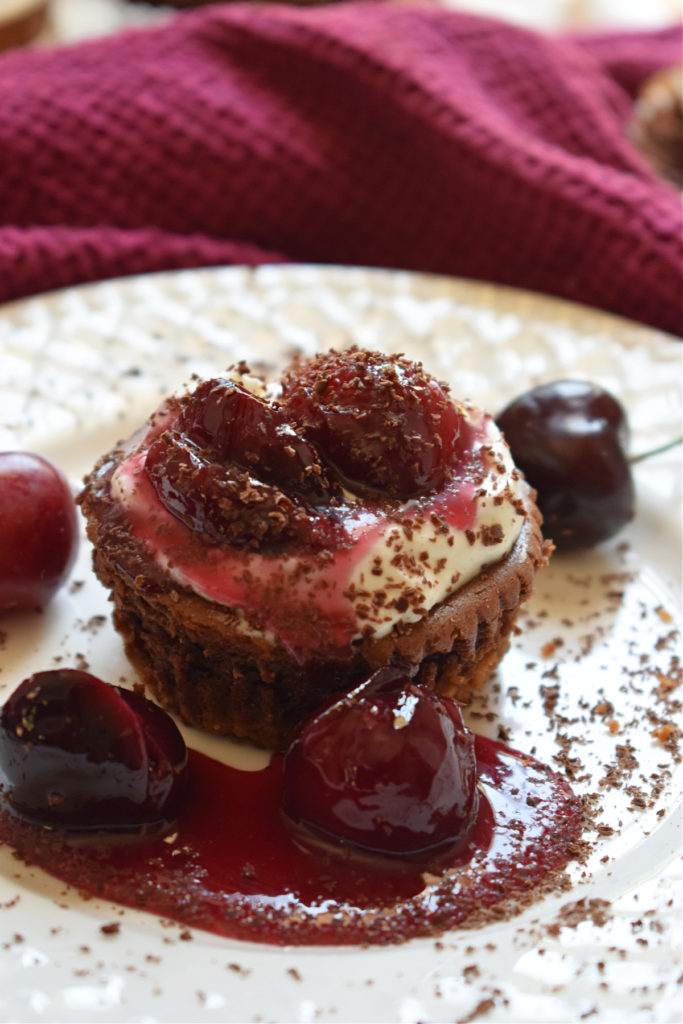
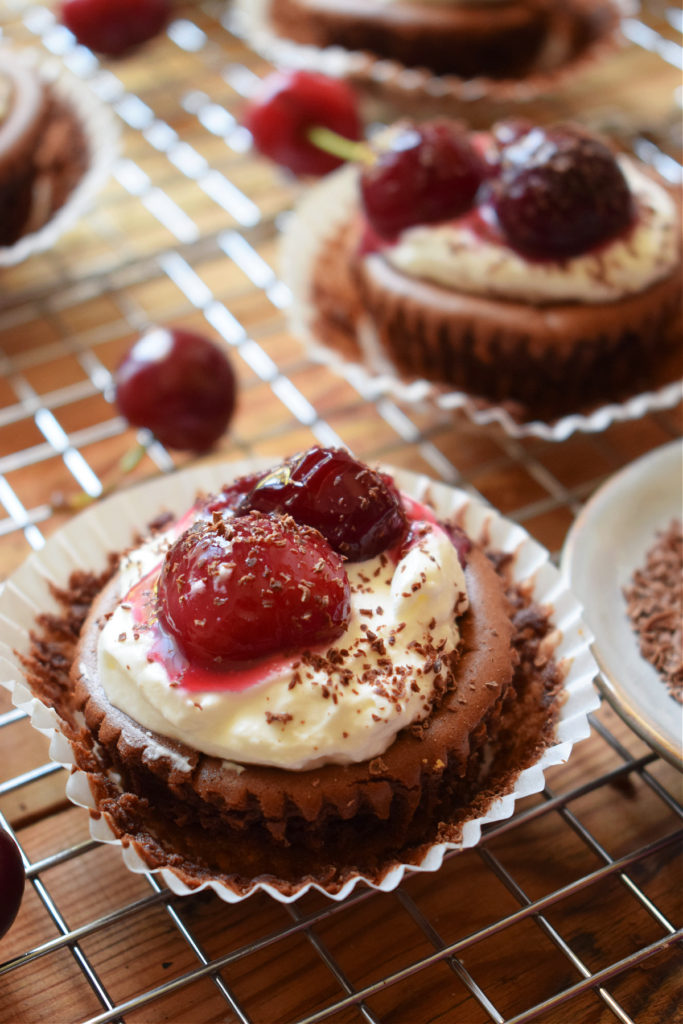
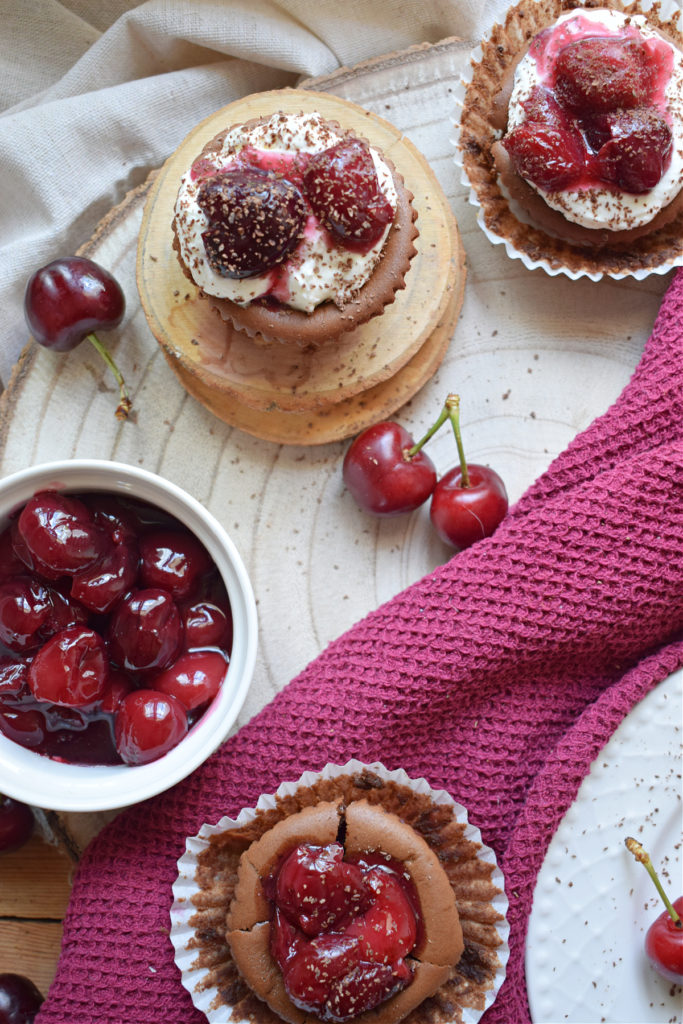
Mini Black Forest Cheesecakes. This is a perfectly proportioned decadent dessert that will leave you satisfied and not feeling like you’re missing the whole cheesecake. A crisp biscuit layer followed by a rich and creamy cheesecake filling, topped with fresh cherry filling and whipped cream.
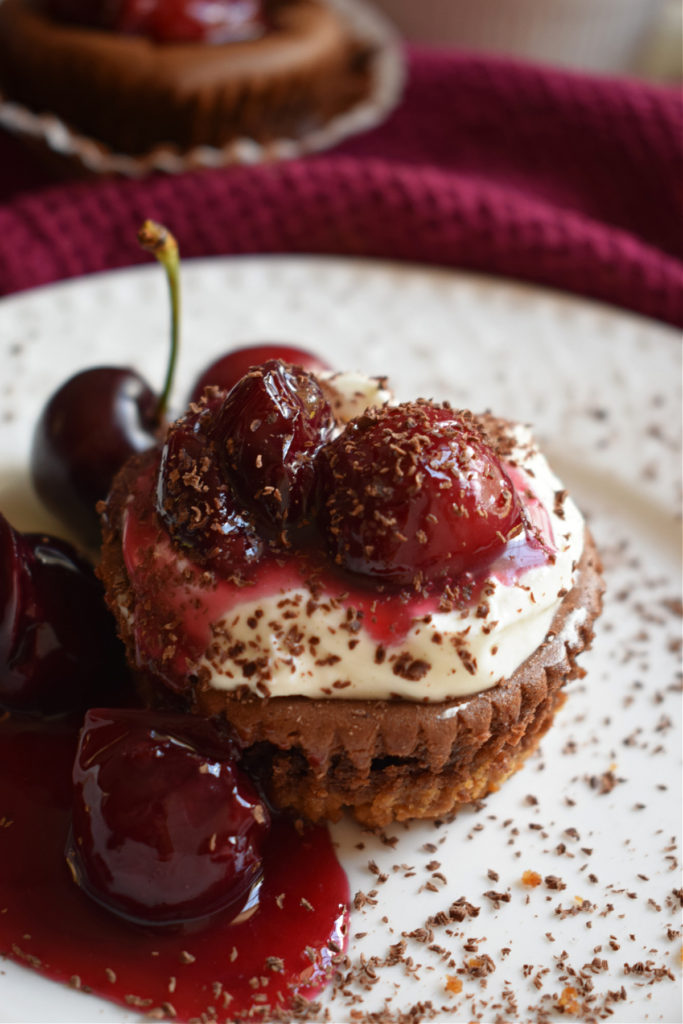
Last week I ended up buying a ton of cherries. Our local supermarket had a huge deal on and I just couldn’t resist. I mean, in the summer, what’s better than fresh cherries. I honestly had no real plans for the cherries expect for eating them fresh. After six years of writing recipes, I only one fresh cherry recipe on the blog, Cherry Chocolate Chip Blonides. As each summer arrives, I plan cherry recipes and then it never happens. So this time around, I surprised myself with these MIni Black Forest Cheesecakes. Are they a quick dessert? Ah, no, but they sure are a delight!
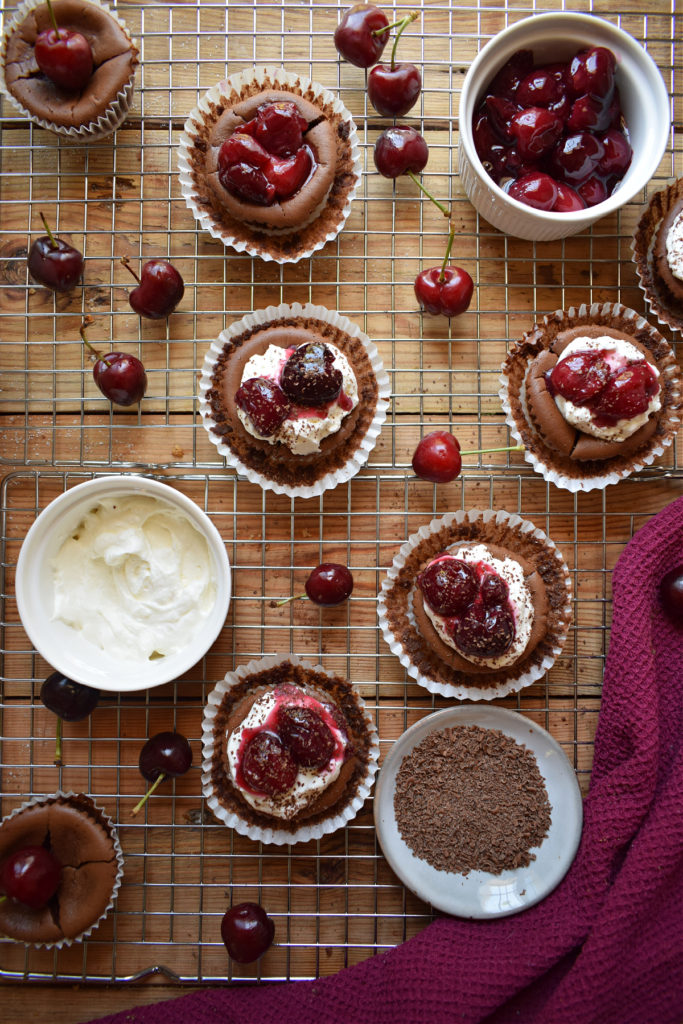
What are These Mini Cheesecakes Like
- Difficulty – Because of the time involved in making these cheesecakes, I would say they are about a medium difficulty. I used homemade cherry filling, but you could use store bought for time saving.
- Taste – These mini cheesecakes are amazingly chocolatey, rich and decadent! They are over the top but not too sweet.
- Serving – This recipe makes 12 individual cheesecakes. In the recipe card at the end of the post you can easily scale the recipe up or down.
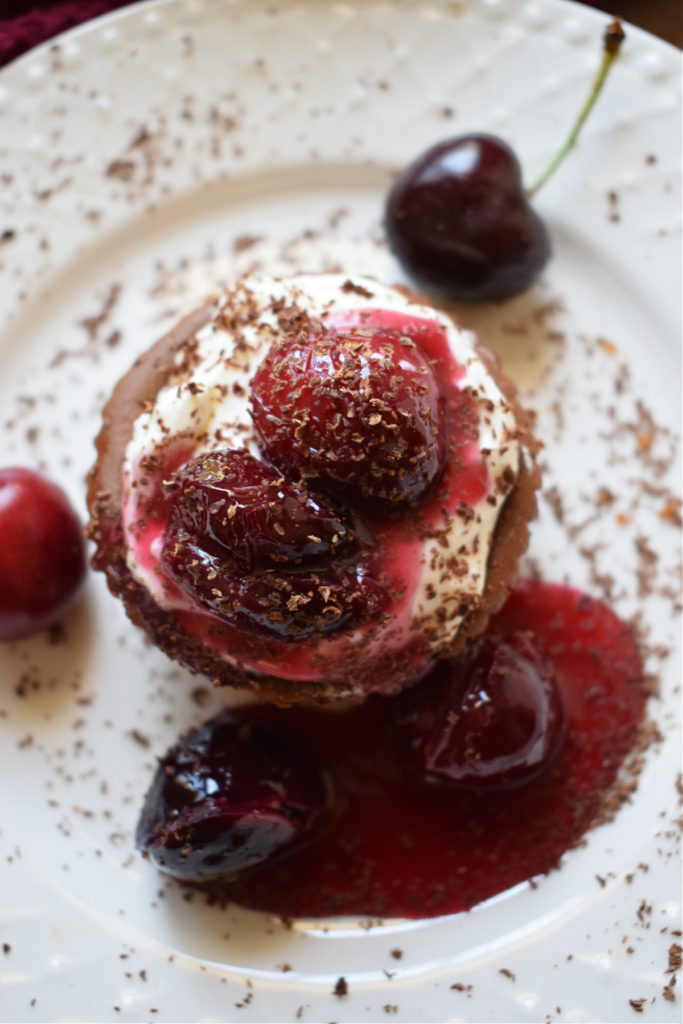
Here’s Everything We Need To Make The Mini Black Forest Cheesecakes
Cherry Filling
- Fresh cherries
- Sugar
- Cornstarch
Biscuit Base
- Cookie crumbs
- Melted butter
Cheesecake Filling
- Cream cheese
- Whipping cream
- Sugar
- Eggs
- Cocoa powder
- Chocolate chips
- Vanilla extract
Topping
- Whipping cream
- Chocolate shavings
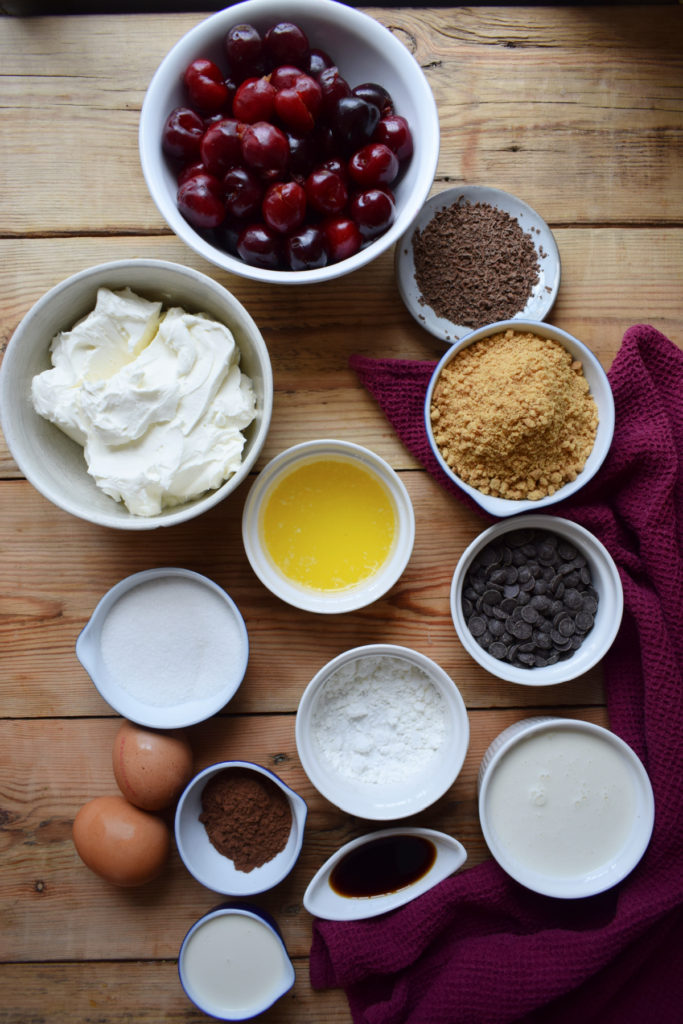
Make The Cherry Filling
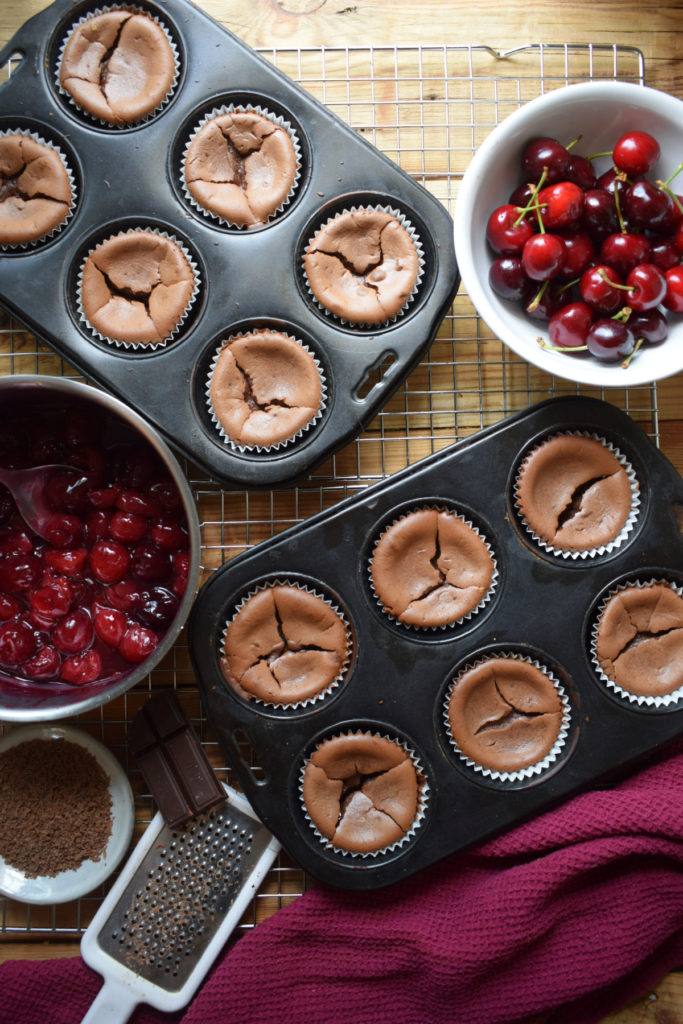
Making the cherry filling is relatively easy. The biggest work here is pitting the cherries!
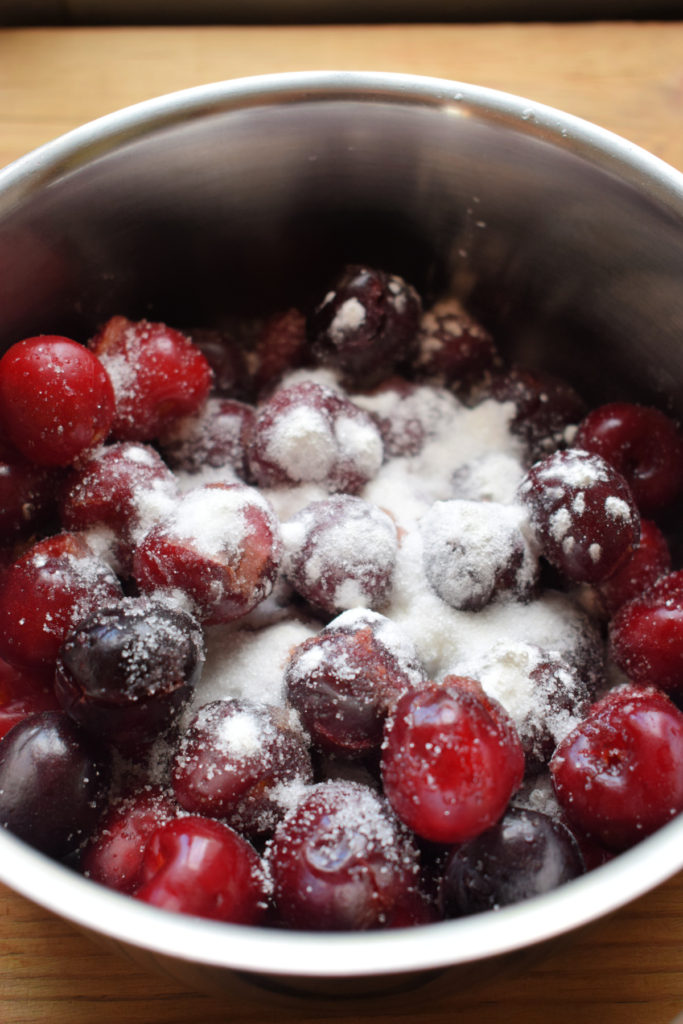
- Pit the cherries. You can do this with a cherry pitter. If you don’t have one of those, use a chopstick to push the cherry through. It works, but it is time consuming.
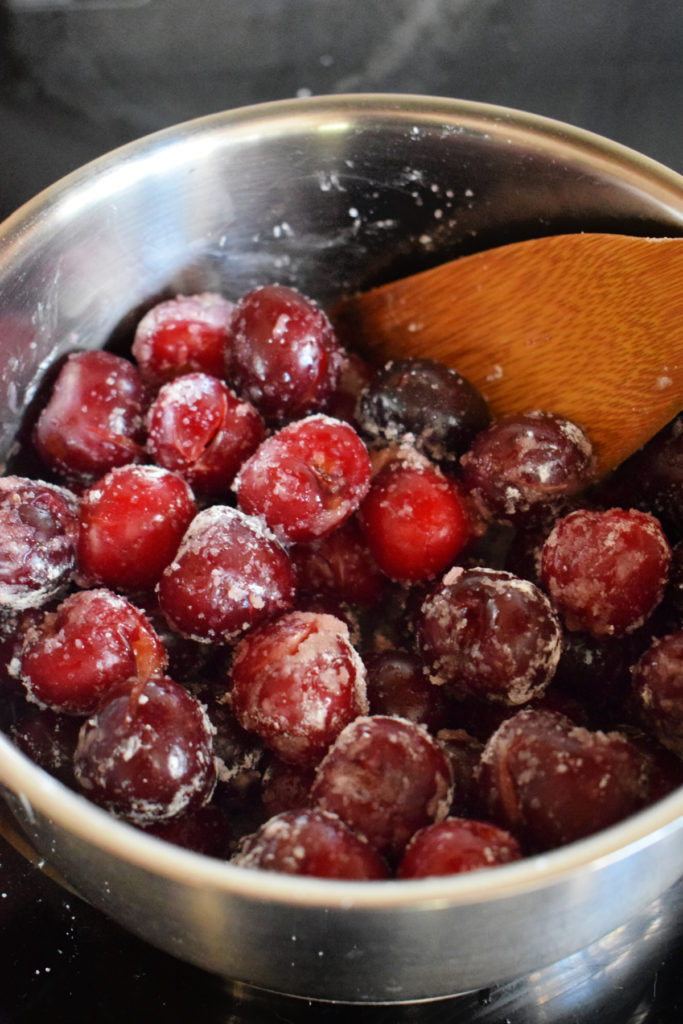
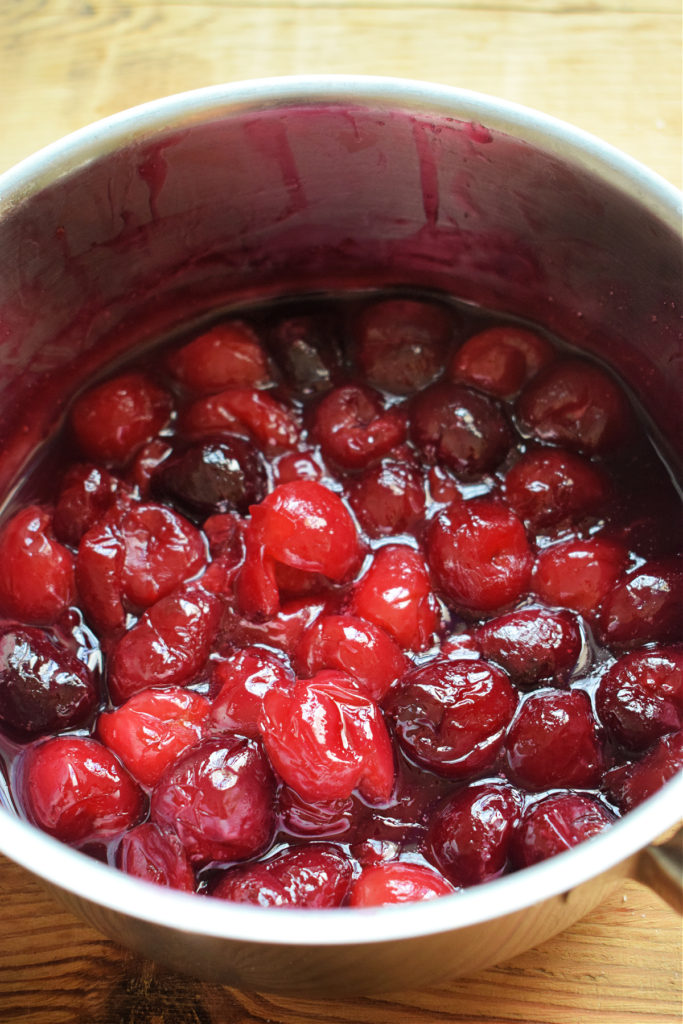
- Add the cherries to a saucepan with cornstarch and sugar. Combine in a saucepan, stir well and put over medium to high heat and bring to a boil. If you notice they are too dry, add a few tablespoons of water. Turn the heat down, cover and leave to cook for about 10 minutes. Stir occasionally.
CAN I USE FROZEN CHERRIES FOR THIS RECIPE? Yes you can. Just make sure to allow them to thaw before cooking them.
Prepare the Cookie Base for The Mini Black Forest Cheesecakes
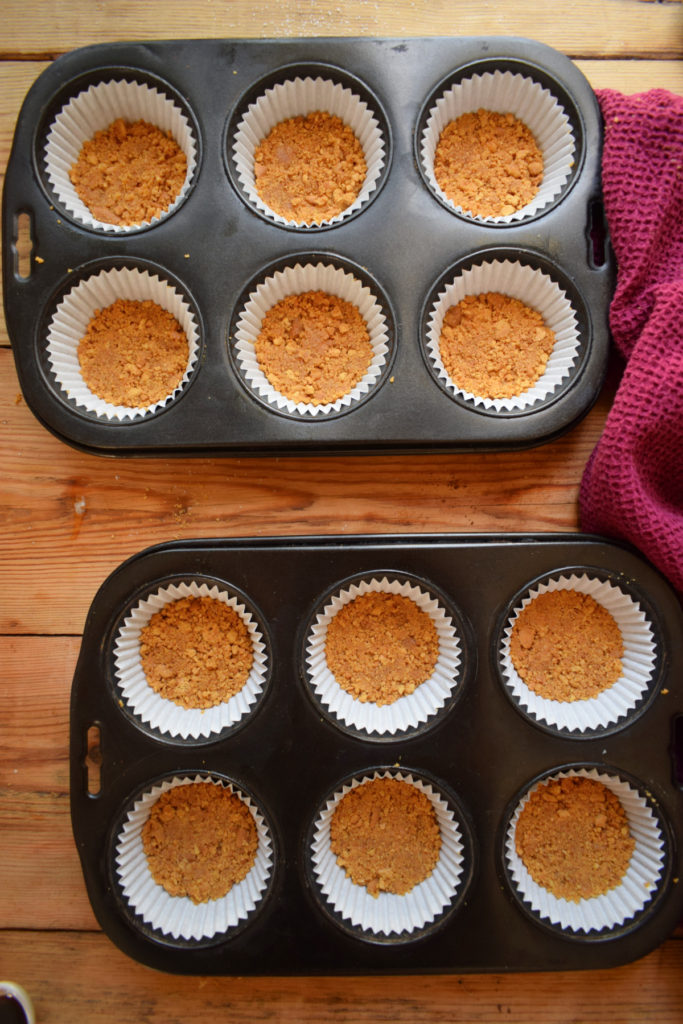
- Combine the cookie crumbs and melted butter. Stir to combine really well.
- Arrange paper liners in muffin tins. I used a large size.
- Add a heaping tablespoon of the crumbs to each paper liner. Firmly press into the bottom of each paper liner and set aside.
You can use any kind of cookie crumbs you like, I used Digestive. Oreo cookie crumbs or Graham wafer crumbs would be great as well.
Make The Cheesecake Filling
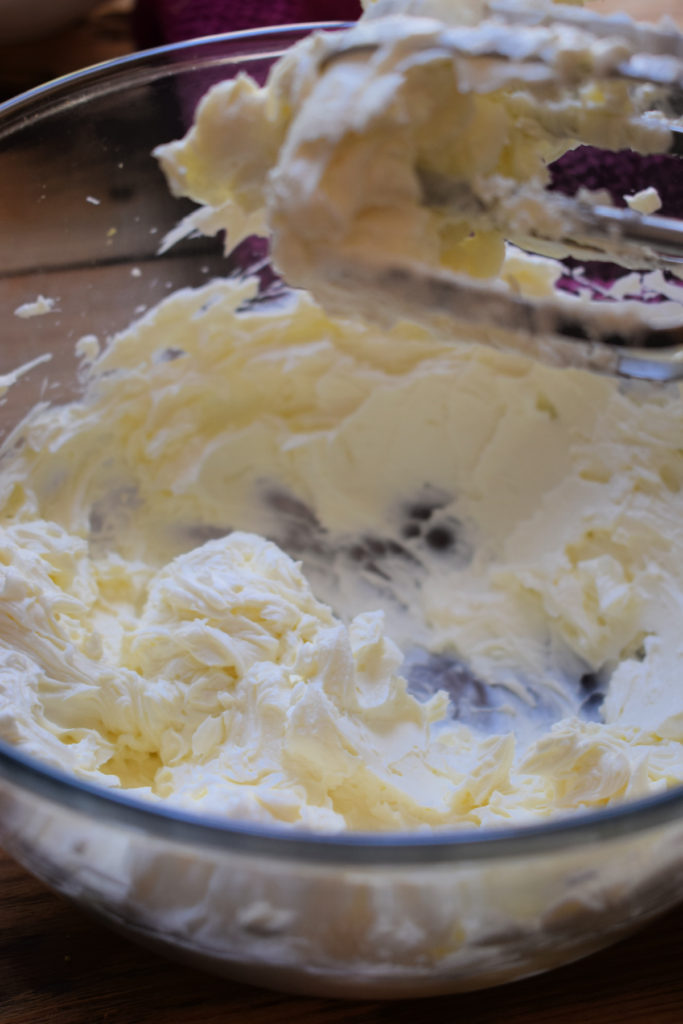
- Whip the cream cheese. Do this in your mixing bowl. Just whip it for a minute until it’s smooth.
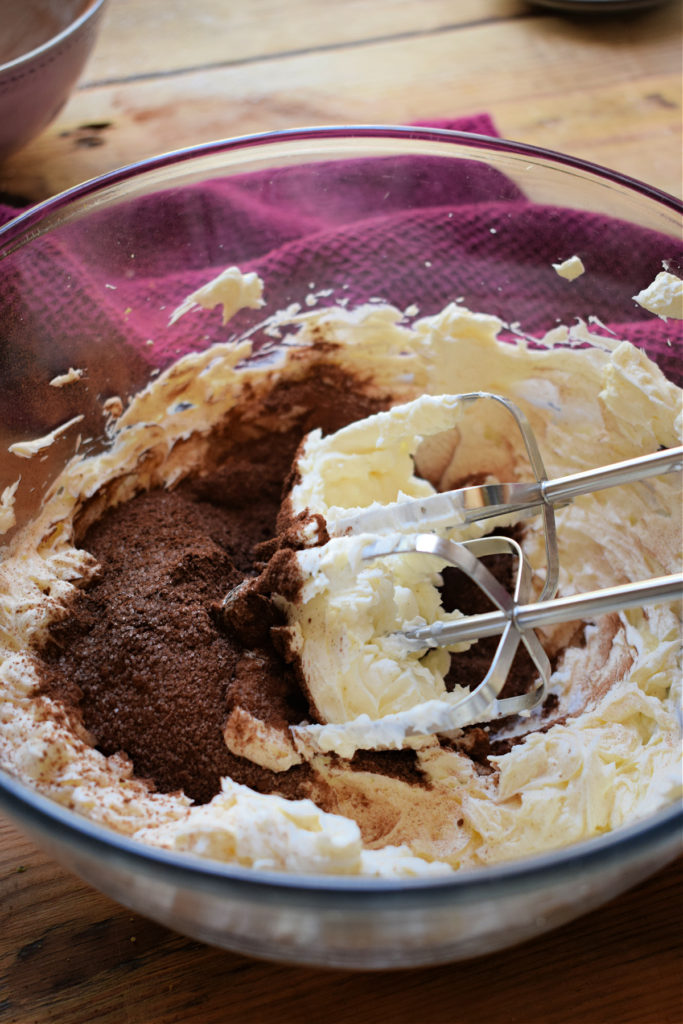
- Combine the cocoa powder and sugar, in a small bowl. whisk to combine. Add this to the cream cheese and mix on high speed until completely combined, about 2 – 3 minutes.
Melt Chocolate and add to mixture with Eggs and Cream
- Melt the chocolate chips, I do this in a double boiler over simmering water. It takes just about a minute or two. You can do it in a microwave if you prefer. Allow the chocolate to cool for a few minutes.
- Add eggs and vanilla to cream cheese mixture. Add the eggs one at time, mixing well after each addition. Pour in the vanilla extract.
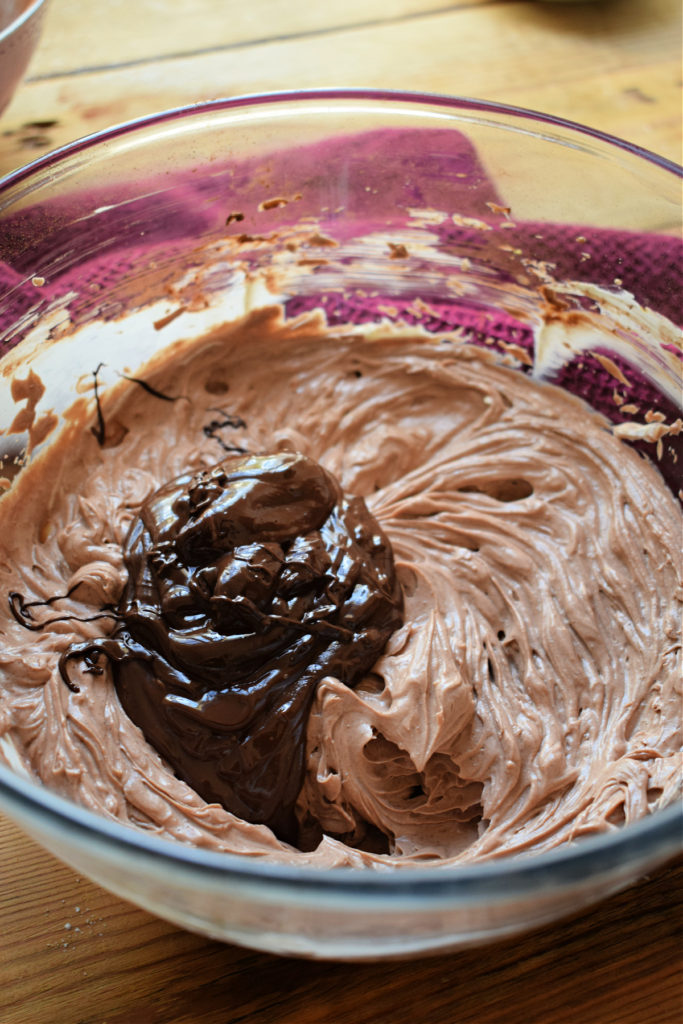
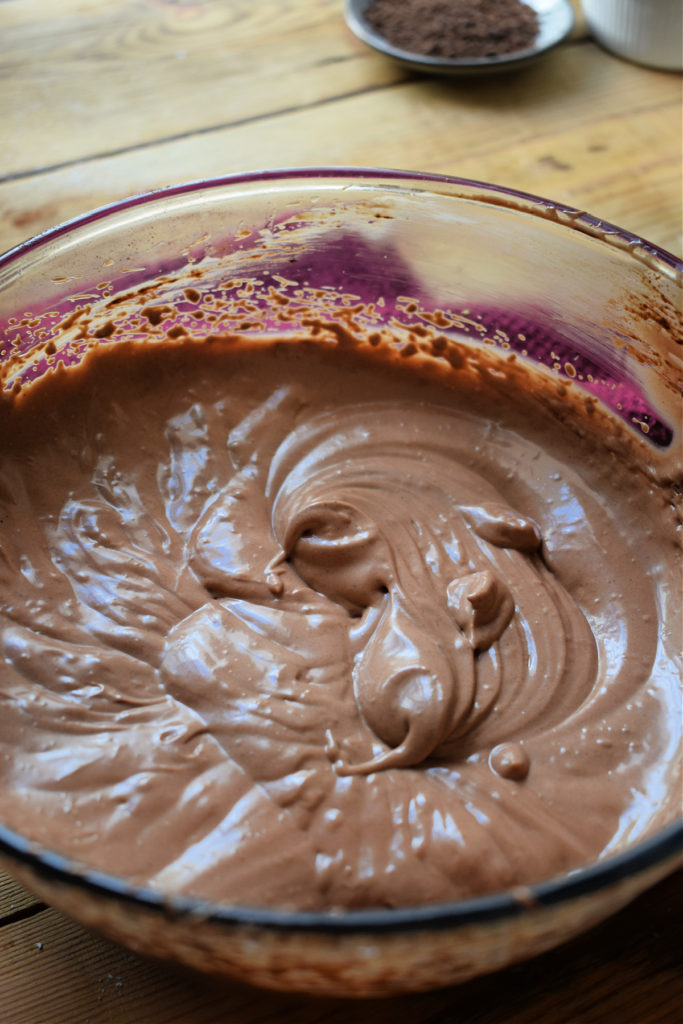
- Mix in cooled melted chocolate. Pour in the cooled melted chocolate and mix well until combined, about 2 minutes. Add the cream and mix on high for about a minute.
Pour the Mixture Over The Base and Bake
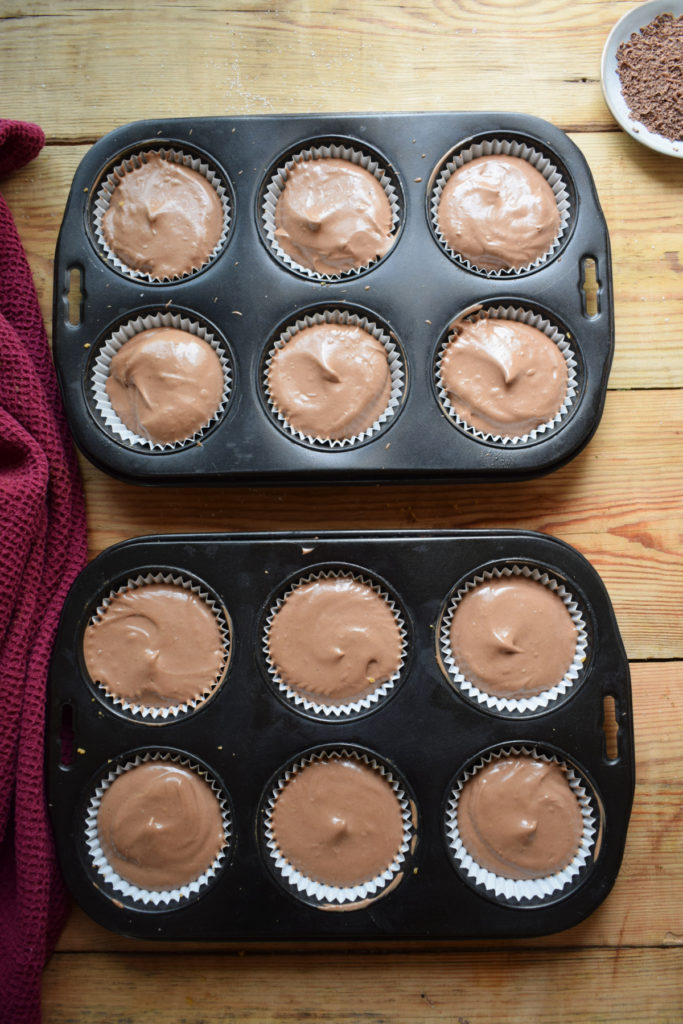
- Evenly fill all the cups, Make sure to do this as evenly as you can so they are all pretty much the same size. They will fill all the way to the top
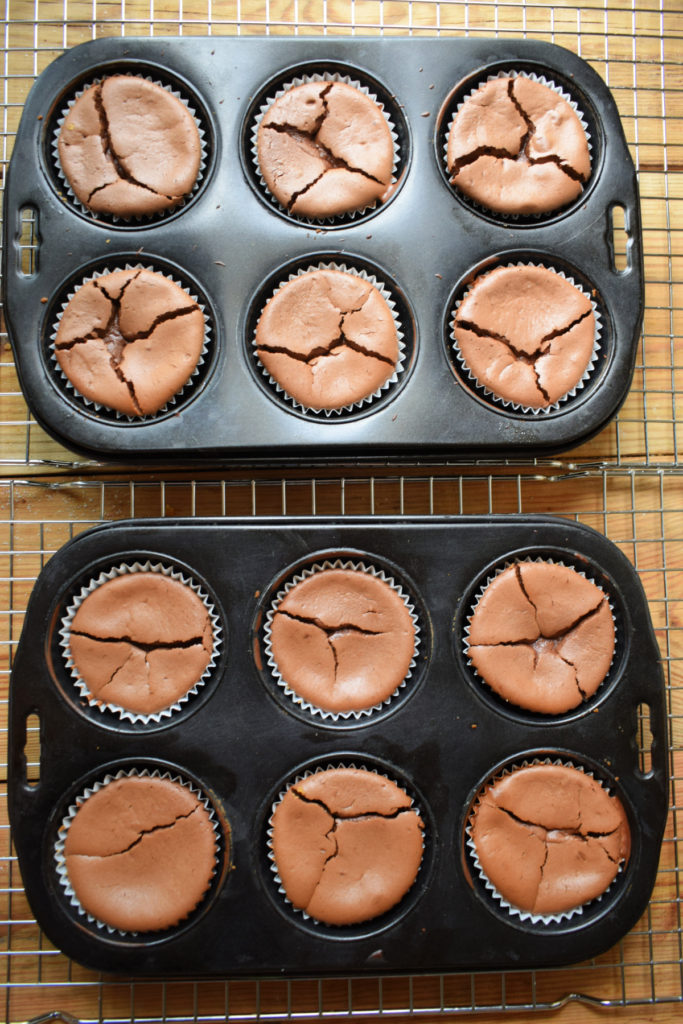
- Bake for 18 – 20 minutes, They will be a little wobbly in the center when fully baked. Remove from oven and put the trays on a cooking rack to cool for about an hour.
Whip Cream and Finish off The Cheesecakes
- Whip the cream in a large bowl, do this on high speed until the cream starts to get thick and fluffy. Stiff peaks will form and this will take about 2 – 3 minutes.
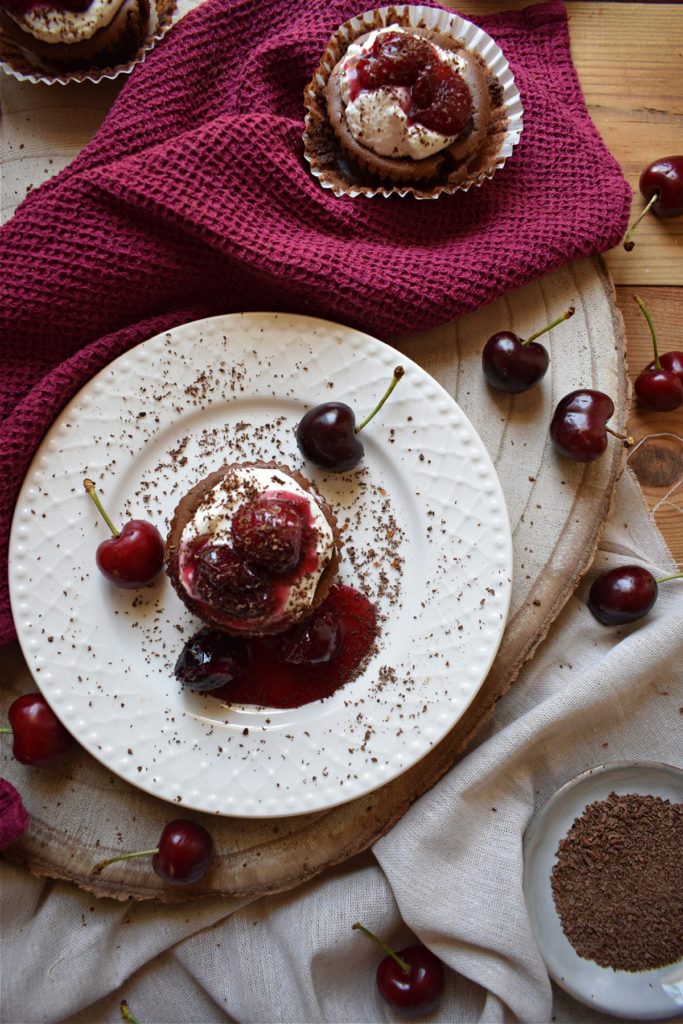
- Decorate the cheesecakes, spoon or pipe the whipped cream onto the cheesecakes. Spoon over the cherries and top with a sprinkle of chocolate shavings.
TIP FOR WHIPPING CREAM, Make sure the bowl, the beaters and the cream is cold. This will help prevent the cream from splitting or curdling.
Enjoy The Cheesecakes
Fact, these are amazing! An indulgence that you need to experience too. Yes friends, these are a bit of work. Essentially there are four layers to get through….I know! But, it goes much quicker than you might think. And the proof is in the eating and you just won’t be disappointed.
Can I Make These In Advance
- Cherry Filling, can be made and stored in an airtight container in the refrigerator up to three days before use. You can freeze it in a freezer friendly zip lock bag as well. If freezing, allow to cool completely before freezing.
- Cheesecake, you can make this the day before serving easy. Bake and allow to cool completely on a wire rack. Transfer to an airtight container and store in the refrigerator overnight.
Are There Any Substitutions That Can Be Made
- Cookie Crumbs, I used Digestive cookie crumbs. I know this is probably an uncommon choice. You can use Oreo cookie crumbs, Graham Wafer crumbs or any other type of cookie you prefer.
- Cherry Topping, I made my own as you will see in the recipe. It’s fantastic! But you can use store bought Cherry Pie Filling to make it easier.
How To Best Store The Mini Black Forest Cheesecakes
Once you have made and assembled the cheesecakes, I recommend storing them in an airtight container in the refrigerator. IMPORTANT, take them out of the fridge about a half an hour before serving for the best taste.
And I know summer is only just getting going, but these would also be a great dessert to serve around the holidays. Yes, I said THE HOLIDAYS….hahaha! In fact, after I finished photographing these, I instantly thought fall and winter not summer. That being said, they are perfect with seasonal cherries.
These mini cheesecakes reminded me a big of my Strawberry Filled Chocolate Torte, which is a pretty good thing. I also have a recipe for a Chocolate Raspberry Cheesecake which is great for summer.
Enjoy the cheesecakes friends and I’ll see you all soon with something fresh for summer. Happy cooking!
Here’s Some More Mini Cheesecake Inspiration
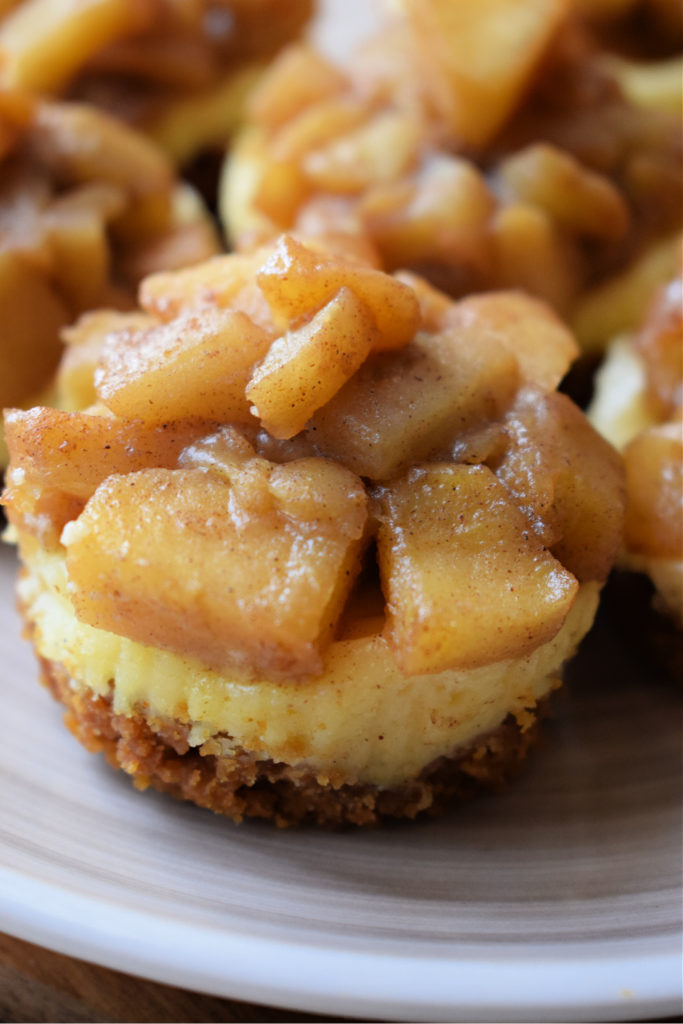
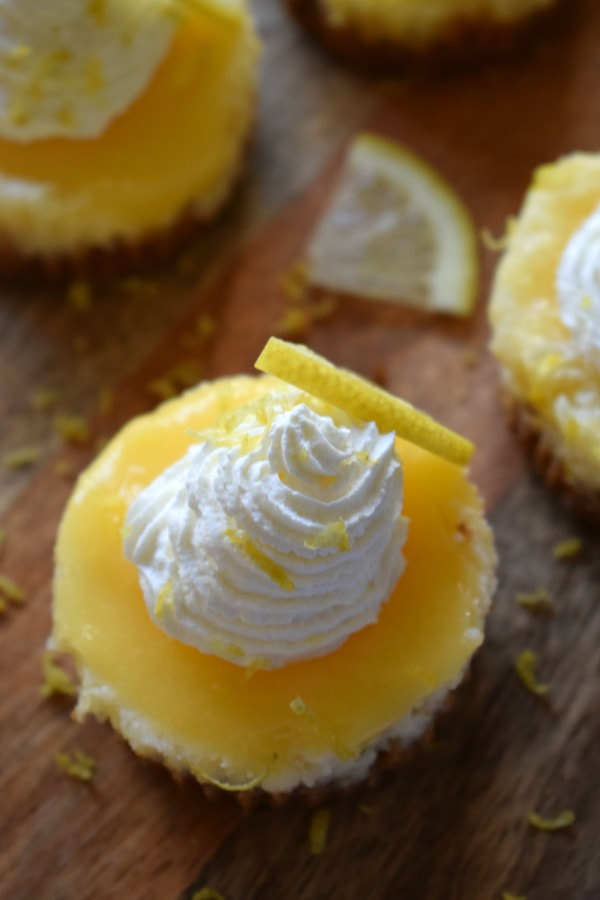
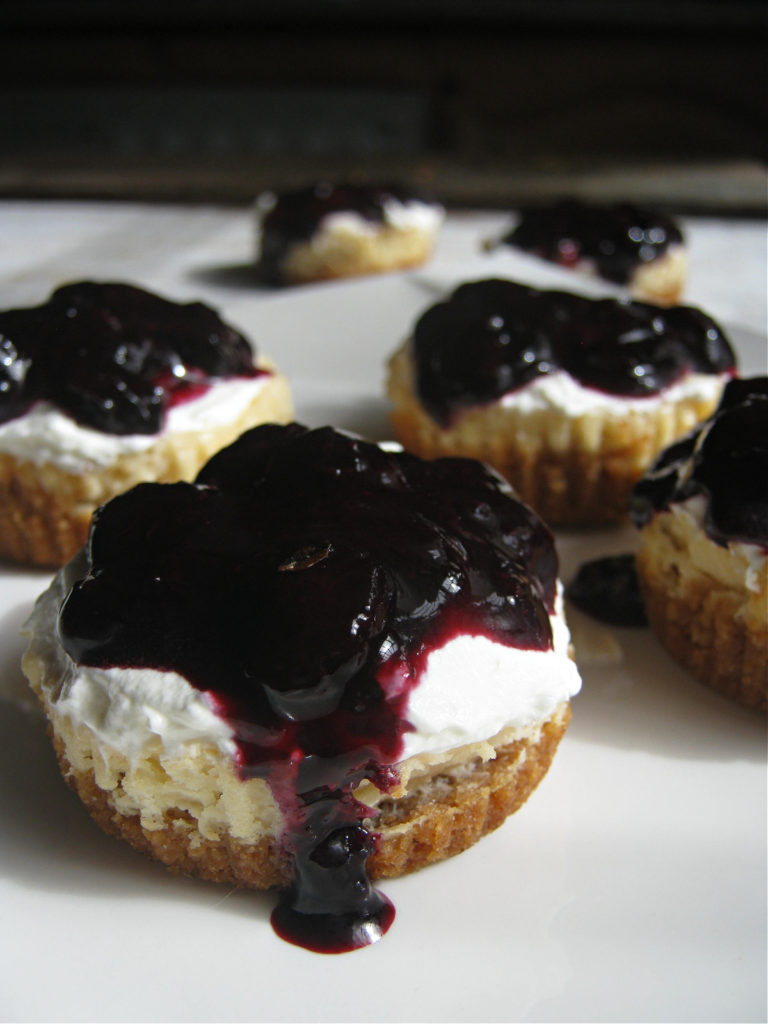
Mini Black Forest Cheesecakes
Ingredients
For the Cherry Filling:
- 2 cups cherries pitted
- 2 tbsp granulated white sugar
- 2 tsp cornstarch
For the Cookie Base:
- 1 cup cookie crumbs your choice, I used digestive cookie crumbs
- 4 tbsp butter melted
For the Cheesecake Filling:
- 12 oz cream cheese room temperature
- 1/4 cup cream
- 1/2 cup granulated white sugar
- 2 eggs
- 2 tbsp cocoa powder
- 3/4 cup chocolate chips melted
- 1 tsp vanilla extract
For the Topping:
- 1 cup whipping cream
- 2 tbsp chocolate shavings
Instructions
For the Cherry Filling
- In a medium sized saucepan, add the pitted cherries, sugar and cornstarch. Give a good stir and set over medium to high heat. Bring to a boil, reduce heat to medium low and allow too cook down for about 10 minutes. Stirring occasionally. Remove from heat and allow to cool. Set aside.
For the Cookie Base
- Line 12 muffin tins with cupcake liners.
- In a medium bowl, combine the cookie crumbs with the melted butter. Stir well to combine.
- Evenly add the cookie crumbs to the muffin tins. About a heaping tablespoon each. Firmly press down and set aside.
For the Cheesecake Filling
- Preheat oven to 325 degrees F/163 degrees C.
- Melt the chocolate chips in a double boiler, stir a few times while they melt. Remove from heat and allow to cool.
- Combine the cocoa powder and the sugar in a small bowl. Stir to combine and set aside.
- In the bowl of your electric mixer, add the cream cheese and mix on high for a minute. Add the cocoa powder and sugar and mix until well combined, about 2 minutes.
- Add teh eggs, one at a time, beating well after each addition. Whisk in the vanilla extract. Add the cooled melted chocolate and mix on high for about a minute. Add the cream and beat on high for another minute.
- Evenly fill all the tins with the mixture. Bake for about 18 minutes until they are baked but still a little wobbly in the centers.
- Remove from oven and place on a wire cooling rack for about an hour to cool.
- Once cooled, they can be wrapped and chilled in the refrigerator.
For the Topping & Assembly
- Place the whipping cream in a cold bowl and beat on high until it forms peaks. This will take about 2 – 4 minutes.
- Remove paper liners from cooled cheesecakes. Top each one with whipped cream, cherries and chocolate shavings.
- Ready to enjoy!
*A note on times provided: appliances vary, any prep and/or cook times provided are estimates only.
Notes
- If the cherries are too dry while cooking, add a few tablespoons of water.
- You can substitute frozen cherries instead of fresh. Thaw before cooking.
- Any kind of cookie crumbs can be used for this recipe. Graham wafers or Oreo cookie crumbs would work well.
- I used unsweetened whipping cream for the topping. If you prefer it a little sweeter, add a tablespoon of sugar to the whipping cream, stir well. Cover and refrigerate for about 10 minutes before whipping.
- These will keep up to three days in an airtight container in the fridge.
- For best results, remove from the fridge about half an hour before serving.
Thanks For Stopping by & Hope To See You soon!

Absolutely amazing! I made these when visiting family and thank goodness I doubled the recipe! They travel well in a cooler and have a lovely texture that makes for a fantastic mouth feel. You owe it to yourself to give these a try!
I’m so happy you enjoyed these little cheesecakes. I love them so much as well. Thank you for the very kind feedback and review. I appreciate it!