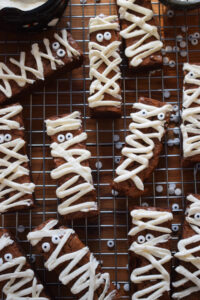
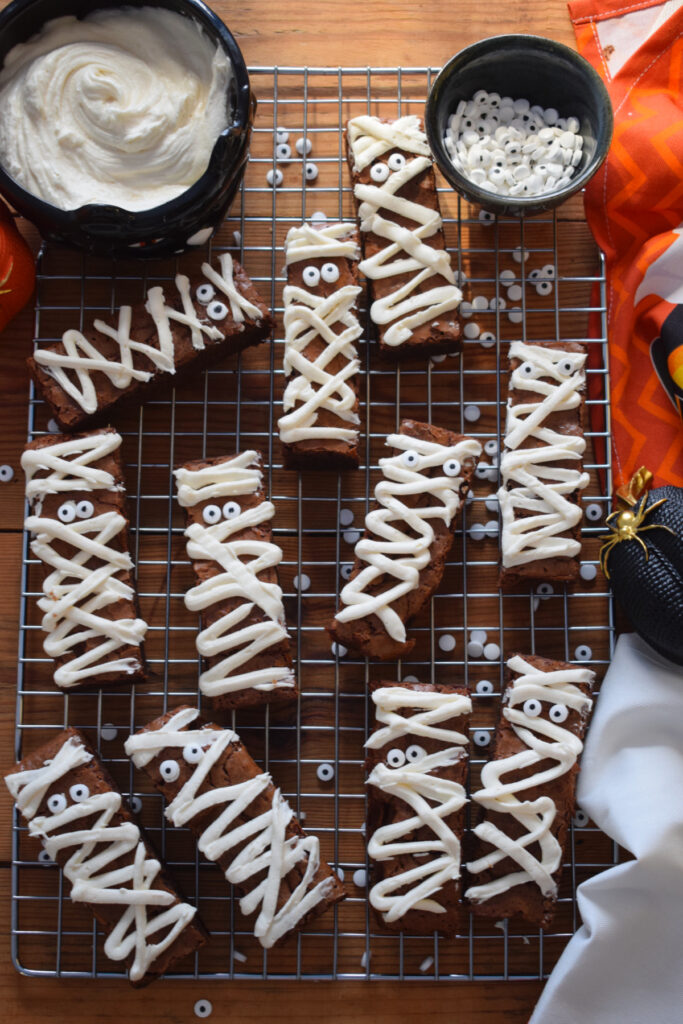
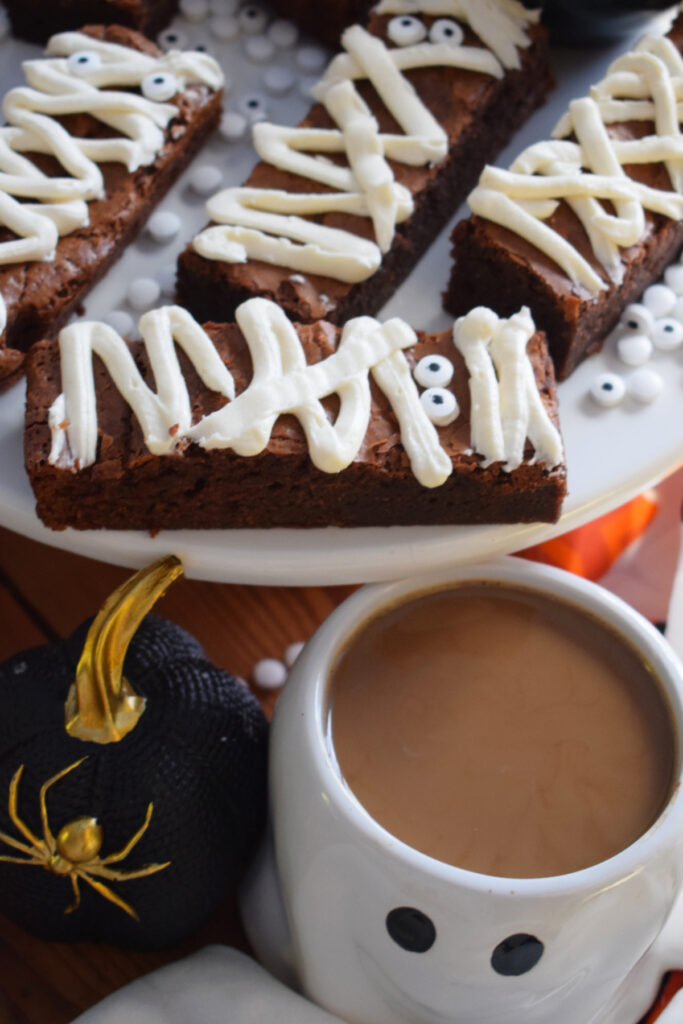
Make these chewy Chocolate Mummy Brownies for a fun treat to add to your fun festive celebrations. These are a fudgy brownie topped with a whipped buttercream frosting decorated mummy style!
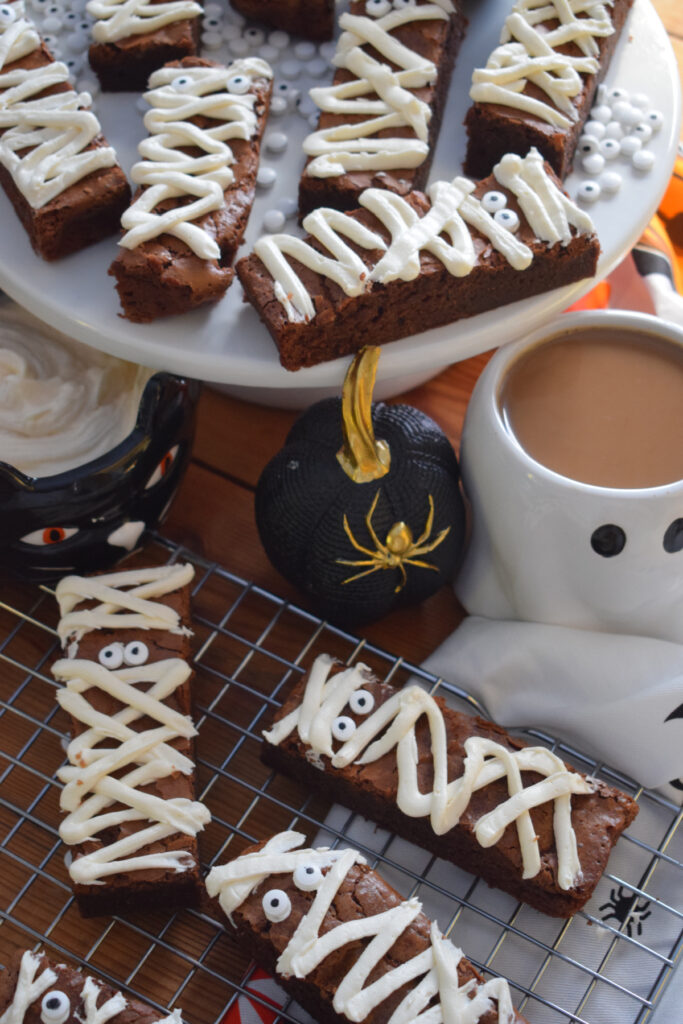
Yes, another Halloween inspired recipe today friends! After this one, there is only one more Halloween recipe and then we are back to a few regular recipes before the holiday season of Christmas takes over. How could I not share these super cute Chocolate Mummy Brownies! Plus I bought a pack of candy eyes that I wanted to use up…lol.
Add these to your Halloween festivities this year with a few other dishes like the Easy Halloween Snack Board and the Witches Broomsticks Pretzel and Cheese Snacks!
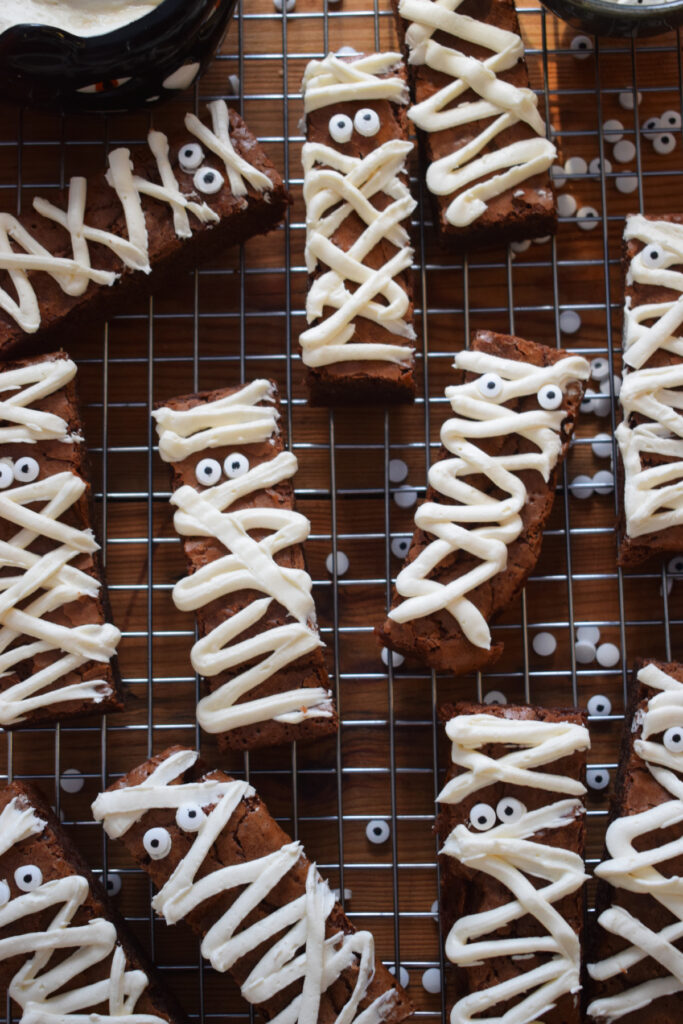
What Are These Brownies Like
- Difficulty – The brownies are easy to make and the decorating is very basic. But please read the recipe notes if you’re not used to making brownies. This way, you should get them just right.
- Taste – These are very chewy and dense. Delicious! I used whipped Vanilla Buttercream Frosting for the topping and it was the perfect combination.
- Serving – This recipe makes 12 pretty big brownies. You can cut them smaller for cute little mummies!
Ingredients
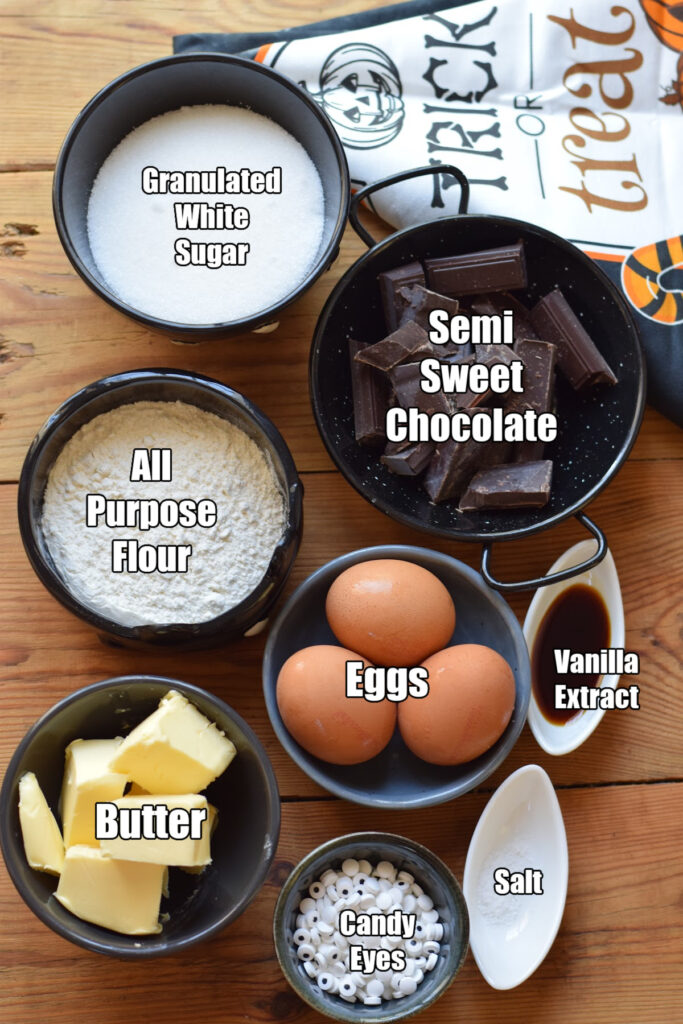
- Chocolate – I used semi sweet dark chocolate in this recipe.
- Flour – All purpose flour works best for these brownies.
- Sugar – Granulated white sugar is best in this recipe.
- Eggs and dairy – This recipe calls for whole eggs and unsalted butter butter.
- Vanilla extract – Vanilla extract enhances flavour in baked goods.
- Salt – I added a pinch of salt to enhance the flavour in the brownies.
- Frosting – I used Vanilla Buttercream Frosting for decorating.
- Candy eyes – I added candy eyes to finish off these mummy brownies and give them a super cute look.
NOTE, The full recipe and ingredient list can be found at the end of the post in the recipe card.
Instructions
- Preheat oven and prepare pan – Preheat oven to 350 degrees F. Grease an 8 x 8 inch baking pan and set aside.
- Melt butter and chocolate – In a saucepan set over low heat, add the butter and chopped chocolate. Stir until melted and remove from heat to cool.
- Combine dry ingredients – Sift flour together with the salt and set aside.
- Mix sugar, eggs and vanilla – Meanwhile in a large mixing bowl add eggs, sugar and vanilla. Mix well until incorporated and smooth. Probably only a couple of minutes. Remember do not over mix! If you mix it too long, you will end up with more of a cake texture.
- Finish the batter – Next, add the chocolate mixture and stir until incorporated. Add flour all at once and gently stir in with a wooden spoon until just incorporated.
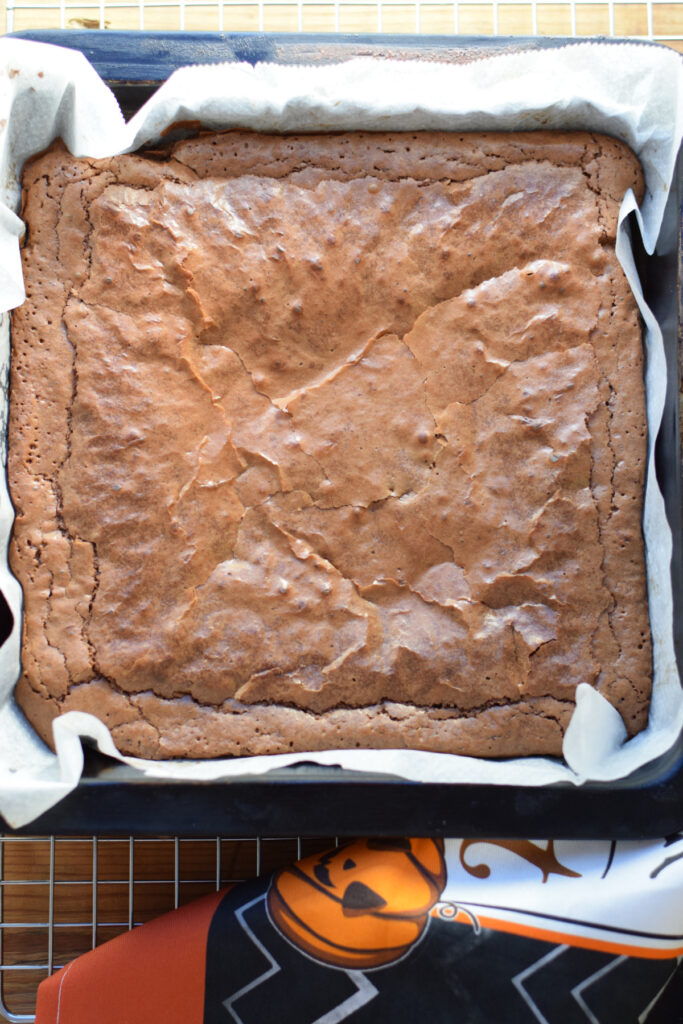
- Pour into pan and bake – Pour the batter into prepared pan and bake for around 25 minutes. Check a few minutes before the baking time is up and insert a toothpick. A few moist crumbs should come out on the stick. Leave them in the pan to cool on a wire rack.
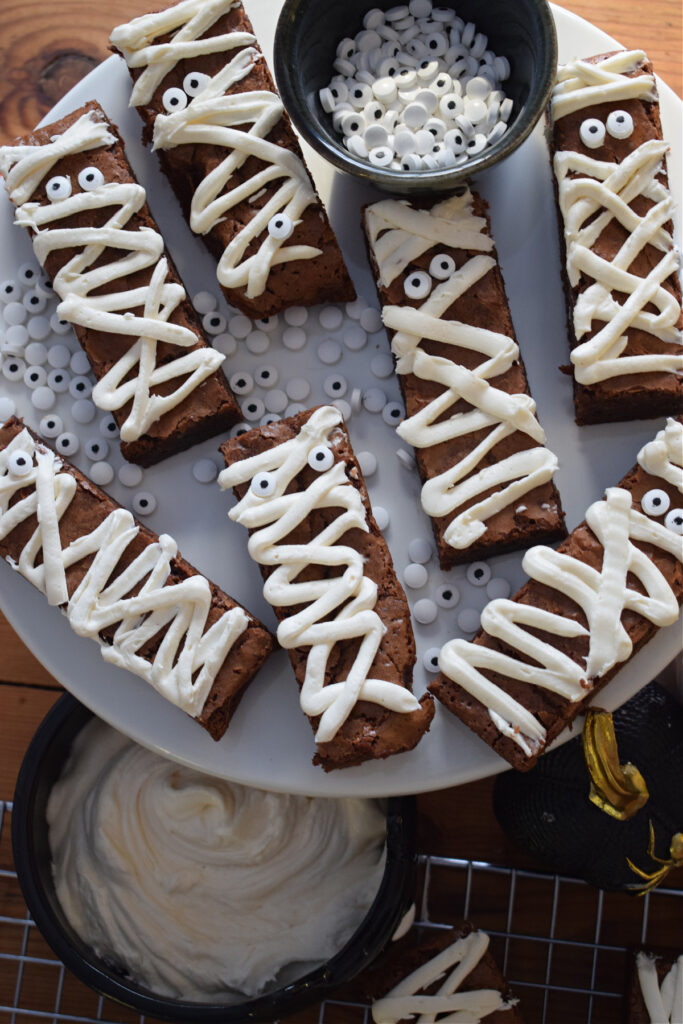
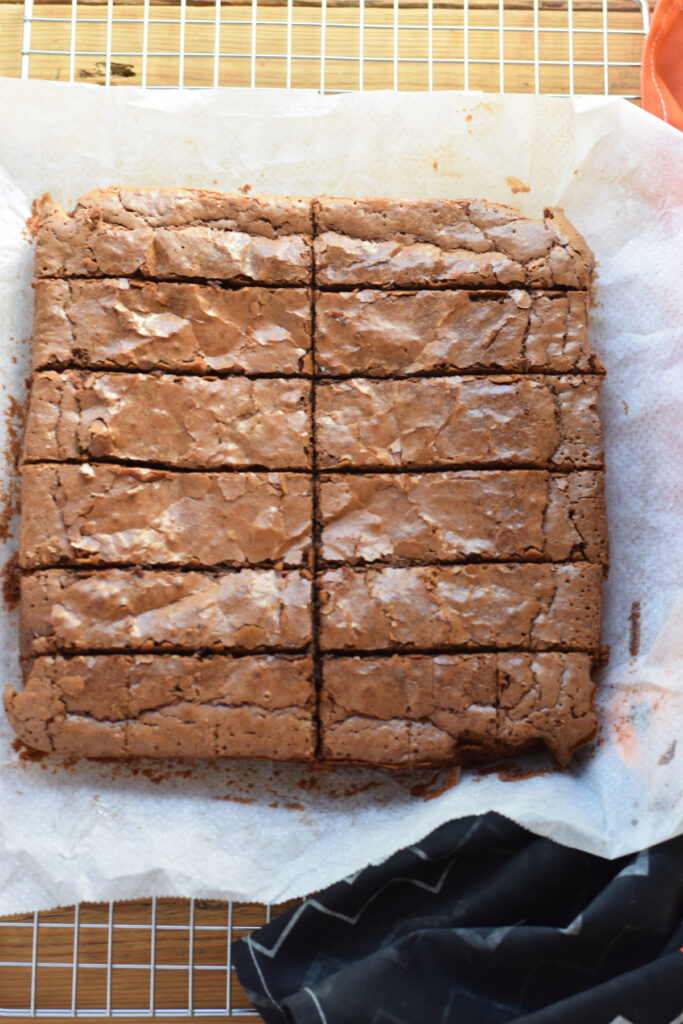
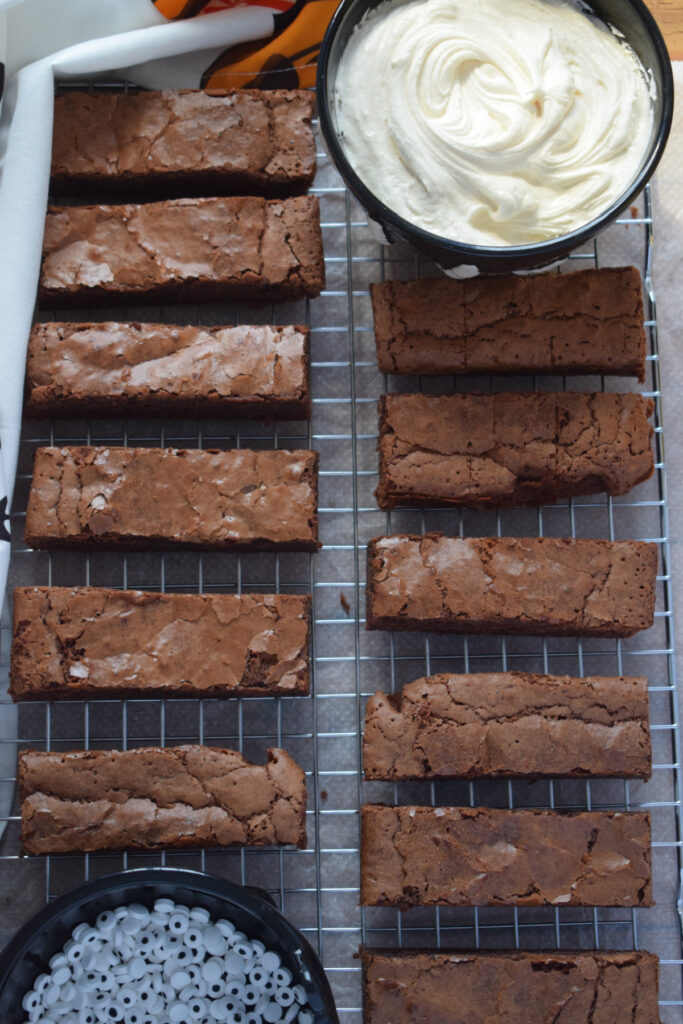
- Cut brownies – Remove the cooled brownies from the pan and place on a cutting board. Cut the brownies down the middle and then down the middle from the other side. You will have have four sections. Continue to make 4 more even cuts from one side to the other. You will have a total of 12 rectangle brownies. See the photo above in the post.
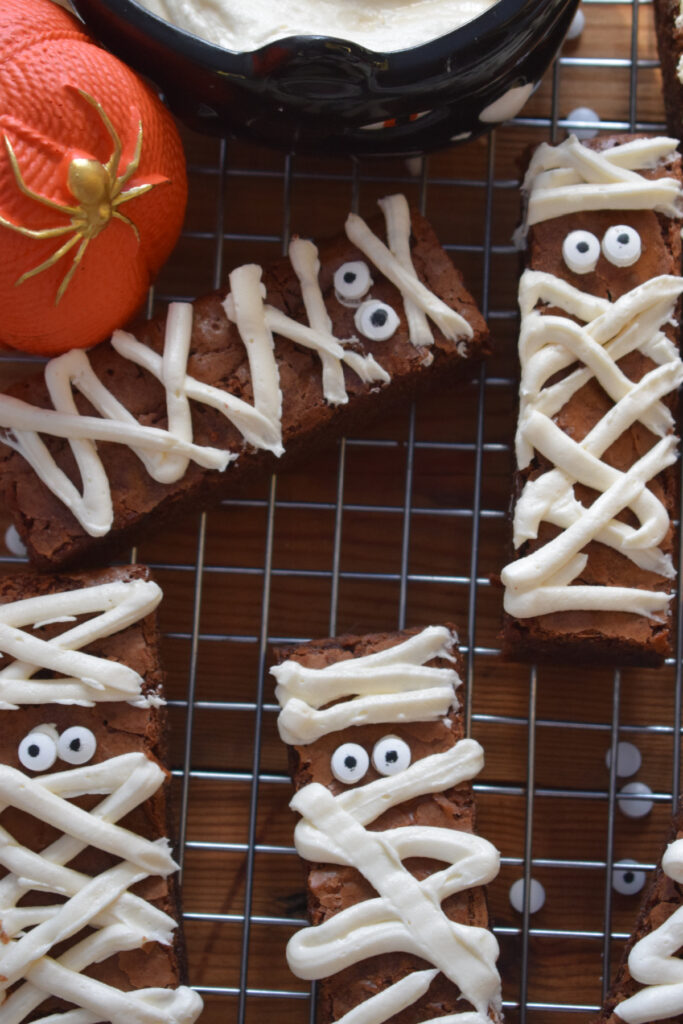
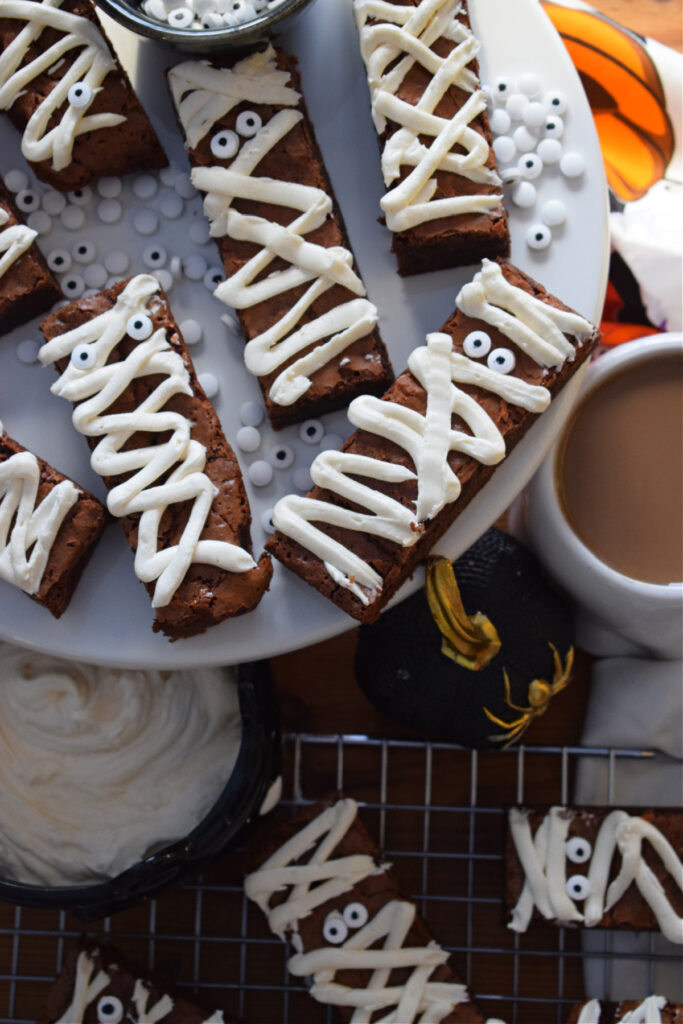
- Decorate brownies – Place the buttercream frosting in a piping bag with a small circular nozzle. Pipe frosting on the brownies in zigzag like pattern to make them look like mummies. Place a small amount of frosting on the back of the eyes and place the eyes on the brownies.
- Serve or store – Leave the brownies on the cooling rack to allow the frosting to set then transfer to a container to store for three days.
Recipe Tips
- Don’t over mix batter – Over mixing will result in cake like and possible dry brownies
- Make sure you measure the ingredients correctly – If you add just a little too much flour, the brownies will be more cake like than chewy.
- Don’t over bake them – Remember, all ovens are different and yours could take a little shorter or a little longer time than mine. They are done when you insert a toothpick in the centre and it comes out with moist crumbs.
- Allow to cool completely – Before decorating, it’s important that you allow these brownies to cool completely so the frosting doesn’t melt off the tops. Also, it makes them much easier to handle.
Substitutions
- Brownies – I don’t recommend any changes to the actual brownie recipe to achieve the same results.
- Frosting – I used Vanilla Buttercream Frosting. You can use Chocolate Buttercream Frosting, Cream Cheese Frosting, Vanilla Glaze, Chocolate Ganache or even any store bought frosting that you like.
- Candy eyes – I used candy eyes and they work great. Any kind of small candy will work for these brownies.
Serving and Storage
- At room temperature – These brownies should be served at room temperature. You can store them at room temperature in and airtight container up to three days.
- Store in the refrigerator – You can also keep these brownies in an airtight container up to five days. It’s important to remove them from the fridge and bring them to room temperature before serving.
- In the freezer – These un frosted brownies can be stored in the freezer up to one month. Bake the brownies according to instructions and leave to cool completely. Wrap in freezer proof plastic wrap and store in the freezer up to one month. Before frosting and serving, remove from freezer and allow to defrost completely.

Frequently Asked Questions
Brownies can be either chewy, fudgy or cakey. Chewy brownies are compact and they have a chewy bite to them. Fudgy brownies are dense, gooey and moist. And cakey brownies are a similar texture to cake.
Fudgy brownies have a higher fat content. In this case, the recipe is high in butter and chocolate compared to flour. If you want to make a cakey brownie, you would need to add more flour.

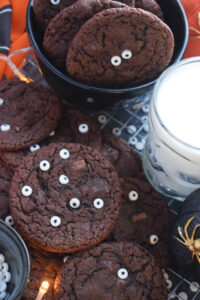
Double Chocolate Halloween Cookies
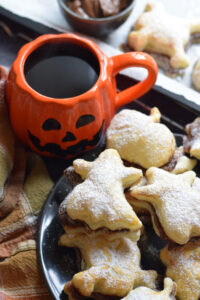
Halloween Nutella Puff Pastry
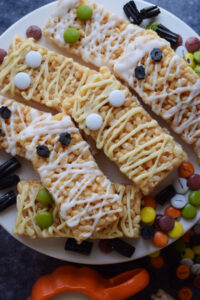
Halloween Mummy Rice Krispie Treats
Chocolate Mummy Brownies
Ingredients
- 6 ounces semi sweet chocolate roughly chopped
- 1 Cup butter unsalted
- 2/3 Cup all purpose flour
- Pinch salt
- 3 large eggs at room temperature
- 1 1/3 cup granulated white sugar
- 2 teaspoons vanilla
- 1/2 cup buttercream frosting
- candy eyes for decorating
Instructions
- Preheat oven to 350 degrees F. Grease an 8 x 8 inch baking pan and set aside.
- In a saucepan set over low heat, add the butter and chopped chocolate. Stir until melted and remove from heat to cool.
- Sift flour together with the salt and set aside.
- Meanwhile in a large mixing bowl add eggs, sugar and vanilla. Mix well until incorporated and smooth. Probably only a couple of minutes. Remember do not over mix! If you mix it too long, you will end up with more of a cake texture.
- Next, add the chocolate mixture and stir until incorporated. Add flour all at once and gently stir in with a wooden spoon until just incorporated.
- Pour the batter into prepared pan and bake for around 25 minutes. Check a few minutes before the baking time is up and insert a toothpick. A few moist crumbs should come out on the stick. Leave them in the pan to cool on a wire rack.
- Remove the cooled brownies from the pan and place on a cutting board. Cut the brownies down the middle and then down the middle from the other side. You will have have four sections. Continue to make 4 more even cuts from one side to the other. You will have a total of 12 rectangle brownies. See the photo above in the post.
- Place the buttercream frosting in a piping bag with a small circular nozzle. Pipe frosting on the brownies in zigzag like pattern to make them look like mummies. Place a small amount of frosting on the back of the eyes and place the eyes on the brownies.
- Leave the brownies on the cooling rack to allow the frosting to set then transfer to a container to store for three days.
*A note on times provided: appliances vary, any prep and/or cook times provided are estimates only.
Notes
- Don’t over mix batter – Over mixing will result in cake like and possible dry brownies
- Make sure you measure the ingredients correctly – If you add just a little too much flour, the brownies will be more cake like than chewy.
- Don’t over bake them – Remember, all ovens are different and yours could take a little shorter or a little longer time than mine. They are done when you insert a toothpick in the centre and it comes out with moist crumbs.
- Allow to cool completely – Before decorating, it’s important that you allow these brownies to cool completely so the frosting doesn’t melt off the tops. Also, it makes them much easier to handle
Thanks For Stopping By & Hope To See You Soon!

