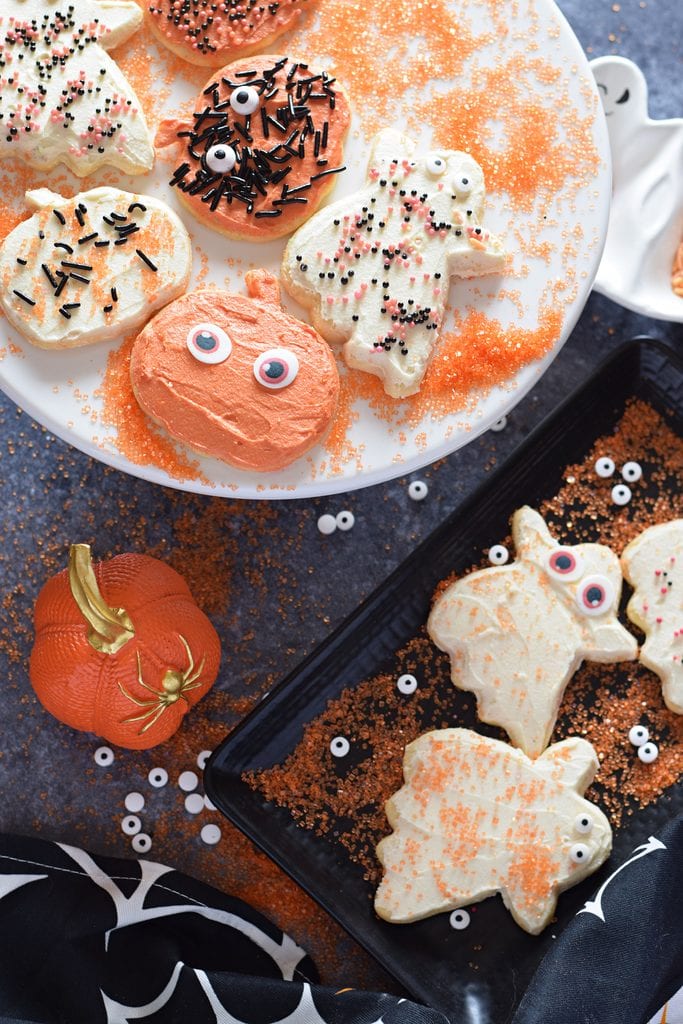
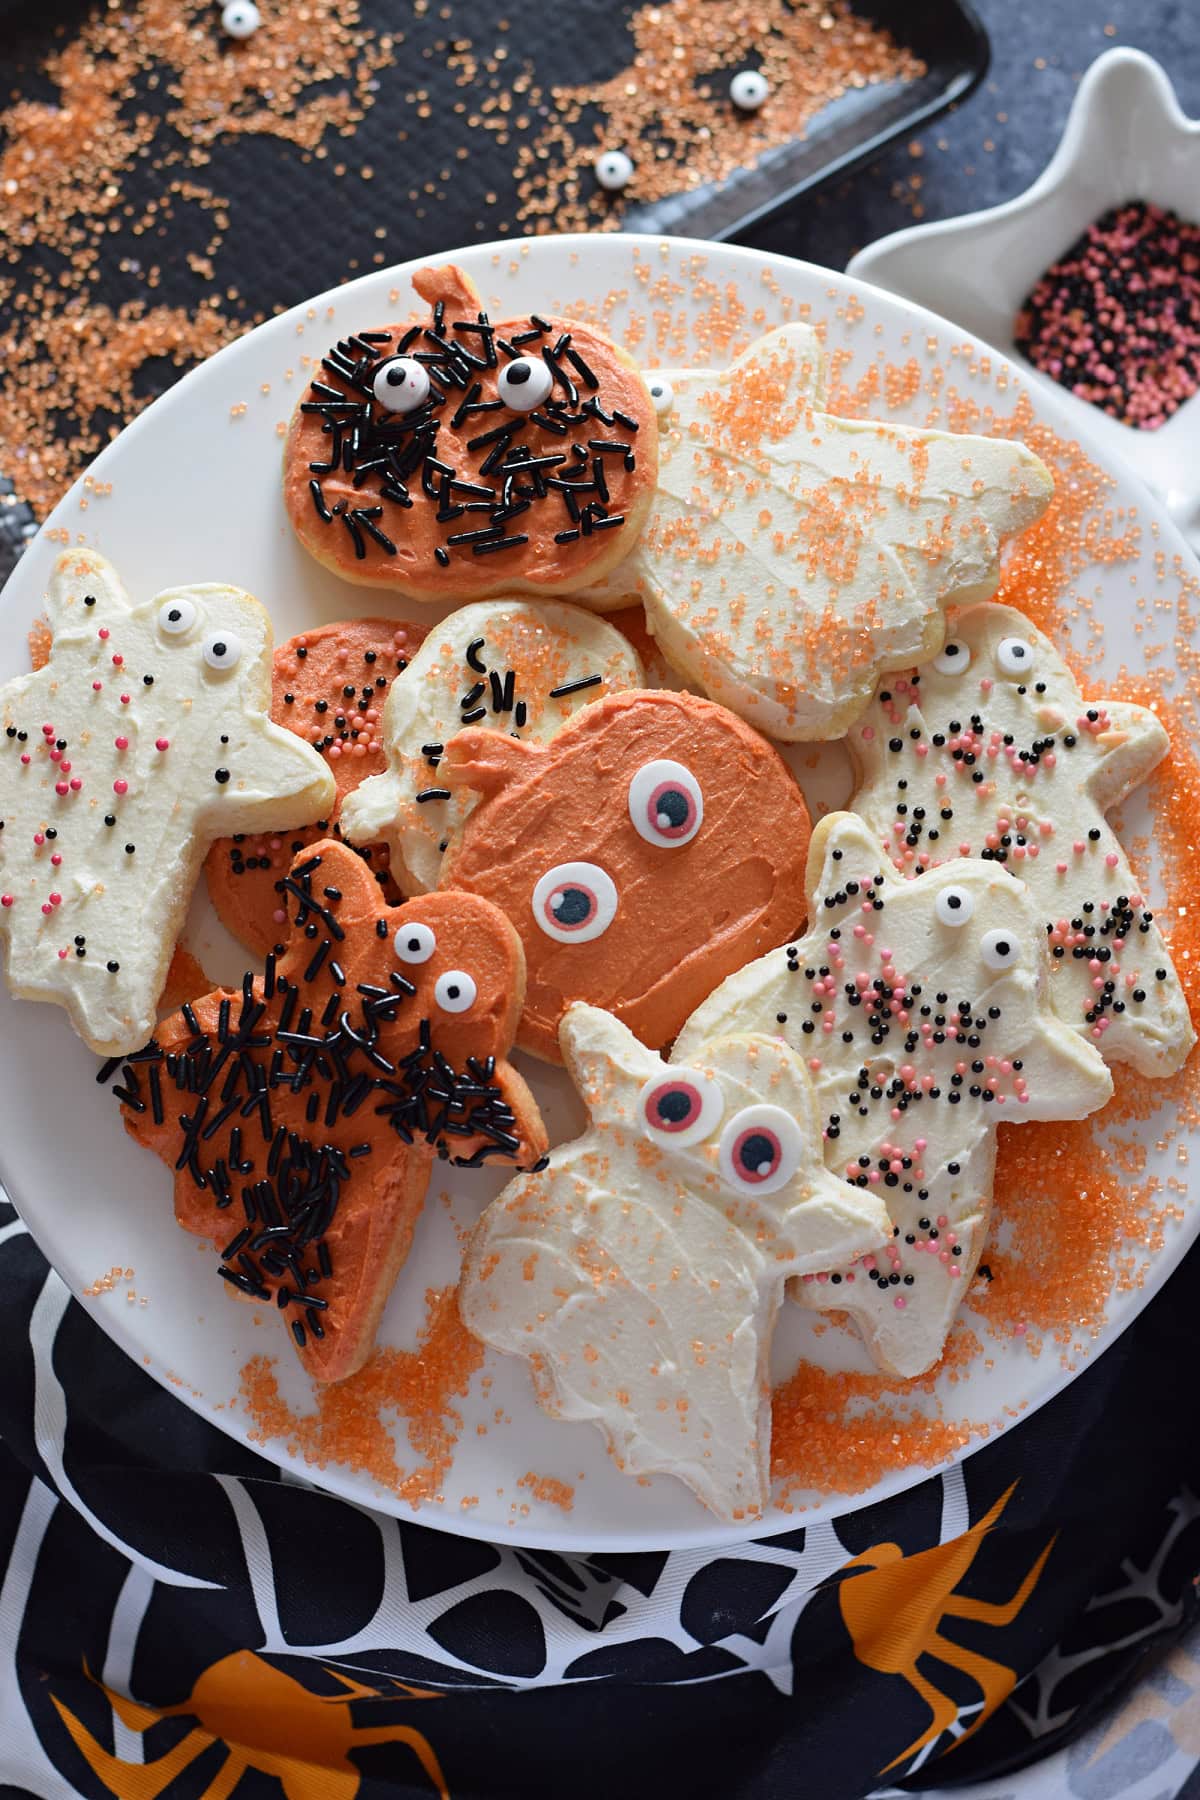
Make these fun Frosted Halloween Cookies for a sure fire hit with the kids this year. A no spread sugar cookie topped with my favourite Whipped Vanilla Buttercream Frosting and topped with Halloween sprinkles.
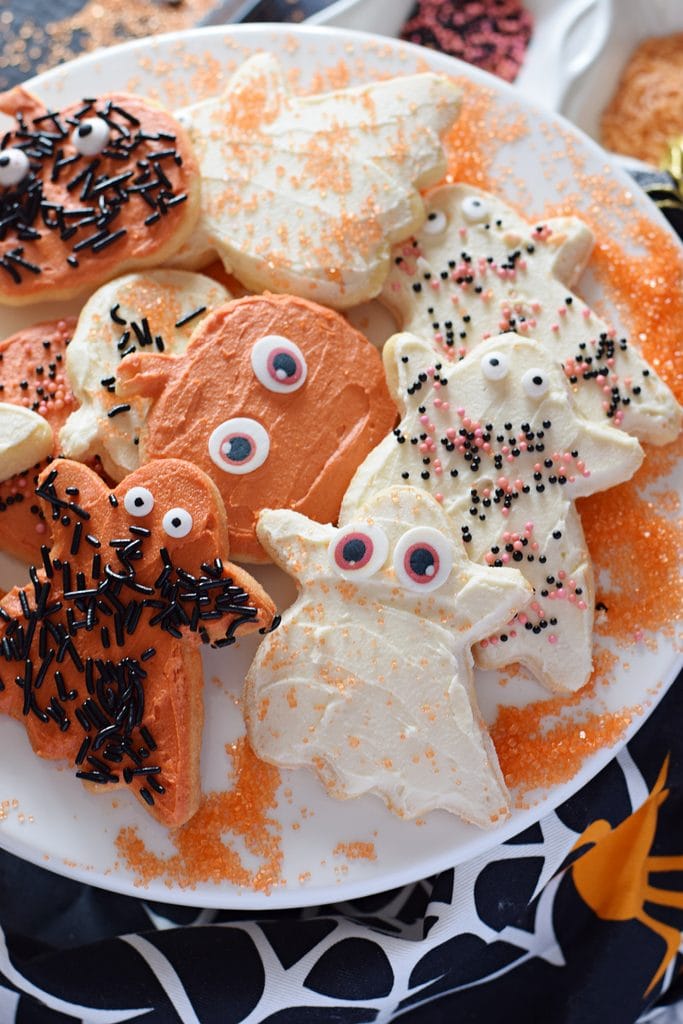
Halloween is just around the corner and these cookies would be great to make for a kid’s party or just a seasonal treat. This is my tired and tested sugar cookie recipe and is no fail every single time. Make sure to read all the recipe tips to make sure you get your cookies just right.
Check out all my Halloween Recipes! 👻
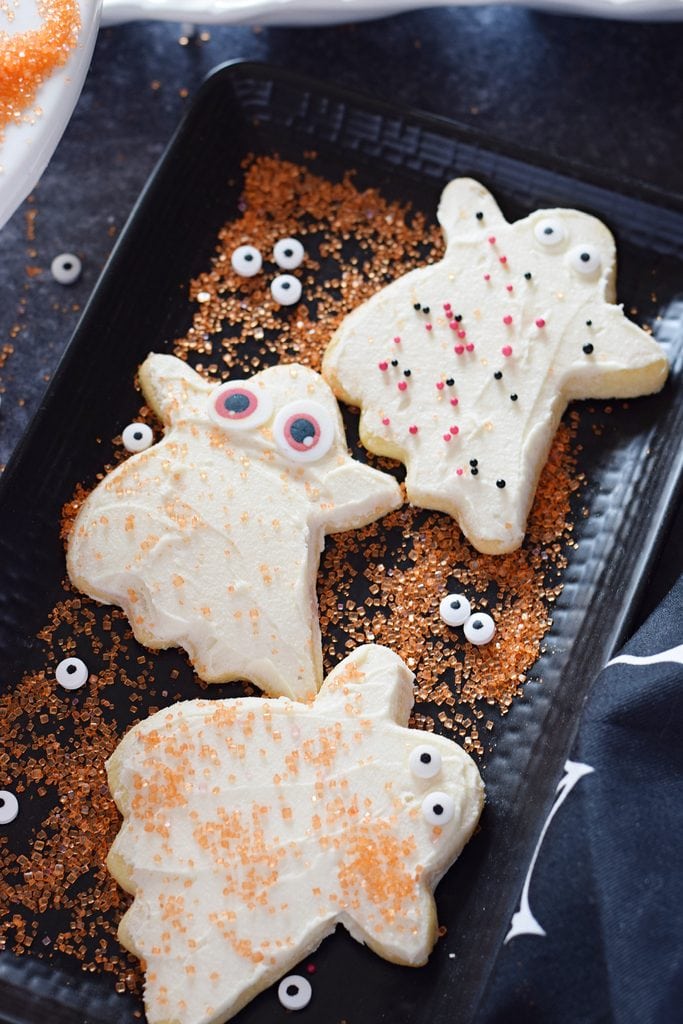
What Are These Cookies Like
- Difficulty – These are pretty time consuming cookies and I would rate them about medium difficulty. I recommend setting aside a full morning or afternoon to make and decorate these cookies.
- Taste and texture – These are a sweet buttery cookie with a vanilla flavour. They are soft and a little chewy with a delicious sweet frosting.
- Serving – This recipe will make approximately 24 cut out cookies. It really depends on the size of your cookie cutters. In the recipe card at the end of the post you can easily double the batch for more cookies.
Ingredients
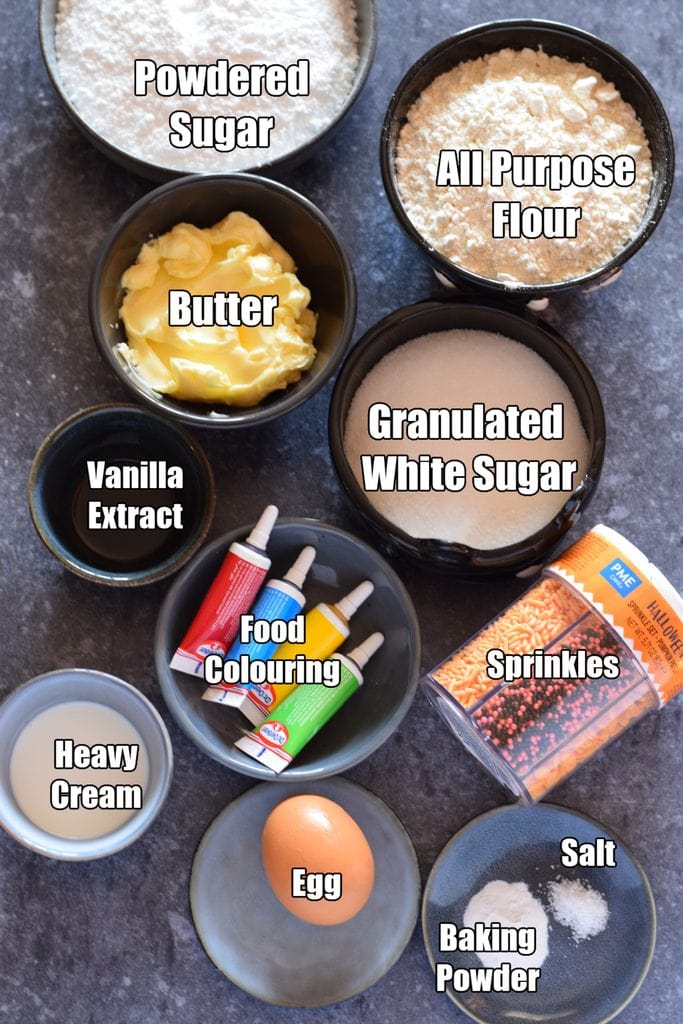
- Butter – These cookies use unsalted room temperature butter.
- Sugar – Granulated white sugar is used for making these cookies.
- Egg – An egg is added to the cookie dough for structure and as a binder.
- Vanilla extract – This enhances the flavour and helps give the cookies a vanilla flavour.
- Flour – I used all purpose flour for these cookies. This is probably the most common type of baking flour and is sometimes called plain flour.
- Baking powder – Baking powder is used as a rising agent. Although these cookies do not rise much, it does give them a light texture.
- Salt – A small amount of salt enhances the flavours.
- Frosting – I used my recipe for Whipped Buttercream Frosting for these cookies.
- Decorating – I used Halloween sprinkles and food colouring to dye the frosting.
NOTE, The full recipe and ingredient list can be found at the end of the post in the recipe card.
Instructions
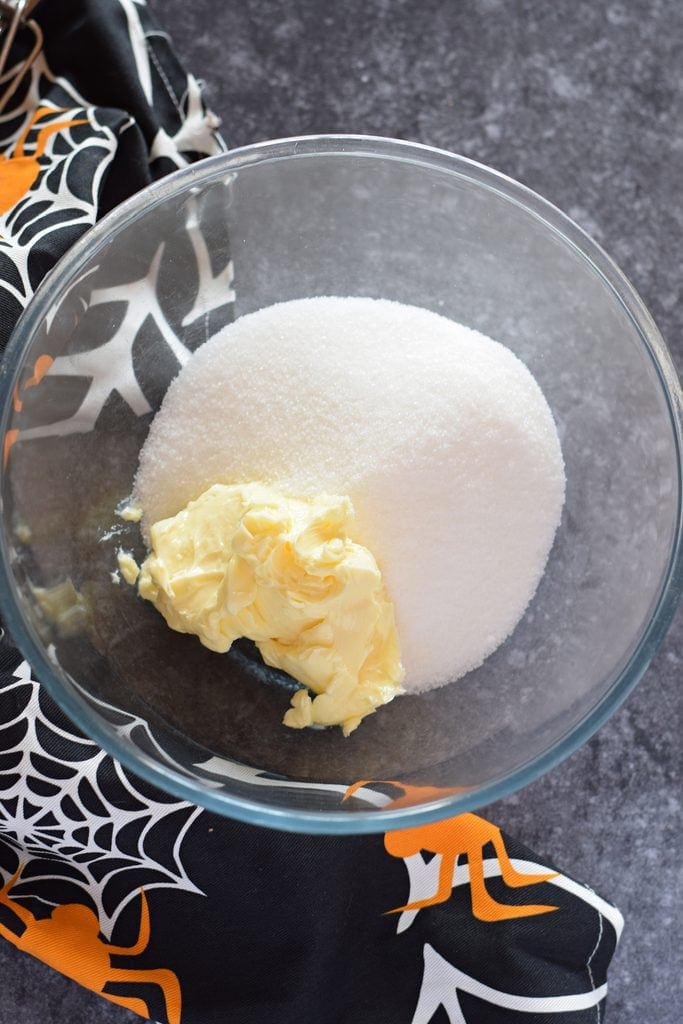
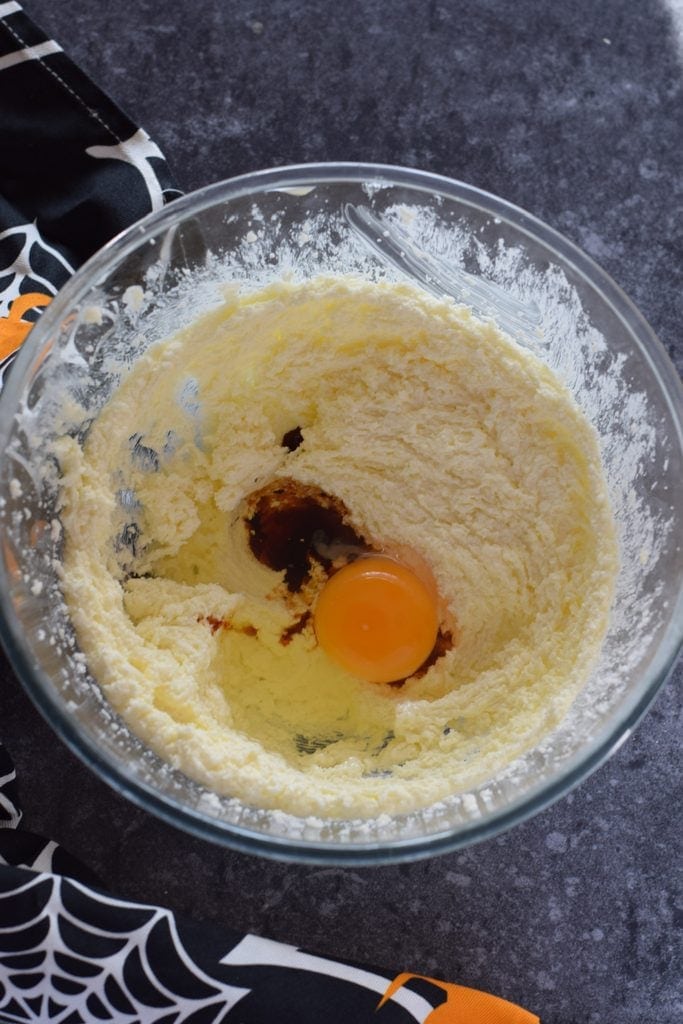
- Mix wet ingredients – In the bowl of your electric mixer, mix the butter and sugar on high speed until light and fluffy. This will take about 3-5 minutes. Add in your egg and vanilla and mix well.
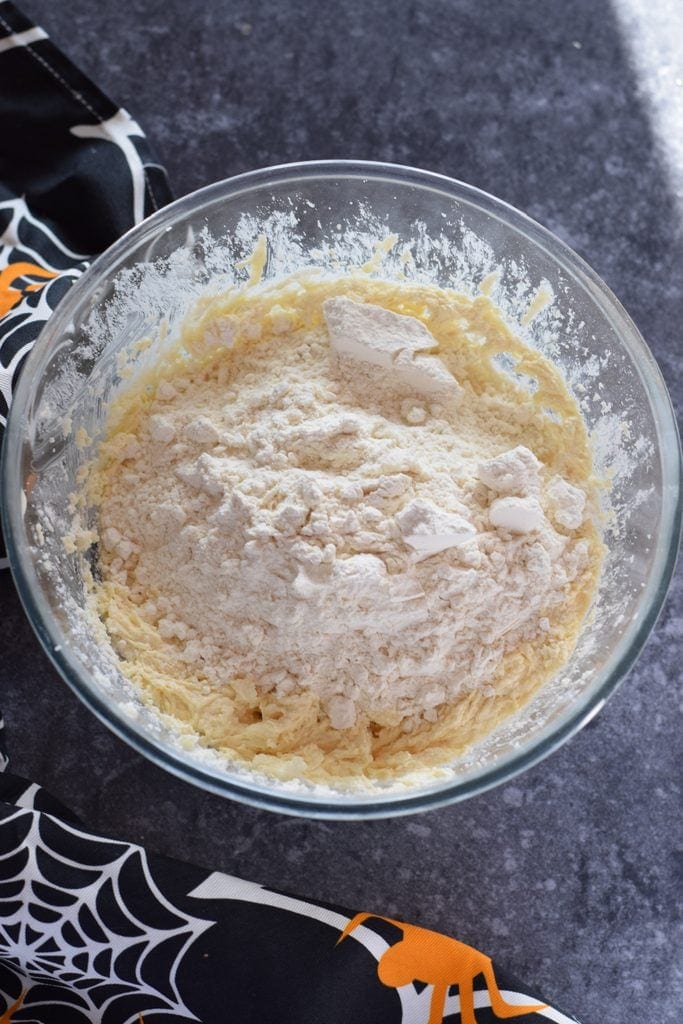
- Add dry ingredients – Sift together the flour, baking powder and salt and stir into the mixture. Don’t over mix.
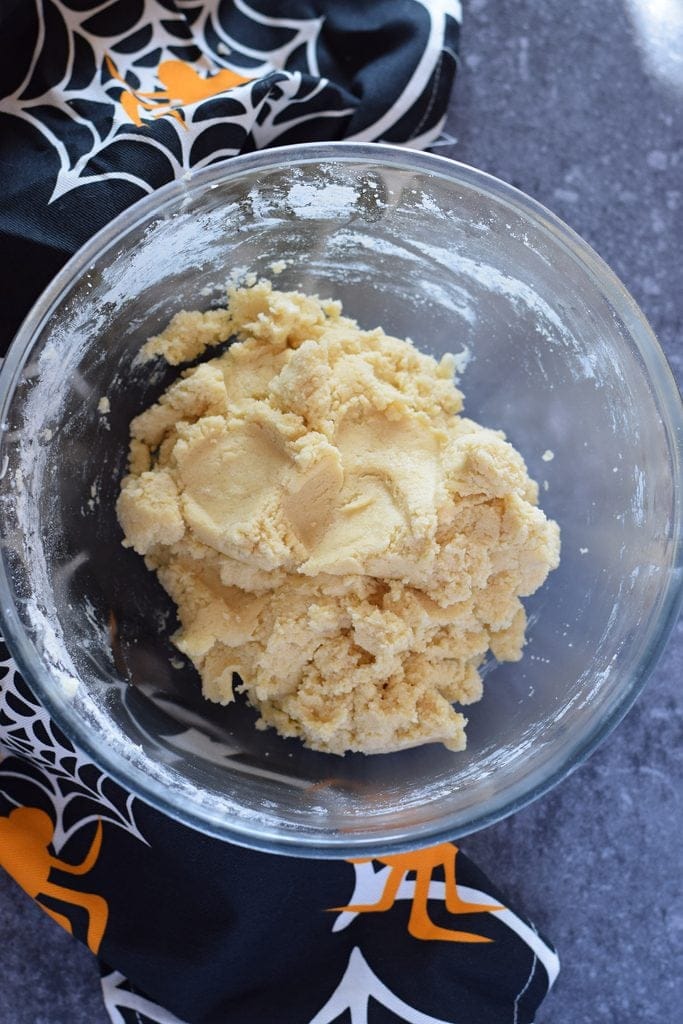
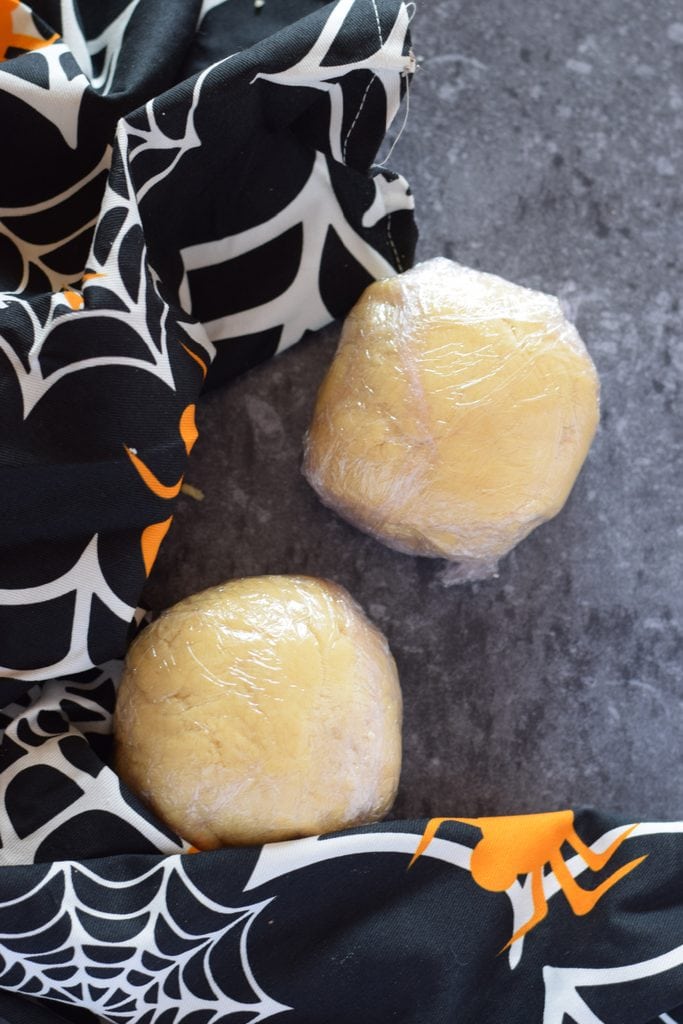
- Chill the dough – Once you have a cookie dough texture, divide the dough into two equal portions and flatten into disks. Wrap it in plastic wrap and freeze it for about 15 minutes.
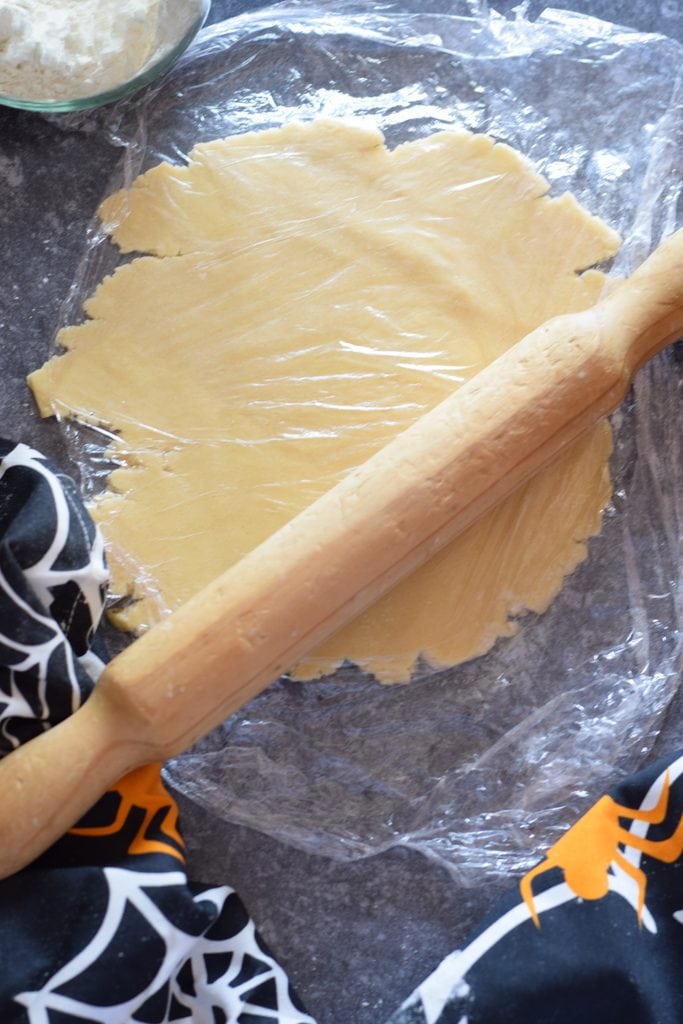
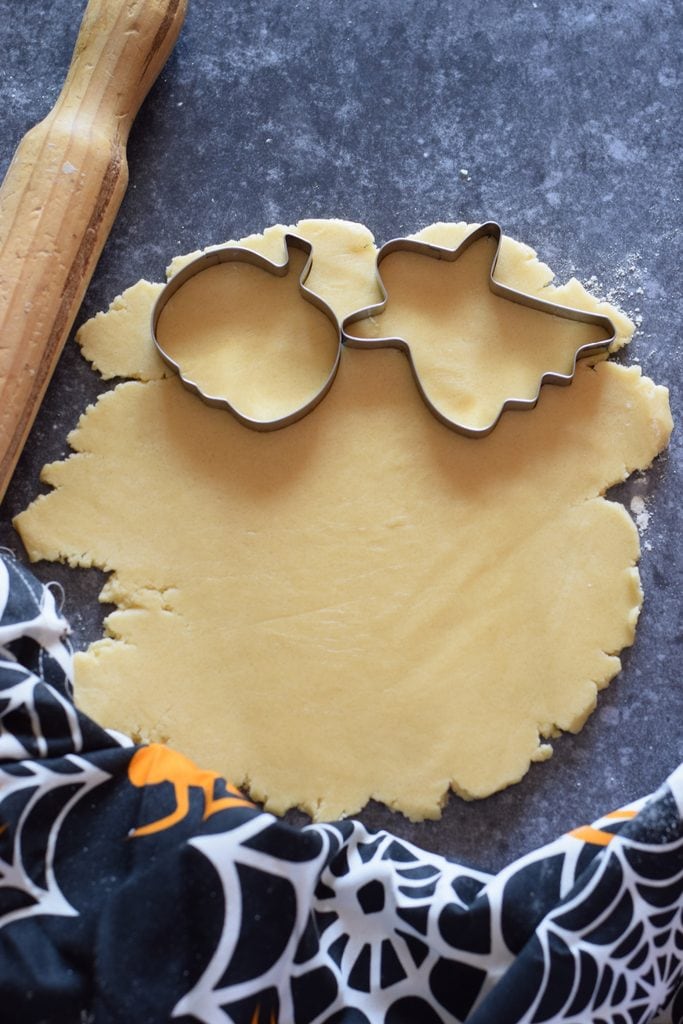
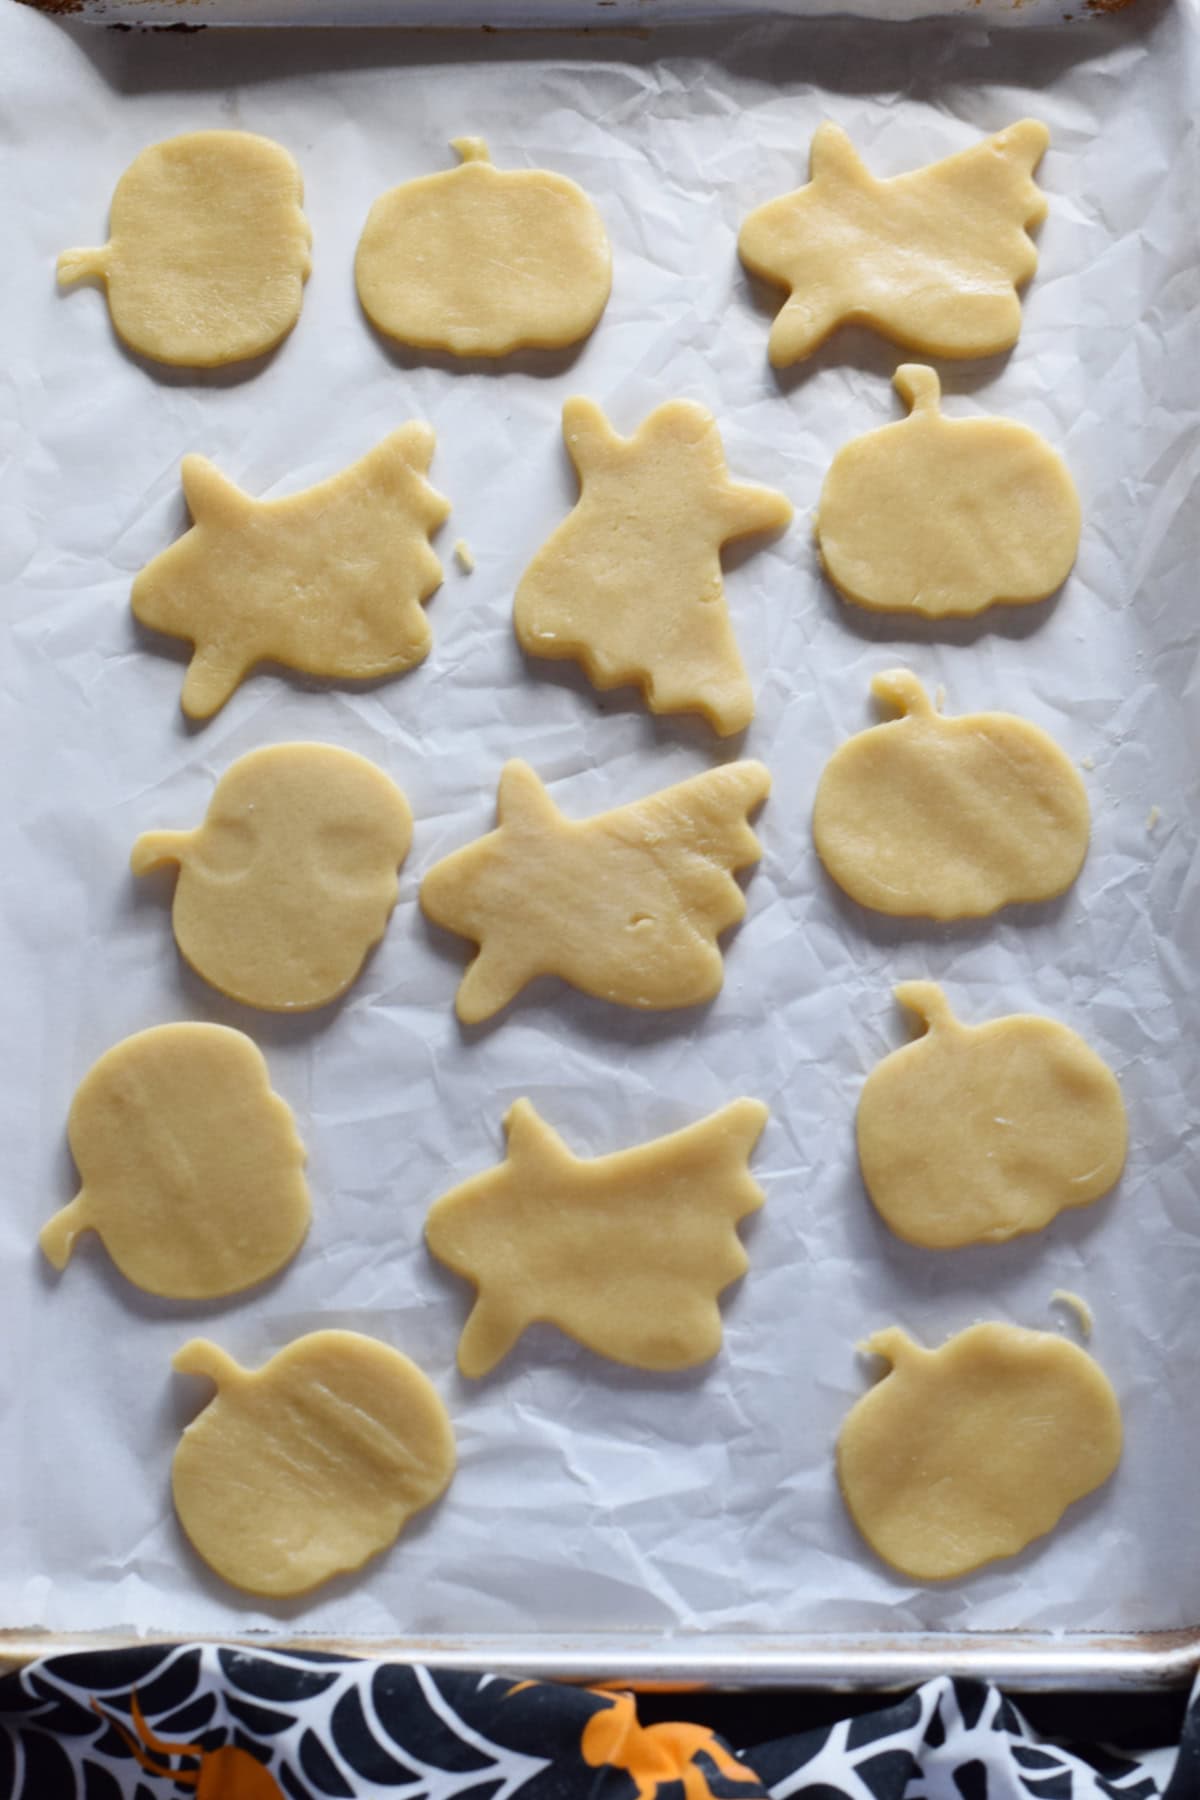
- Cut and chill cookies – Preheat your oven to 325 degrees F. Line two baking trays. Remove your dough from the freezer and leave it for a few minutes before rolling it out. Roll each disk out onto a floured surface, sprinkling a little flour on top of the dough so it doesn’t stick to the rolling pin. Don’t roll them too thin or they will likely brown and be too hard. These were rolled to about 1/4 of and inch. Using cookie cutters, cut into desired shapes. Place the unbaked cookies in the fridge to chill for about 15 minutes before baking.
- Bake – Bake for 15 minutes turning the tray half way through baking. They will be soft to touch and will set as they cool. Repeat for all cookies. Let cool completely on the baking tray.
- Make frosting – Make the frosting by combining the butter, vanilla and icing sugar in a large mixing bowl. Mix on high speed for about 2 minutes. Add in the cream, one tablespoon at a time until mixed in well. Continue to mix on high speed until light and fluffy, about 3 – 5 more minutes.
- Frost and decorate – When the cookies have cooled completely, frost them and decorate them how you like and top with sprinkles.
Recipe Tips
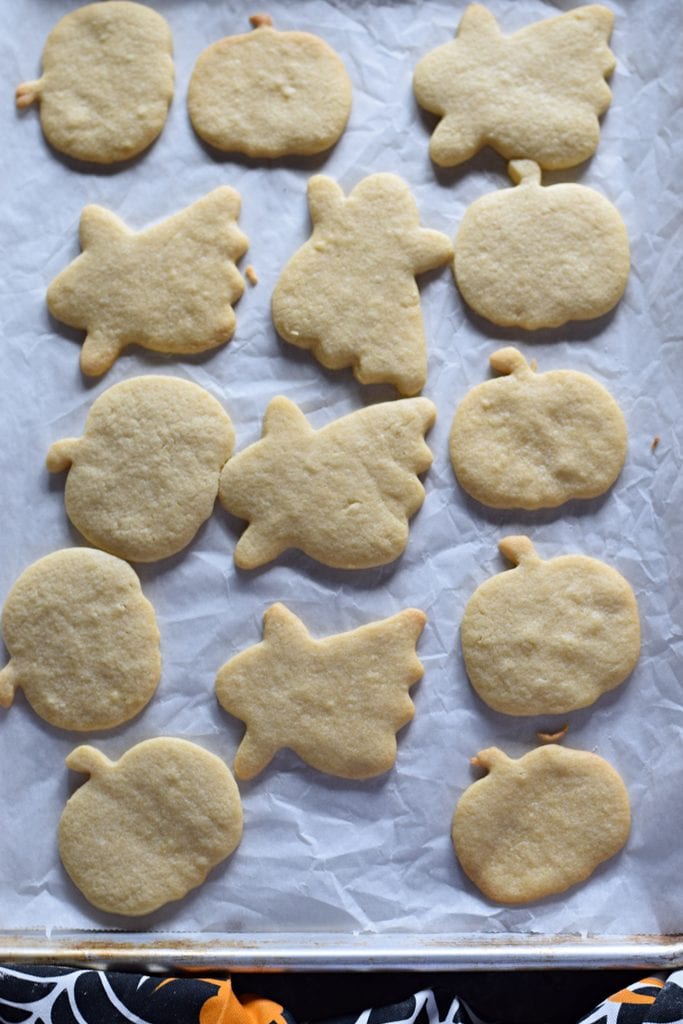
- Chill the dough – It’s really important to chill the dough in balls before rolling out. This is a soft dough and you’t won’t be able to roll it if it isn’t chilled. It’s also important to chill the shaped cookies before baking. This will prevent them from spreading.
- Rolling dough – Take one disk out of the fridge at a time. You need cold dough to work with remember. Lightly flour the surface and start gently rolling the dough. The edges will start to crack as you roll, but this is normal. Don’t roll it too thin or the cookies will brown too quickly when bakes and be hard. I rolled these about 1/4 of and inch thick.
- How to know when they are baked – These cookies will be done when they have puffed up a little and are starting to go a little golden at the edges. But they will still be pretty pale. They might look under done, but they’re not. I’ve learned many times in the past, take them out of the oven! If you leave them in a bit longer, just minutes, they will quickly brown and become crispy.
- Allow cookies to cool – The cookies will completely set as they cool. Allow them to cool on the baking tray before taking them off to decorate.
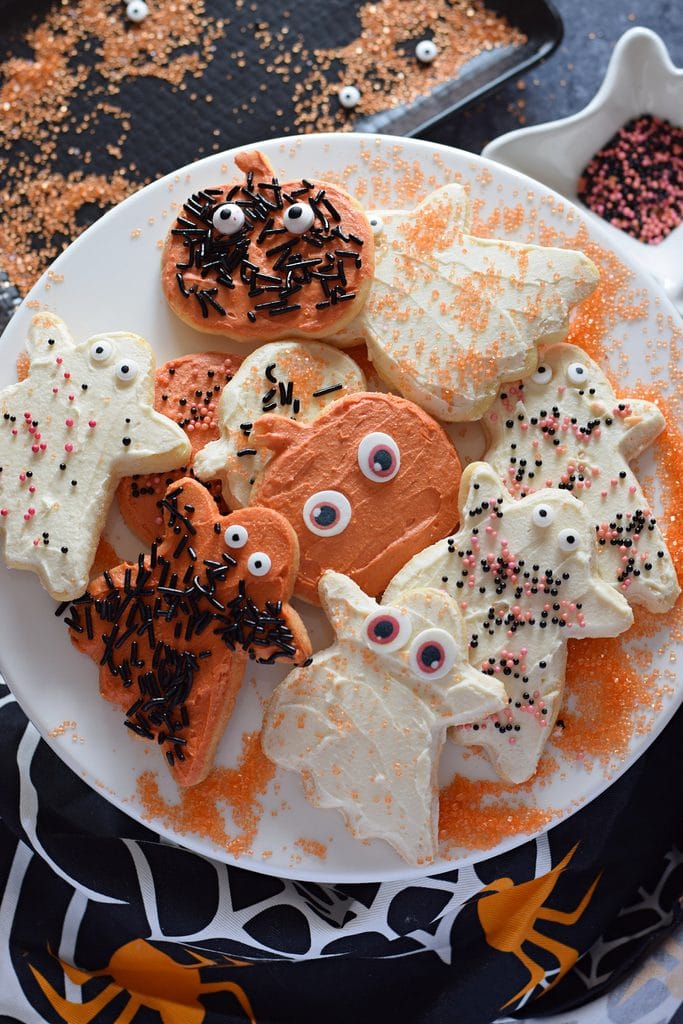
- Decorating – Use your own flare to frost these cookies. I used a small butter knife to frost the cookies and went around the edges to scrape off any excess. Add sprinkles immediately so they stick to the frosting.
** MAKE AHEAD COOKIE DOUGH – You can make the cookie dough up to three months in advance and store it wrapped in balls in the freezer.
**MAKE AHEAD COOKIES – The cookies will stay fresh up to about three days before decorating. Great if you are planning decorating with kids.
Substitutions
- Cookie dough – I have tested this recipe for years and I don’t recommend any changes at all for the dough or method. These are a perfect no spread sugar cookie just as they are written in the recipe card.
- Frosting – Alternatively you could frost these with Royal Icing, Cream Cheese Frosting, Chocolate Buttercream or even a Sugar Glaze.
Storage
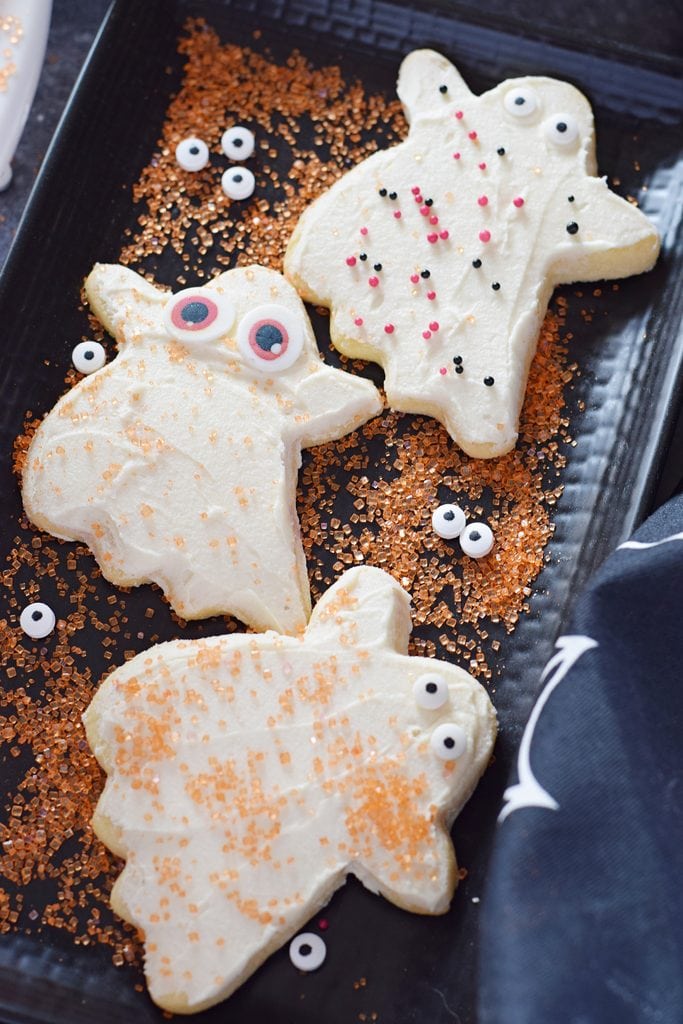
- At room temperature – I like to store them in a glass cake stand and they will stay fresh for about 3 days.
- In the fridge – Store them in an airtight container in the fridge up to about 5 days.
- Freezer – You can freeze the plain or decorated cookies for up to one month. Just remember to place them in a freezer friendly container so they don’t get freezer burn.


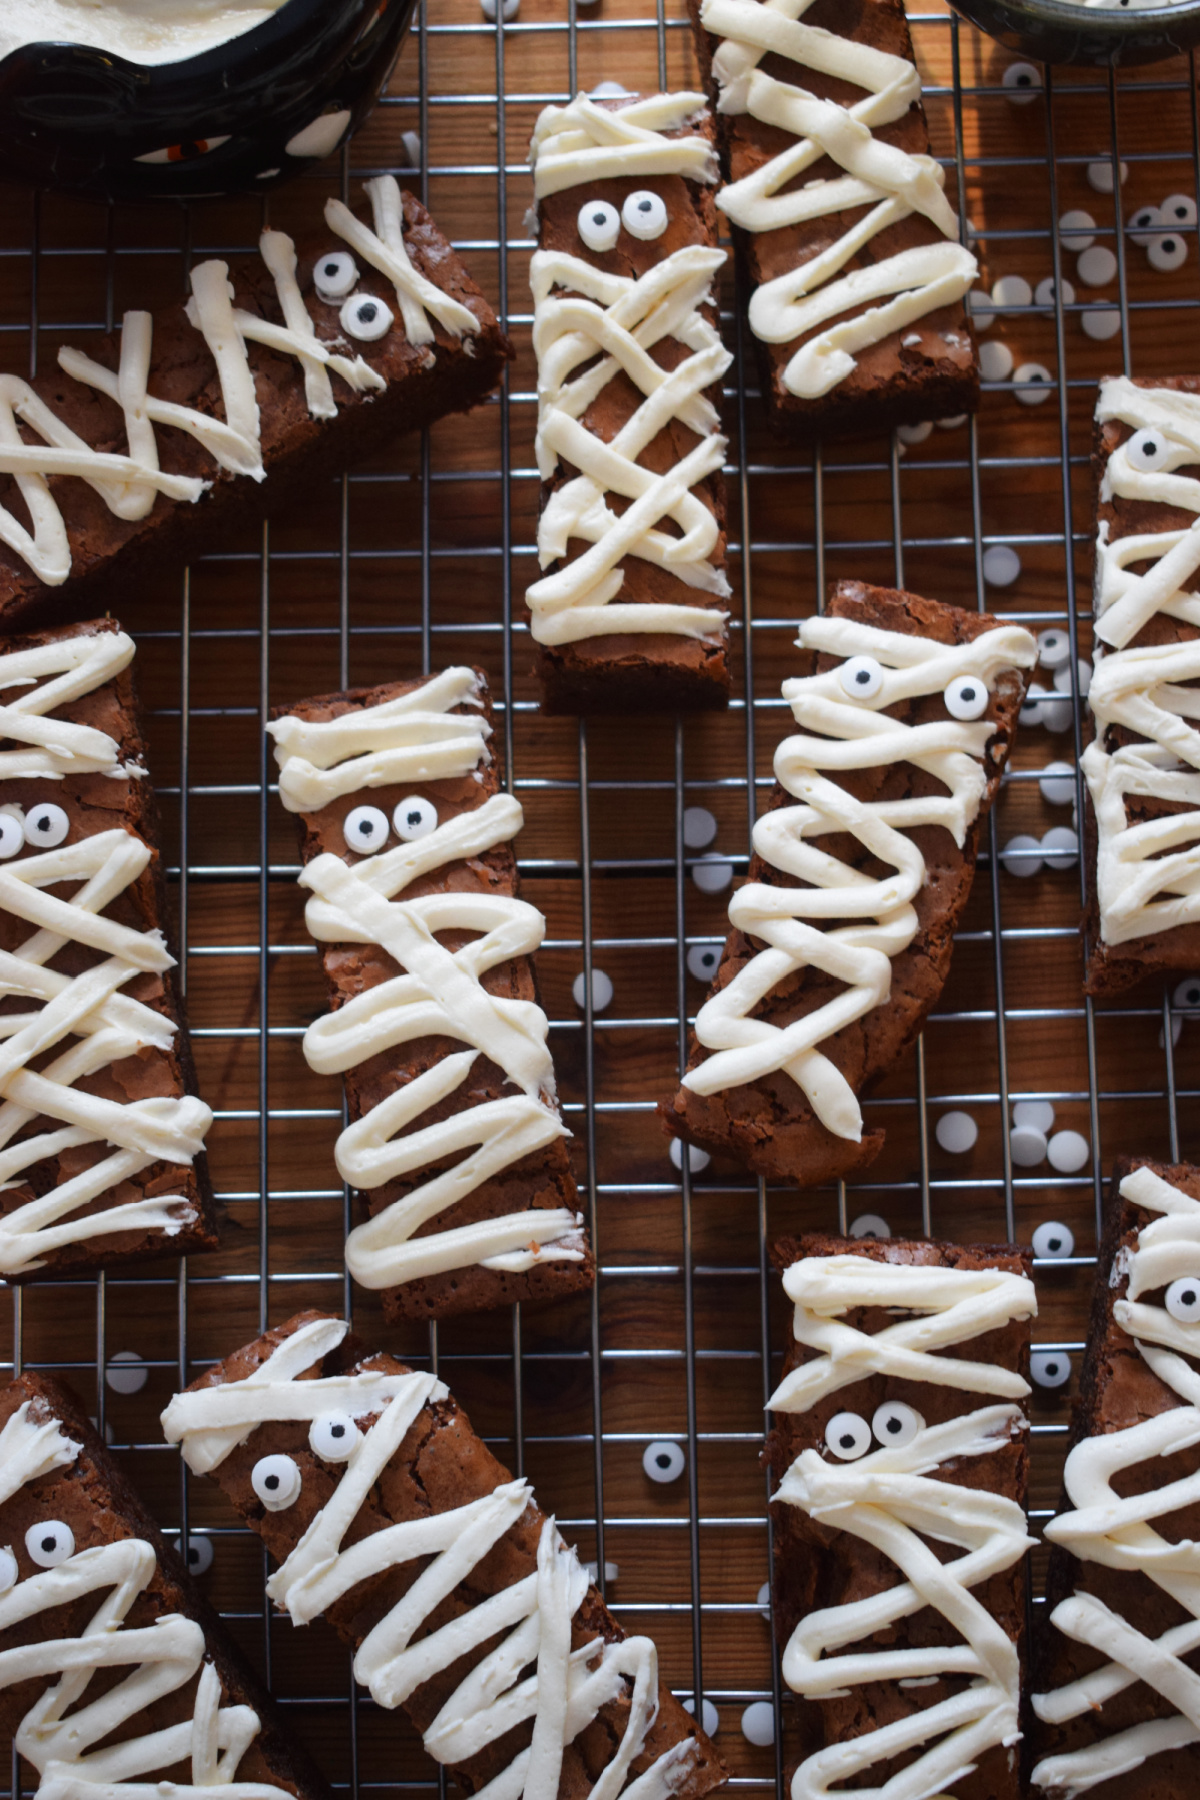
Chocolate Mummy Brownies
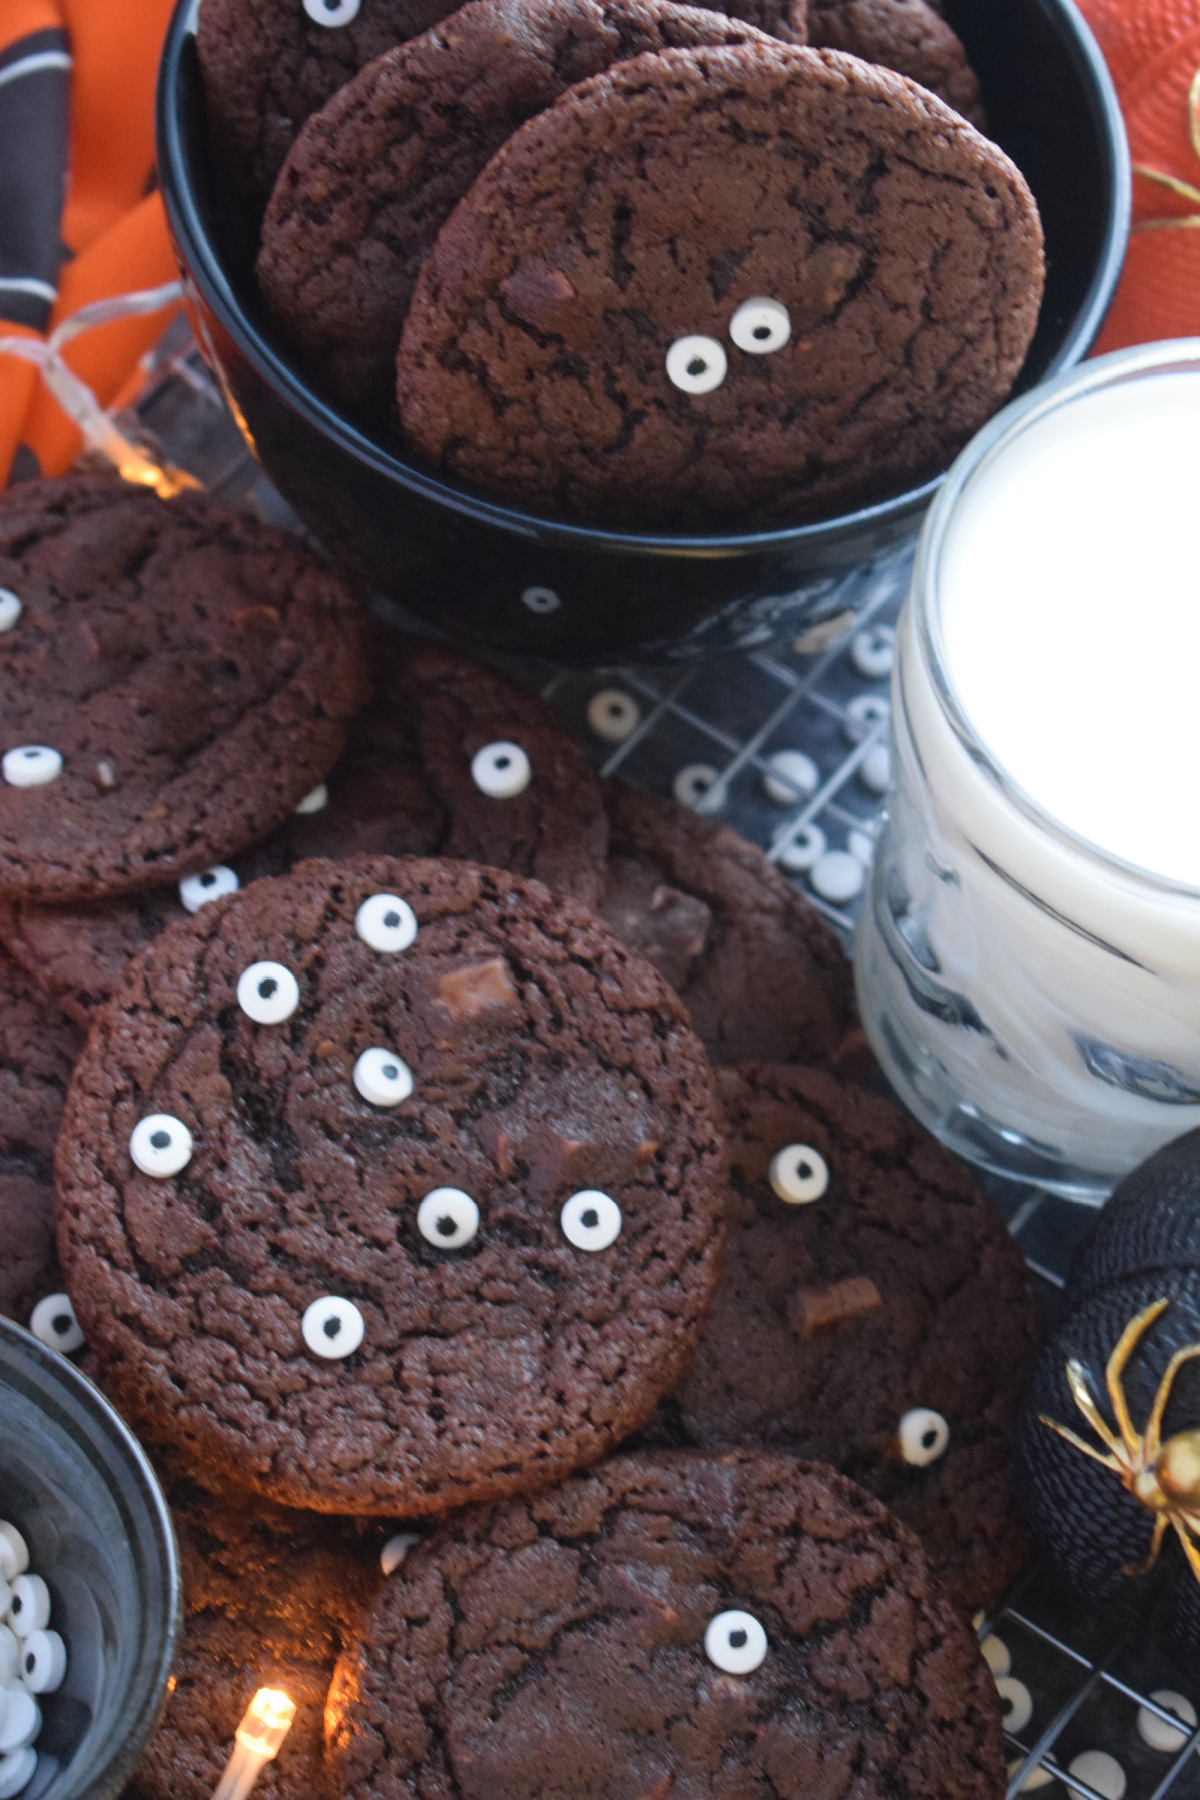
Double Chocolate Halloween Cookies
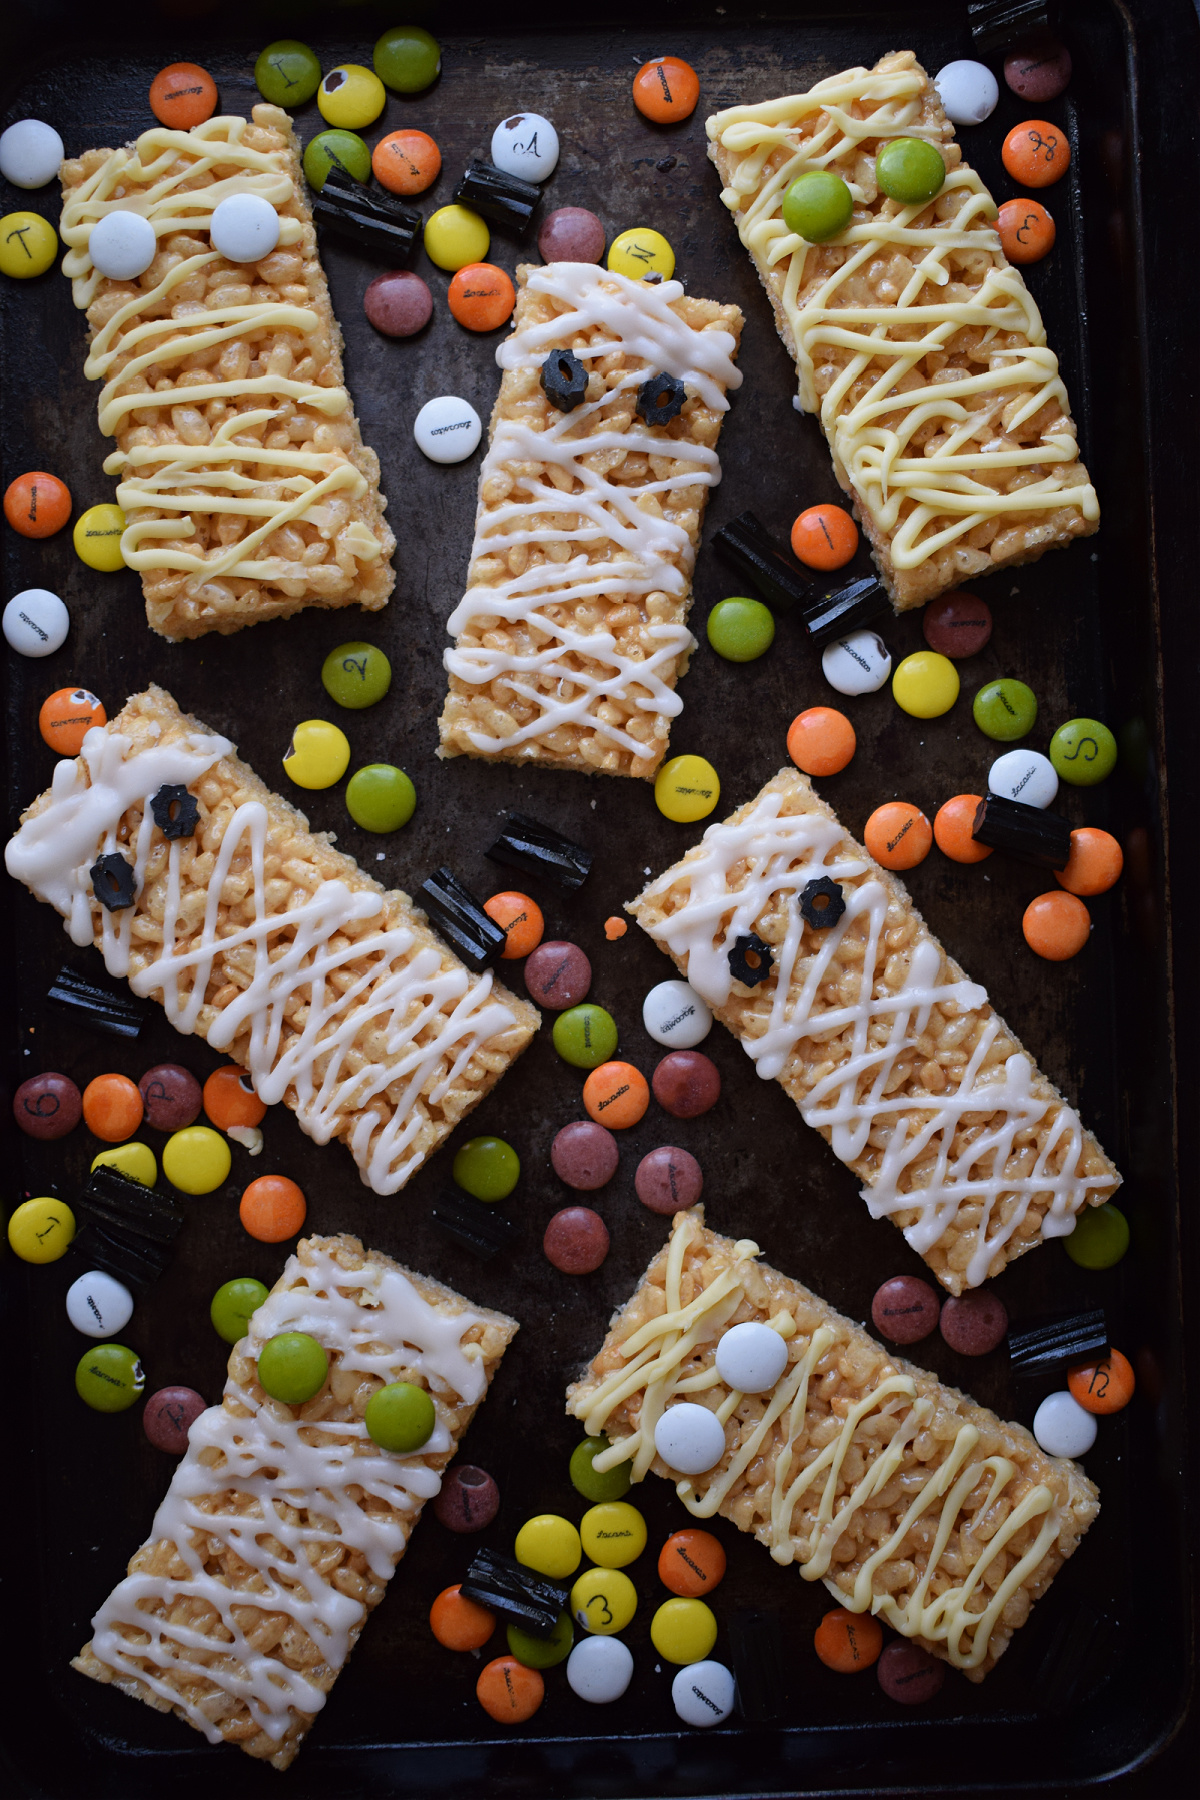
Halloween Mummy Rice Krispie Treats
Frosted Halloween Cookies
Ingredients
Cookies
- 1/2 cup butter at room temperature
- 1 cup granulated white sugar
- 1 large egg at room temperature
- 1 teaspoon vanilla extract
- 2 cups all purpose flour
- 1/2 teaspoon baking powder
- 1/8 tsp salt
Frosting
- 1/2 cup butter unsalted at room temperature
- 1 teaspoon vanilla extract
- 2 cups icing sugar
- 2 tablespoons heavy cream
Decorating
- Halloween sprinkles
Instructions
- In the bowl of your electric mixer, mix the butter and sugar on high speed until light and fluffy. This will take about 3-5 minutes. Add in your egg and vanilla and mix well.
- Sift together the flour, baking powder and salt and stir into the mixture. Don’t over mix.
- Once you have a cookie dough texture, divide the dough into two equal portions and flatten into disks. Wrap it in plastic wrap and freeze it for about 15 minutes.
- Preheat your oven to 325 degrees F. Line two baking trays. Remove your dough from the freezer and leave it for a few minutes before rolling it out. Roll each disk out onto a floured surface, sprinkling a little flour on top of the dough so it doesn’t stick to the rolling pin. Don’t roll them too thin or they will likely brown and be too hard. These were rolled to about 1/4 of and inch. Using cookie cutters, cut into desired shapes. Place the unbaked cookies in the fridge to chill for about 15 minutes before baking.
- Bake for 15 minutes turning the tray half way through baking. They will be soft to touch and will set as they cool. Repeat for all cookies. Let cool completely on the baking tray.
- Make the frosting by combining the butter, vanilla and icing sugar in a large mixing bowl. Mix on high speed for about 2 minutes. Add in the cream, one tablespoon at a time until mixed in well. Continue to mix on high speed until light and fluffy, about 3 – 5 more minutes.
- When the cookies have cooled completely, frost them and decorate them how you like and top with sprinkles.
*A note on times provided: appliances vary, any prep and/or cook times provided are estimates only.
Notes
- Chill the dough – It’s really important to chill the dough in balls before rolling out. This is a soft dough and you’t won’t be able to roll it if it isn’t chilled. It’s also important to chill the shaped cookies before baking. This will prevent them from spreading.
- Rolling dough – Take one disk out of the fridge at a time. You need cold dough to work with remember. Lightly flour the surface and start gently rolling the dough. The edges will start to crack as you roll, but this is normal. Don’t roll it too thin or the cookies will brown too quickly when bakes and be hard. I rolled these about 1/4 of and inch thick.
- How to know when they are baked – These cookies will be done when they have puffed up a little and are starting to go a little golden at the edges. But they will still be pretty pale. They might look under done, but they’re not. I’ve learned many times in the past, take them out of the oven! If you leave them in a bit longer, just minutes, they will quickly brown and become crispy.
- Allow cookies to cool – The cookies will completely set as they cool. Allow them to cool on the baking tray before taking them off to decorate.
- Decorating – Use your own flare to frost these cookies. I used a small butter knife to frost the cookies and went around the edges to scrape off any excess. Add sprinkles immediately so they stick to the frosting.
Thanks For Stopping By & Hope To See You Soon!