This is the best Stove Top Naan Bread you will ever make. Made using very few ingredients and they come out perfect every single time. Make them for you next Indian night in.
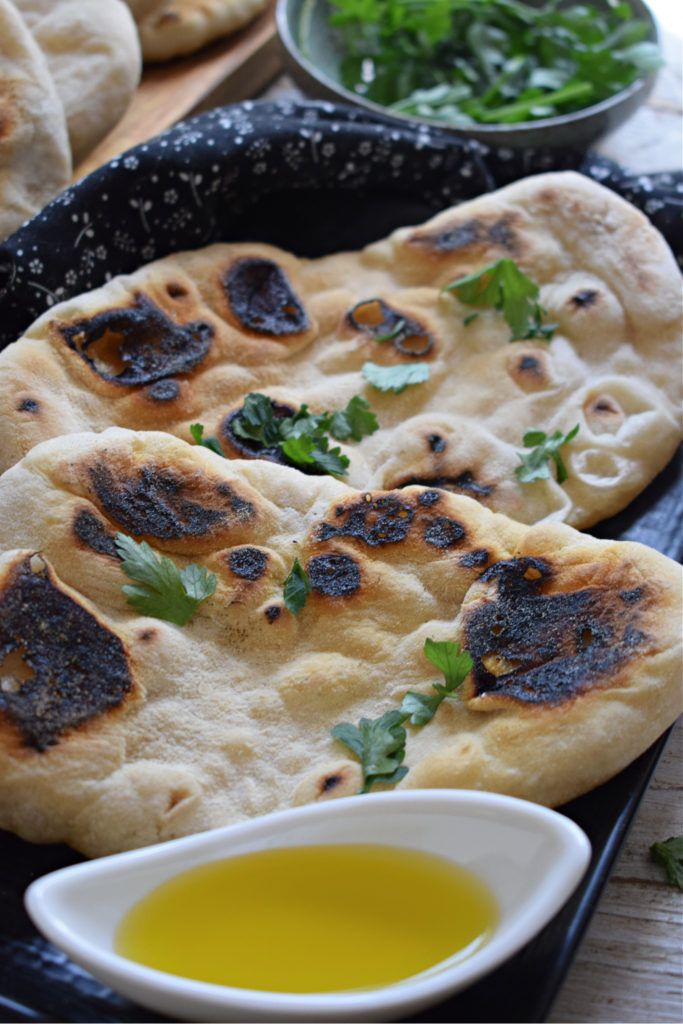
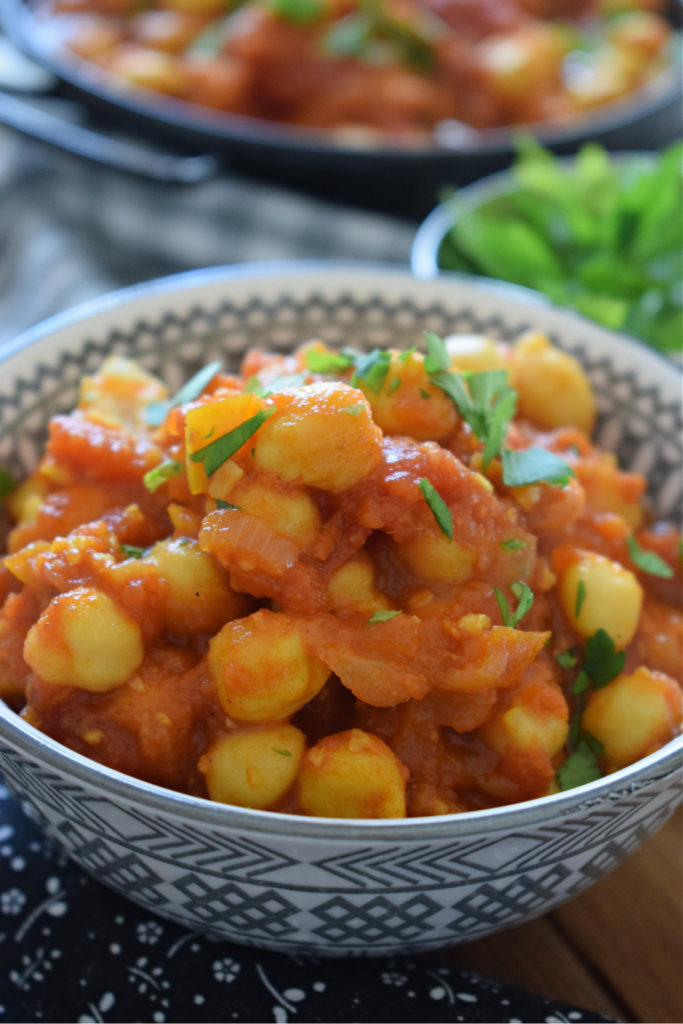
Look no further for your perfect no fail Naan Bread recipe. We’ve been making and enjoying this bread for many years now and it’s a hit every single time. It goes great with so many dishes like my Chicken Tikka Masala, the Chickpea Curry and even the Spiced Moroccan Soup. And if you haven’t yet, check out my Homemade Chapati Recipe, another great Indian bread.
Let’s get straight to the bread and go over everything so you can get it just right as well.
Types of Yeast
For this recipe I used Instant Yeast, but you can use whatever kind you have at home. If you’re unsure of what kind you have or how to use it, here’s a little guide to three of the most popular types of yeast.
- Fresh Yeast – This comes in block form and needs to be kept in your fridge. Because it’s fresh yeast it will only last a few weeks after purchase. To use it, you dissolve it in warm water.
- Active Dry Yeast – This yeast is in dry form and you have to dissolve it in warm water before using.
- Instant Yeast – This is the easiest yeast to use. It comes in dry form and you simply add it to the the dry ingredients. Easy.
Hope this helps you decided what kind of yeast you have and how to use it.
What’s The Perfect Water Temperature
The experts all say that yeast will be activated between 105 degrees F (40 degrees C) and 115 degrees F (46 degrees C). Yes, those are the magic numbers.
The easiest way to see if you have the correct temperature is to put a thermometer into the water. But I am aware that not everyone has one of those in their kitchen. So the best test to do it run the water until it just becomes a little bit on the hot side. Kind of like almost too hot to touch. Some people say luke warm water, but I never get that to work.
Knowing if the Yeast Has Worked
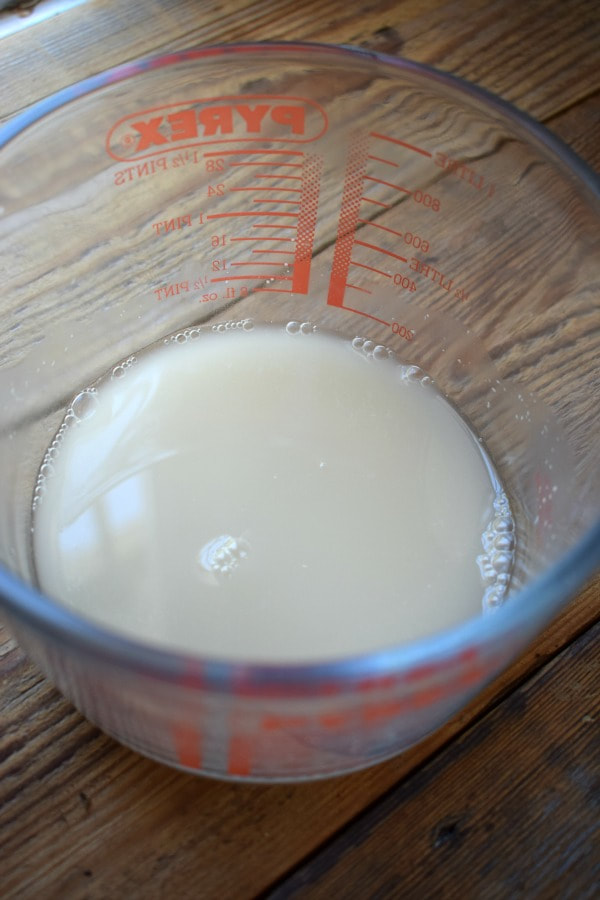
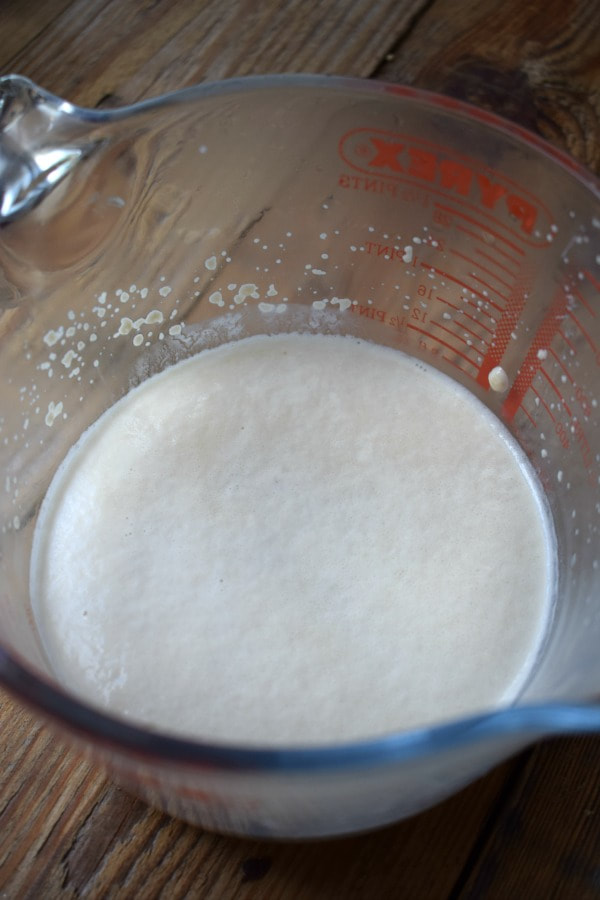
If your yeast works, you will know pretty quickly. It usually takes about 10 minutes and it should look a little like the pic below to the right. If after 10 minutes, the yeast still looks flat, chances are it isn’t going to work. You can cover it and check it again in about 5 minutes. But most likely the yeast isn’t working. At this point, I would recommend throwing it away and starting over. Yes, sadly it most likely just isn’t going to work.
Add the Yeast To The Flour
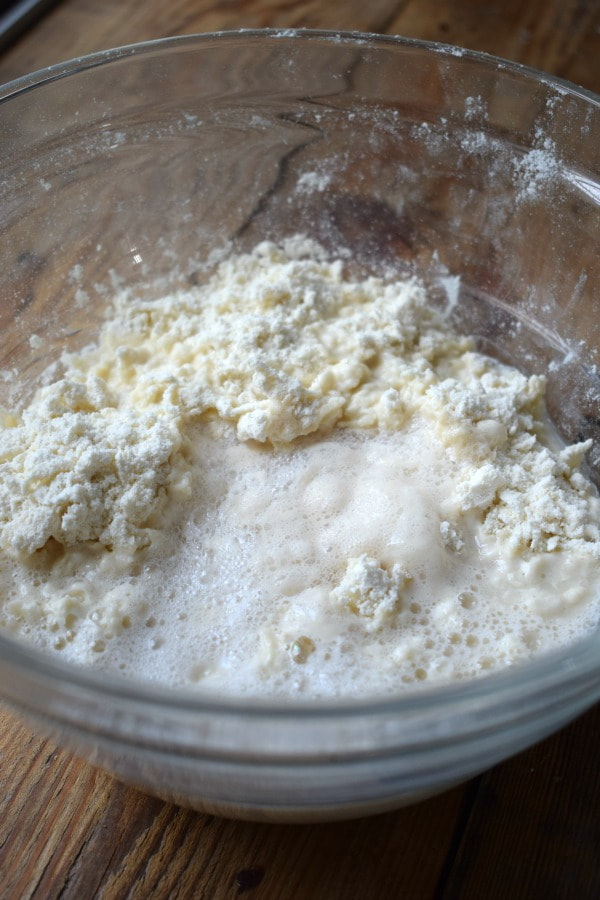
- Next, add the yeast to the flour mixture and use a spoon to stir it all together. If the dough is to sticky and not coming away from the sides of the bowl, add a bit more flour. I find I most always need to add a little bit more flour at this stage. Just add enough so the dough becomes more smooth and not sticky. Once the dough has come together, it should be soft.
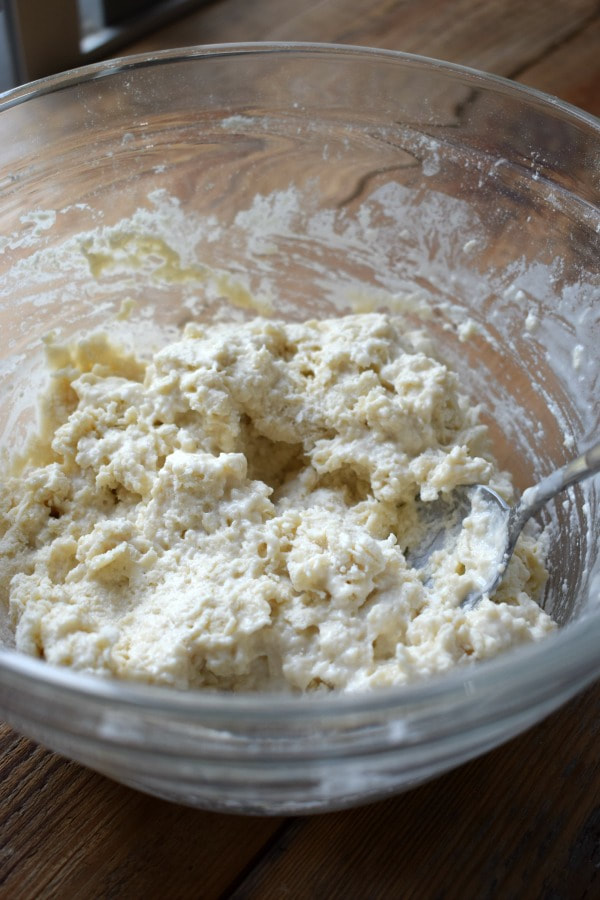
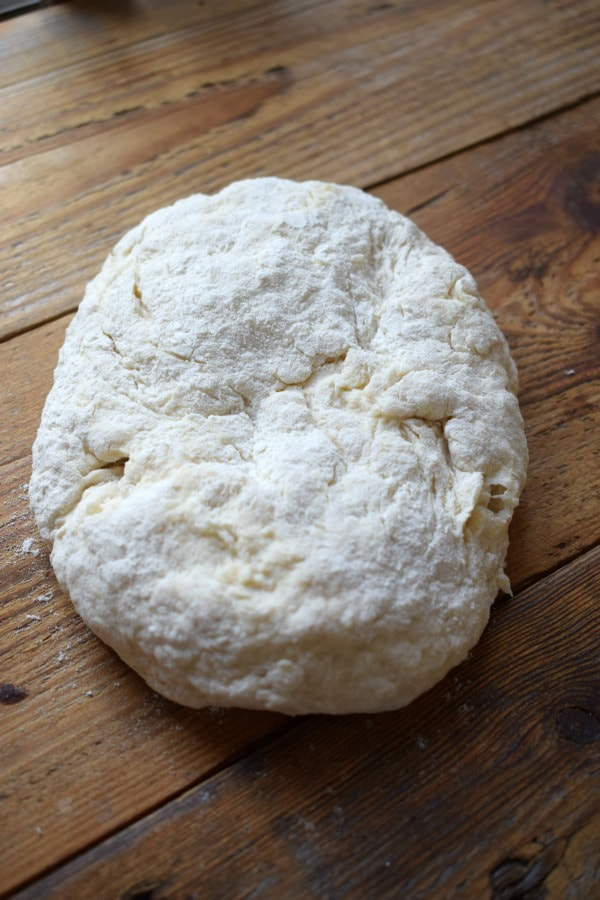
- Transfer it to a lightly floured surface and knead it for just a couple of minutes.
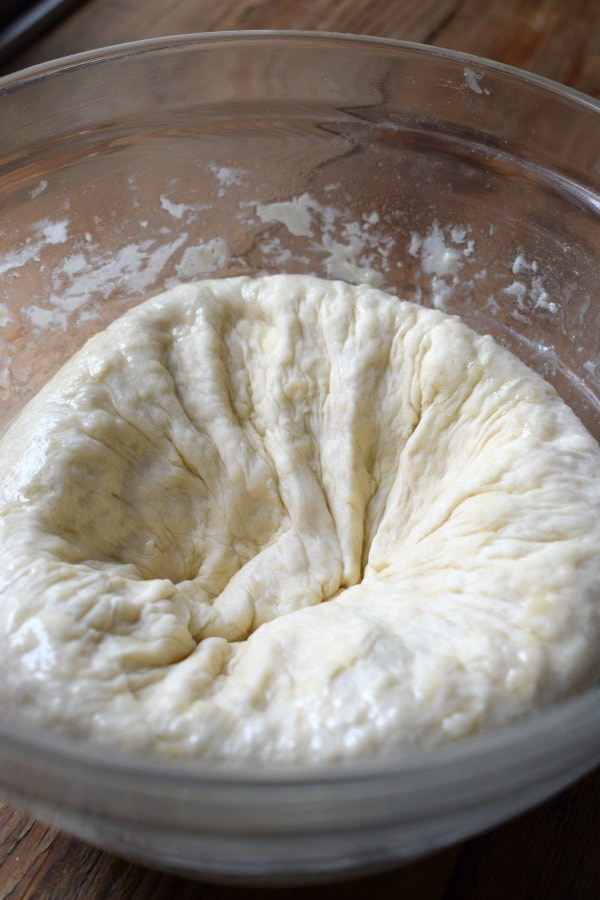
- Form the dough into a ball and place it back into the bowl. Cover it and leave it it a warm place to rise. Depending on the temperature this will take anywhere between one and two hours. My kitchen was about 25 degrees C when I made this bread and it took exactly one hour to rise.
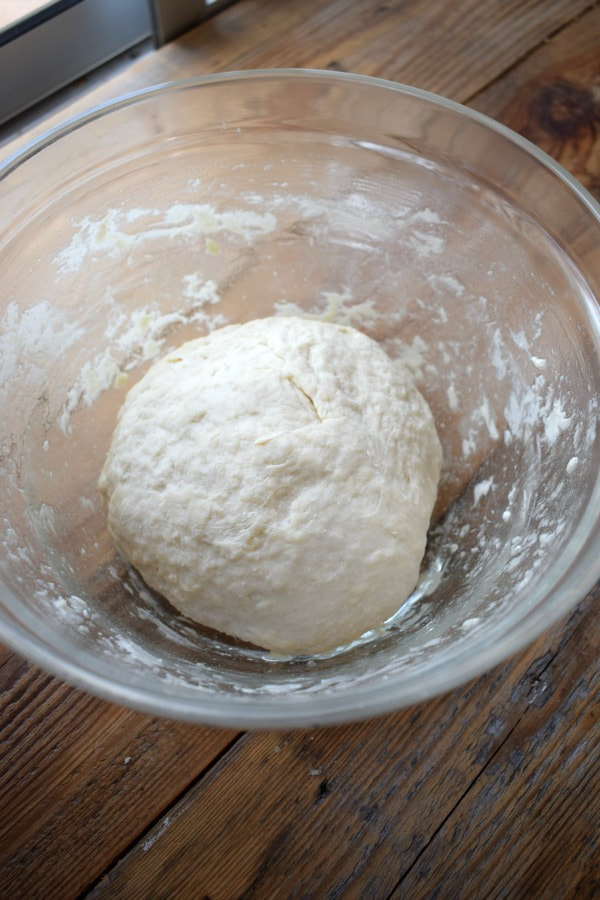
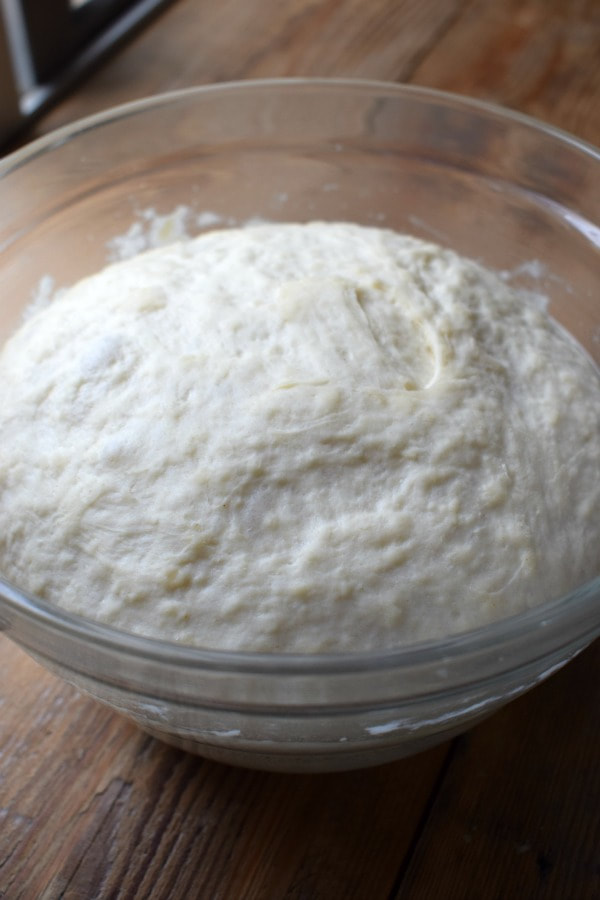
- The dough should pretty much double to triple in volume. See the photo below to the left and this is what you are aiming for.
- Then, of course, you punch it down and deflate it. All that hard work!
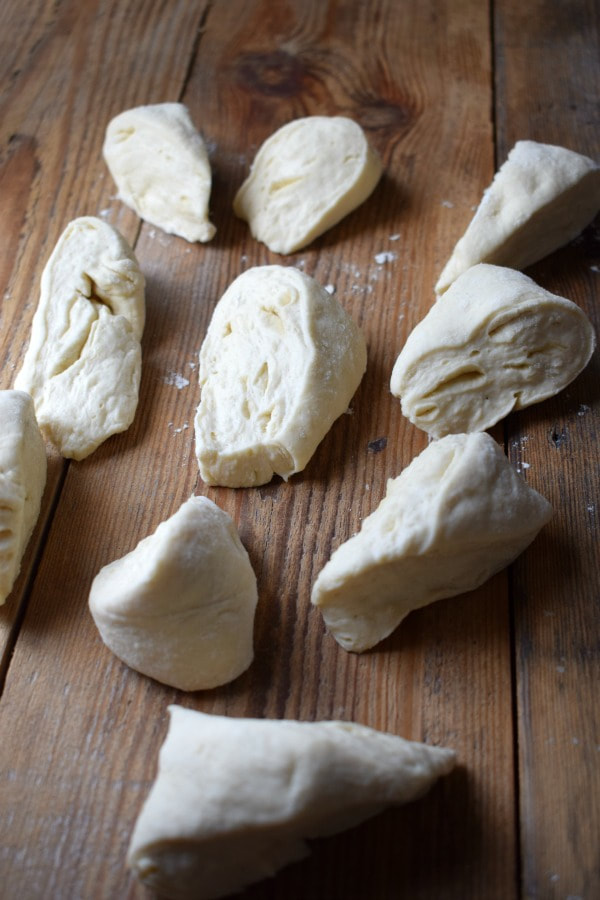
- Once you have punched down the dough, turn it out on a lightly floured surface and cut it into 10 equal parts. I just divided it in half and then cut each piece into 5 sections.
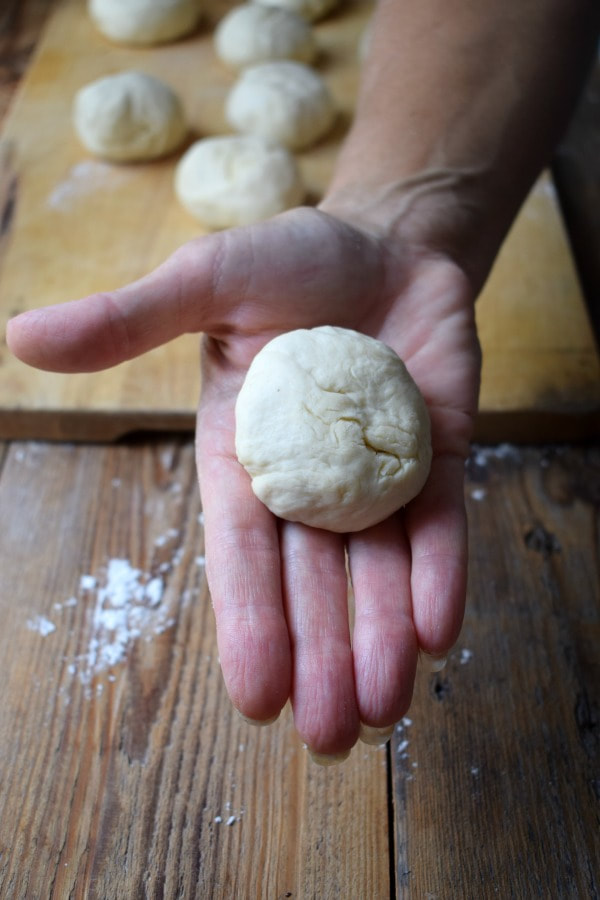
- Then you roll each one into a ball. Now cover all the balls of dough as you prepare them to cook.
Rolling Out The Naan Bread
- Preheat the cast iron skillet
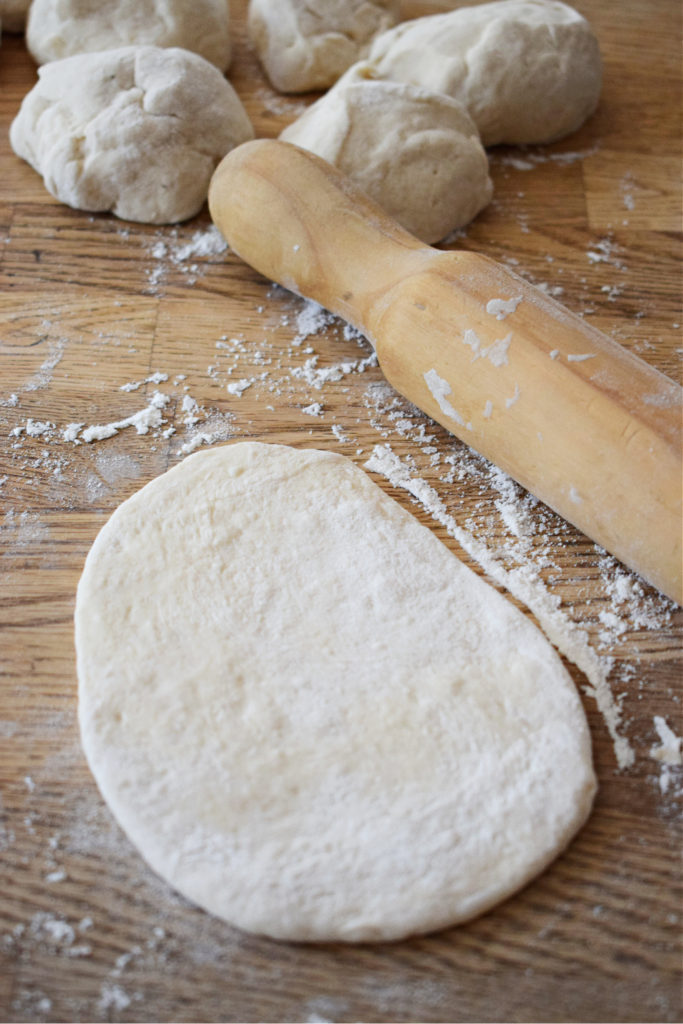
- Roll out and shape your nanns in circles or ovals. However you like them.
- Roll as many as you can fit in the pan at a time. I usually can get two to three at a time depending on the size.
Cooking on Cast Iron (You Can Use Any Kind of Skillet)
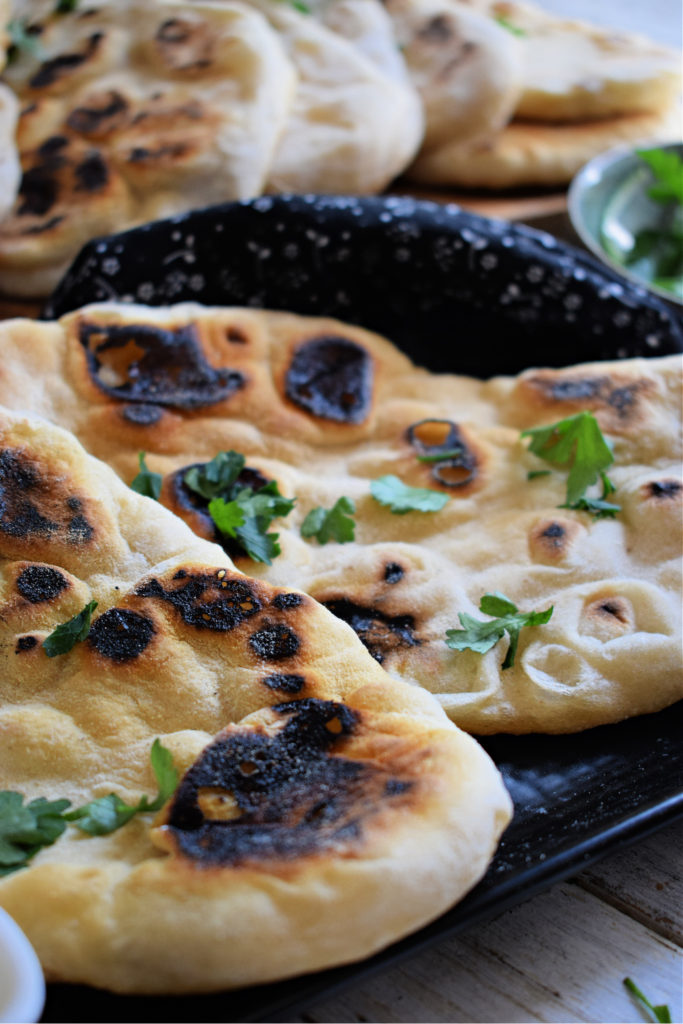
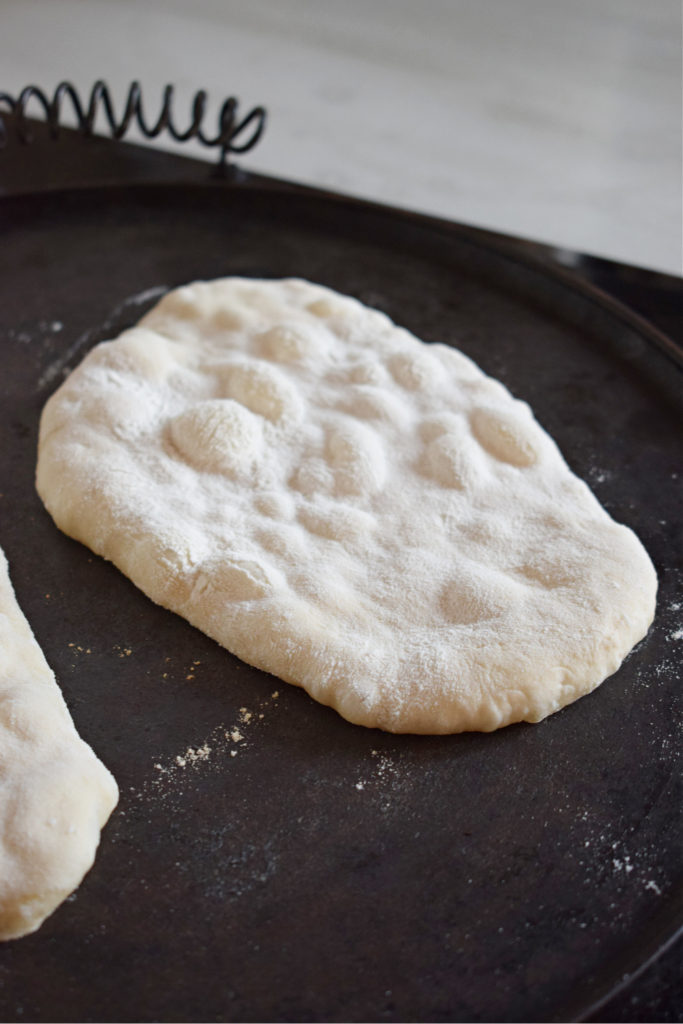
- Next, brush one side of the Naan bread with water. Place the Naan bread in the pan, water side down. Bubbles will start to appear in the bread quite quickly, probably about 10 to 20 seconds. You can see what that should look like in the photo below. So just leave it on that side for a minute then turn it over.
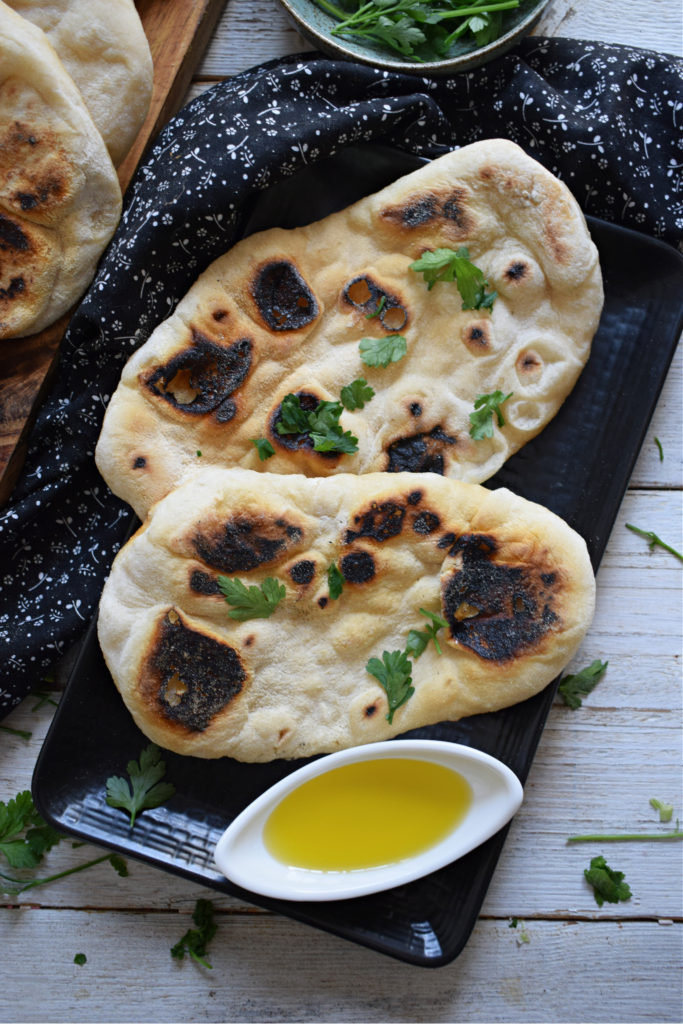
Perfect Stove Top Naan Bread
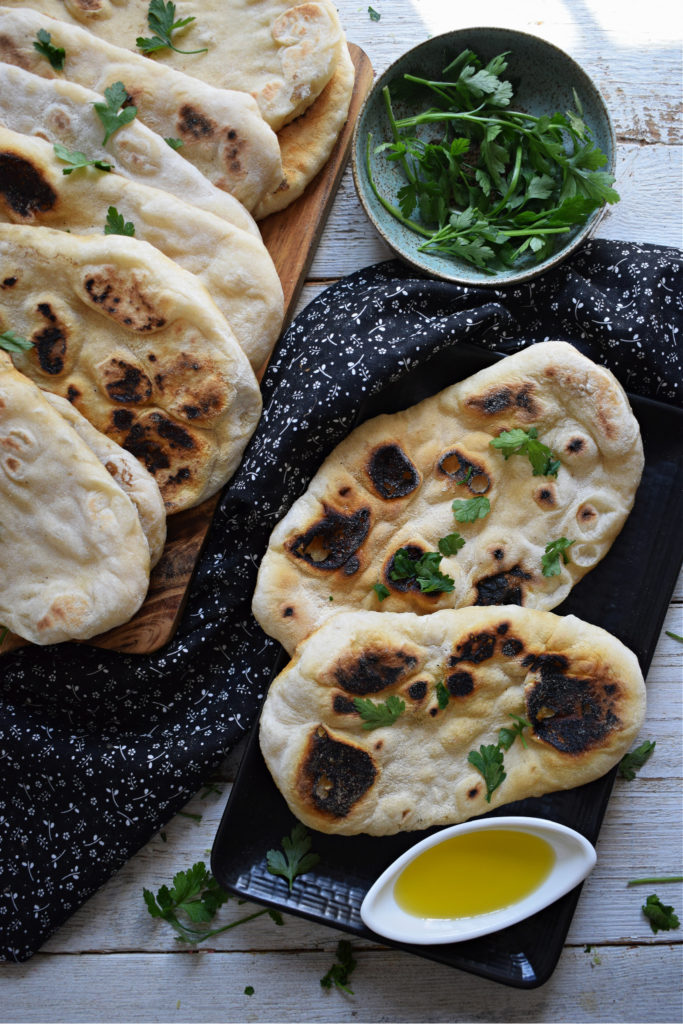
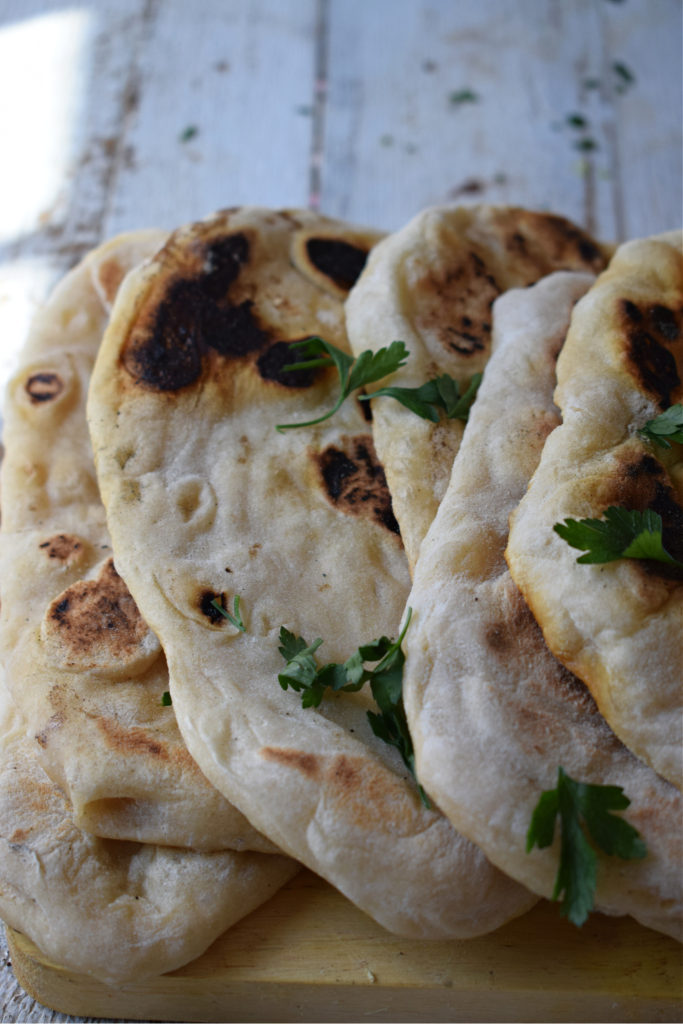
Then just like that you have perfect Stove Top Naan Bread ready to serve and enjoy with your next Red Thai Chicken Curry or Red Lentil Curry! Okay, it is a bit more than “just like that”, but I assure you they are worth it.
Repeat the process for all Naans and keep them warm while making more.
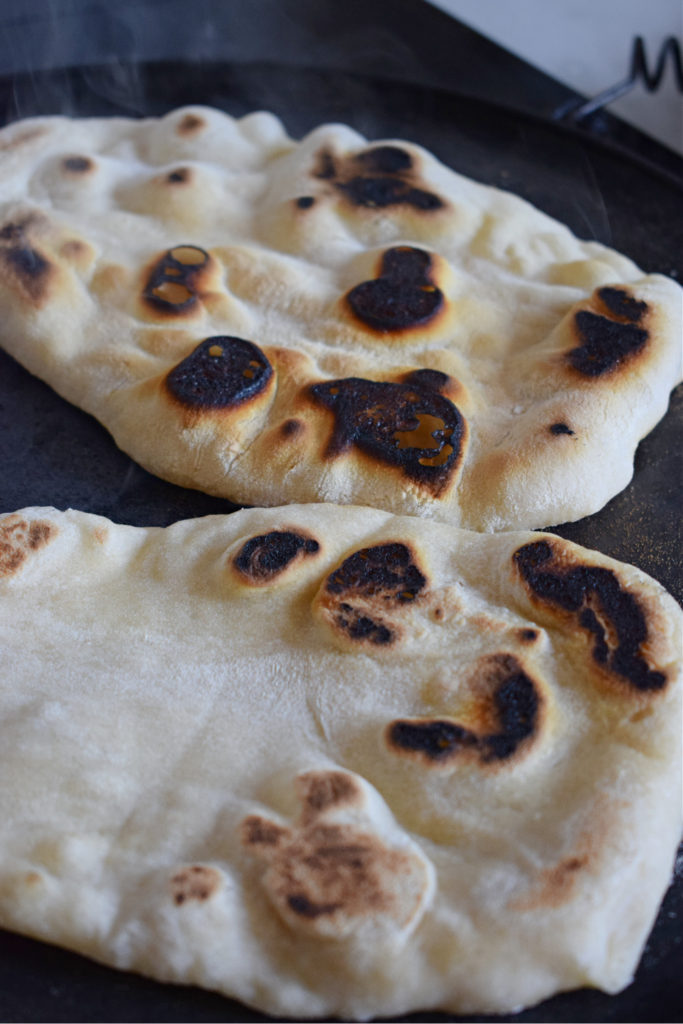
Yes, They are Worth The Effort
I started making Naan Bread probably about 15 years ago. I have had hit and miss success with it and different recipes over the years, but this is by far the best one I have come across. Much like the Onion Bhajis, practice made perfect! The bread, as you can see, isn’t really puffy at all. In fact, it really is a flat bread. You do get that layer of air between the bread that Naan is so famously known for.
Can I make These In Advance
These are best the day they are made. In fact, they don’t really keep that well at all. But you can make the dough the day before and cook them the day you are serving them.

You Can Freeze The Stove Top Naan Bread
- They will freeze well for up to a month in the freezer.
- Store in a freezer proof zip lock bag that is completely airtight. Remove as much as possible before sealing the bag.
- To defrost and reheat. Allow to defrost naturally. Tightly wrap in foil an reheat in a preheated 350 degree F/180 C oven for about 10 minutes.
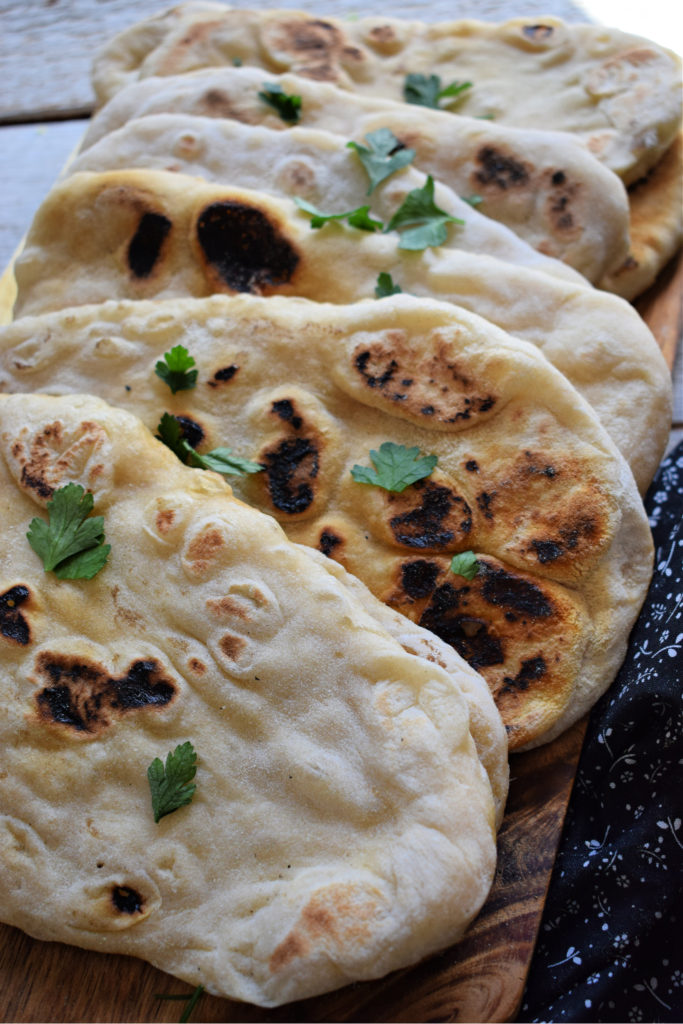
Enjoy the Naan Bread and happy cooking friends!
Here’s a Few Other Recipes That you’ll be Sure To Love


Stove Top Naan Bread
Ingredients
- 2 1/2 Cups strong wheat flour more if needed
- 1 Teaspoon salt
- 1/8 Teaspoon baking powder
- 2 Teaspoons sugar
- 1 Teaspoon Active dry yeast
- 2 Tablespoons vegetable oil
- 3 Tablespoons natural yogurt
- 3/4 Cup warm water
Instructions
- In a small bowl, add the dry yeast and sugar to the warm water. Stir until it dissolves. Cover and leave to become frothy. About 10 minutes.
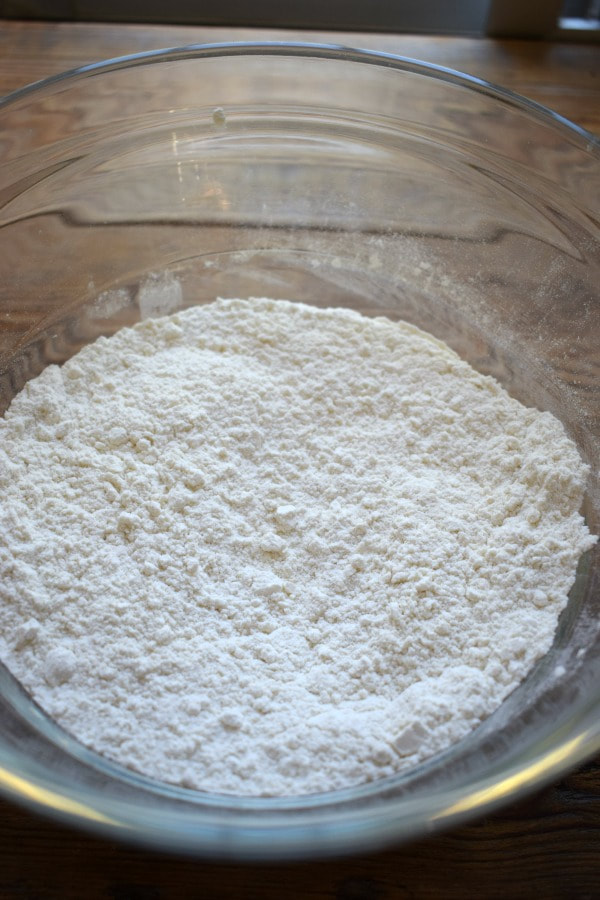
- In a separate large mixing bowl, combine the flour, salt and baking powder. Stir to combine.
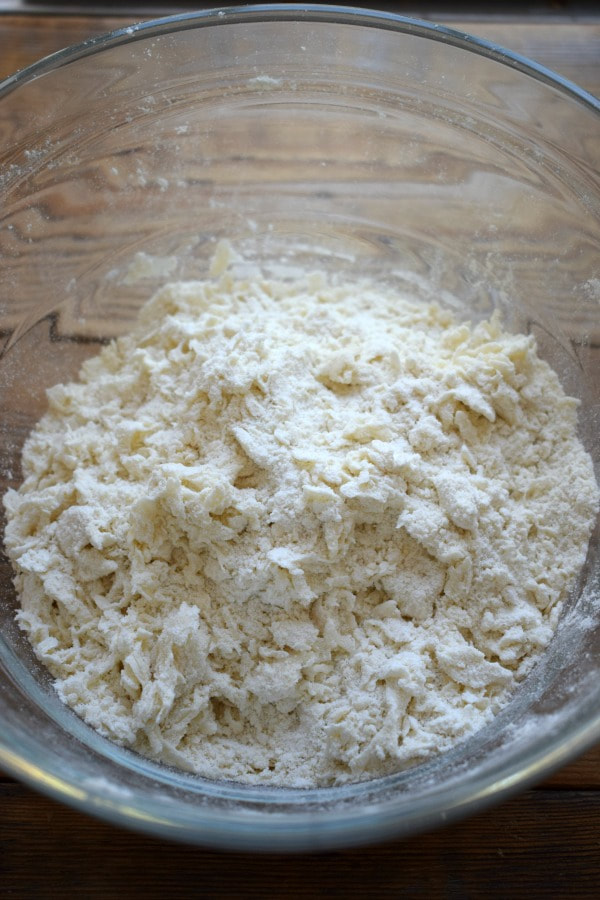
- Add the oil and yoghurt to the flour mixture. Using your fingers, incorporate it until you have a shaggy dough.
- Pour in the active yeast mixture and stir until you have a soft dough. Turn the dough out onto a lightly floured surface and knead it for about 2-3 minutes. It should be soft and a little elastic.
- Form the dough into a ball and put it back into the bowl. Cover with a dampened tea towel and leave in a warm place to rise between one and two hours.
- After the dough has risen, punch it down. Remove from bowl and transfer to a lightly floured surface. Cut the dough into 10 equal parts. Then roll each piece of dough into a small ball.
- Place a cast iron skillet over high heat on the stove top and leave for about 5 minutes to get hot.
- Roll out the dough balls, two at a time, or as many as you can fit in the pan at once. Leave the rest of the dough balls covered until they are ready to roll out.
- Lightly brush one side of the Naan with water. Place the Naans in the hot pan, water side down. As soon as bubbles appear over the entire bread, turn them over. Cover pan and leave to cook for a further 2 minutes or until completely cooked.
- Remove from pan and place in a clean tea towel to keep warm.
- Repeat for all Naans.
- Best the day they are made but will keep in the freezer for about a month.
- Great served with any curries or Indian dipping sauces.
*A note on times provided: appliances vary, any prep and/or cook times provided are estimates only.
Thanks For Stopping By And Hope To See You Soon!

